Category Archives: Pi-tar Cyberdeck

A Very Belated Project Post: Pi-Tar Final Steps and Anatomy

As you’ve probably been able to tell from the dedicated page on the website, I finished the Pi-Tar months ago, but I never got around to explaining the final construction of it. 2020 was a hell of a year.

Looks like I left off after adding a power switch to the casing. I apologize in advance for lack of detail on certain aspects, I’m catching up on something from months and a few projects ago.

USB Hub:

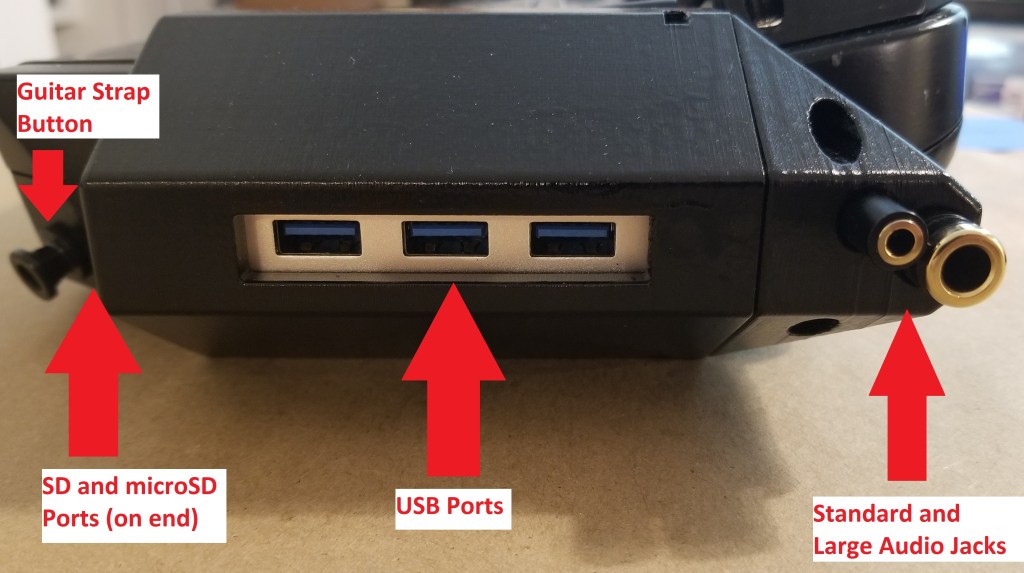
In order to offload some power requirements for additional USB peripherals from drawing power through the Pi, as well as to make a more convenient location for plugging things in, I decided to add a powered USB hub. As an added bonus, this one came with an SD card slot and a microSD card slot.

This did add some complicating factors, though. I needed the wires to fit through some pre-existing holes in the casing AND the thing uses USB-C. I ended up having to buy some additional parts to make this work, which got rather weird. I had to find a USB-A to USB-C cable that would connect to the Pi on one end and fit into the existing hole into the casing. I made that part work, but it took some finagling with the wires.

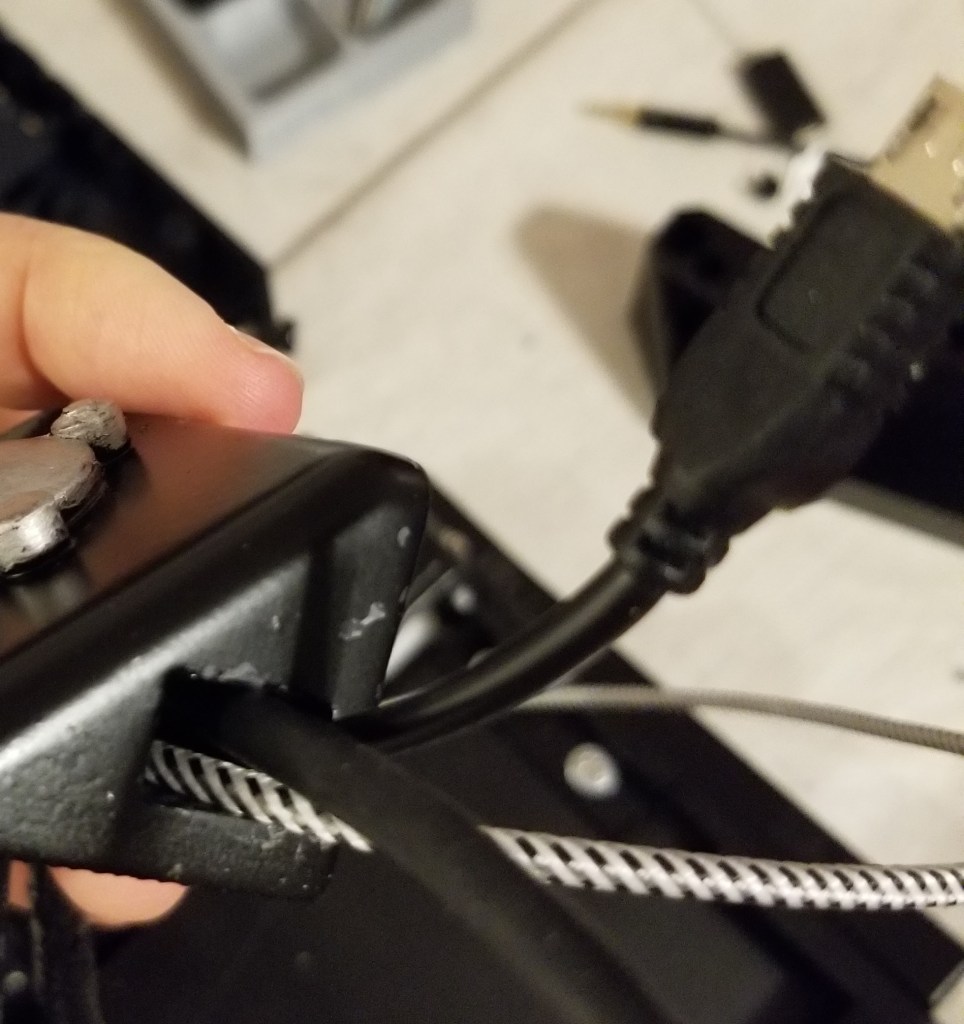
I also had to find a USB-C to USB-C connector to connect that wire inside the case to the USB hub.

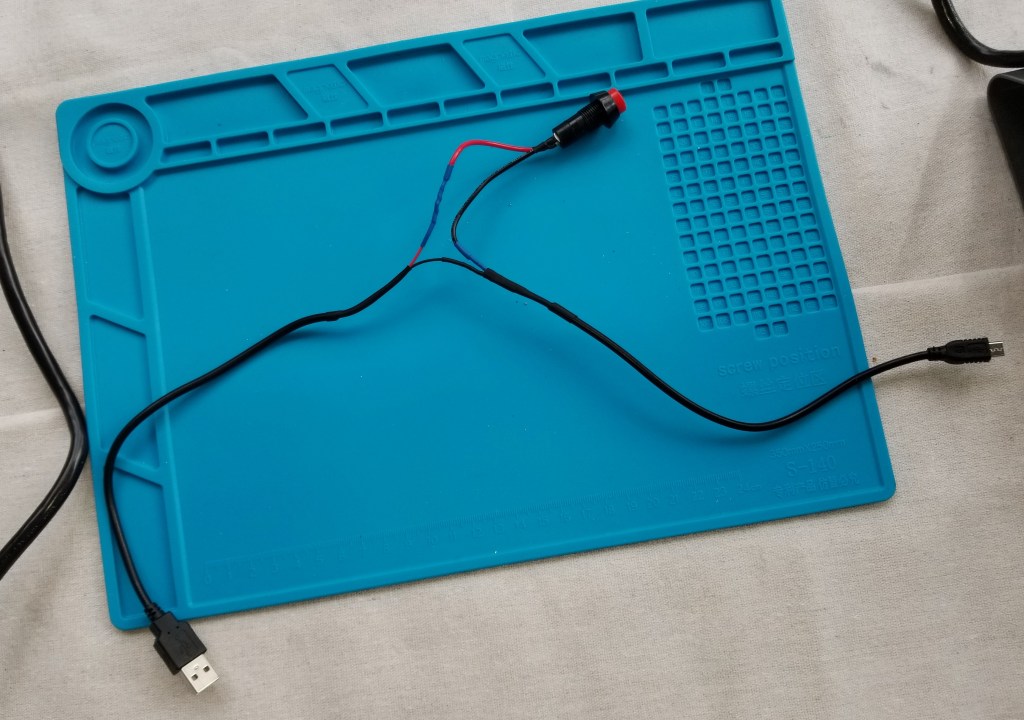
I also had to add a micro-USB power switch cable to connect the hub to the power bank (as mentioned in a previous post), and I attempted to modify the cable coming from the Pi to avoid drawing from or backfeeding to the Raspberry Pi (I can’t remember if I ever got that part to work without losing power, but that was the intent).

Once I figured out the wiring, I then had to figure out how to attach the thing to the exterior of the casing. Originally I was going to use the USB hub as the basis of some sort of pseudo-cartridge system with USB drives, but eventually cut it down to just being a conveniently accessible hub.

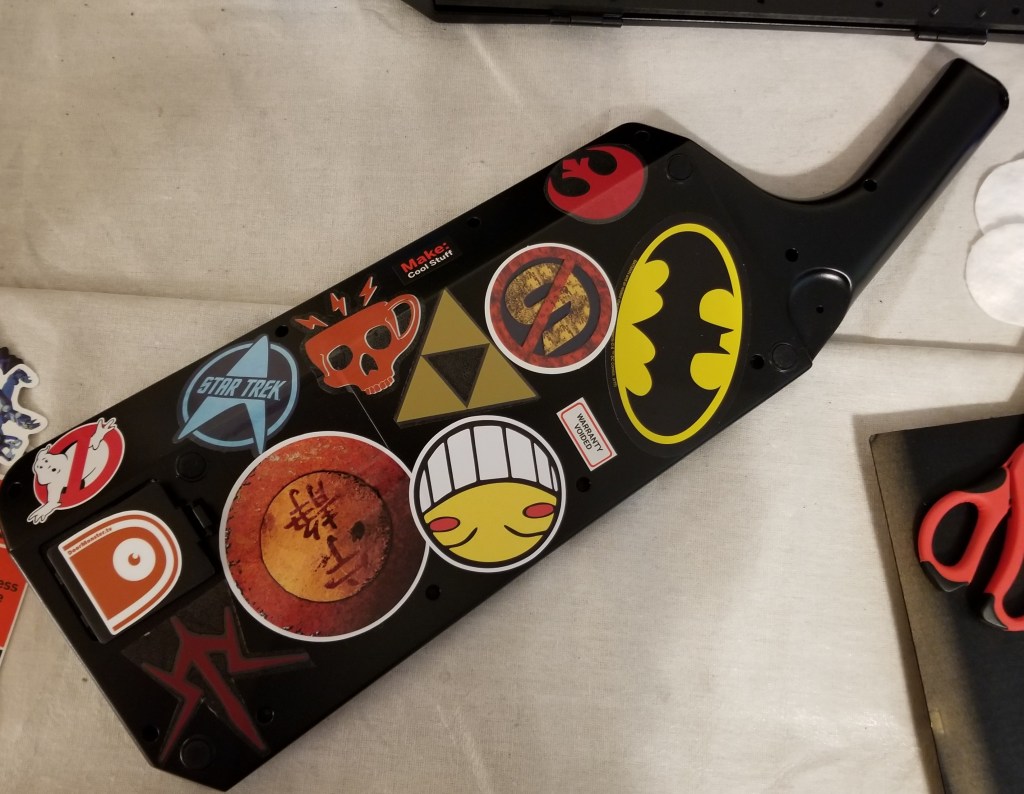
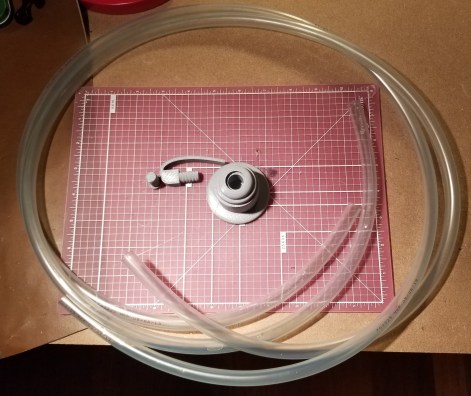
As part of this, I also decided that I needed to move the large audio port to the exterior of the case, and add an additional regular-sized audio jack. Moving the port freed up the existing hole in the casing to pass through all the wires for the interface hub. This meant I didn’t have to try to cut or drill a new whole in the interface between the two halves of the shell.

This hole, which is in the top right of the original casing

The 3D modelling and physically attaching that in was troublesome, but electronically it was simple. I just added an audio splitter cable to the end, putting one female end exterior to the case and the other connected to the adapter I had already been using.

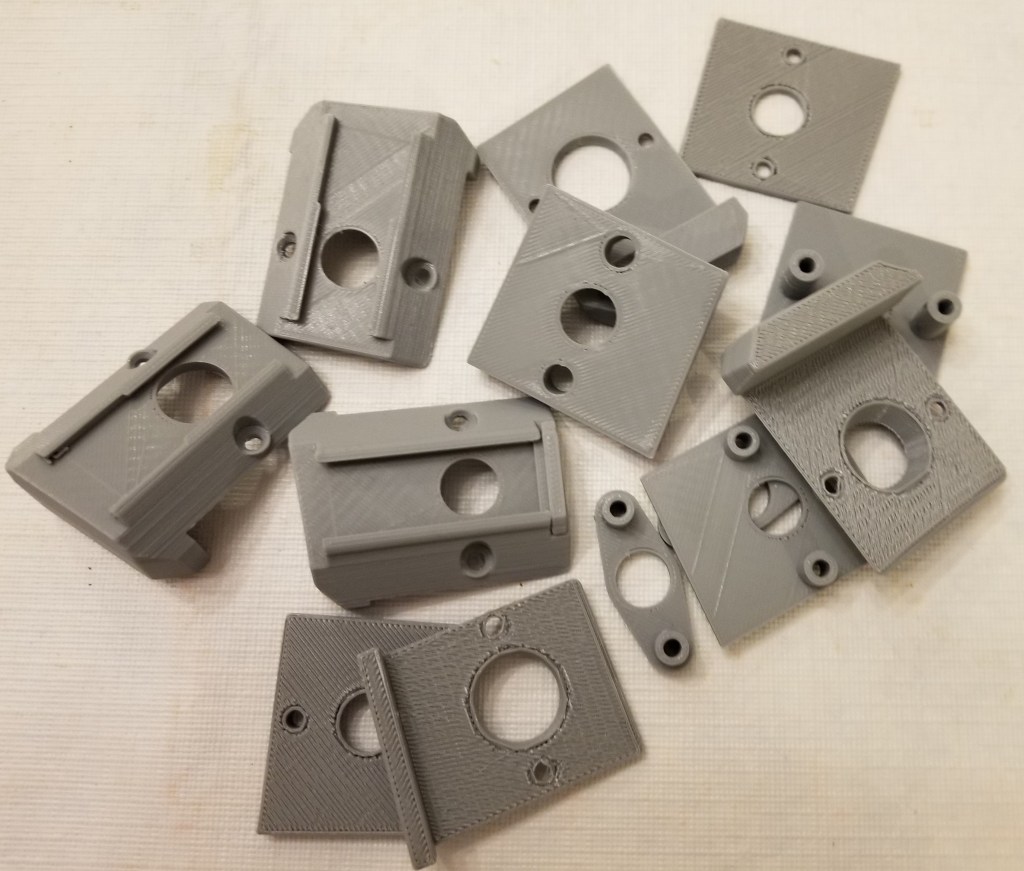
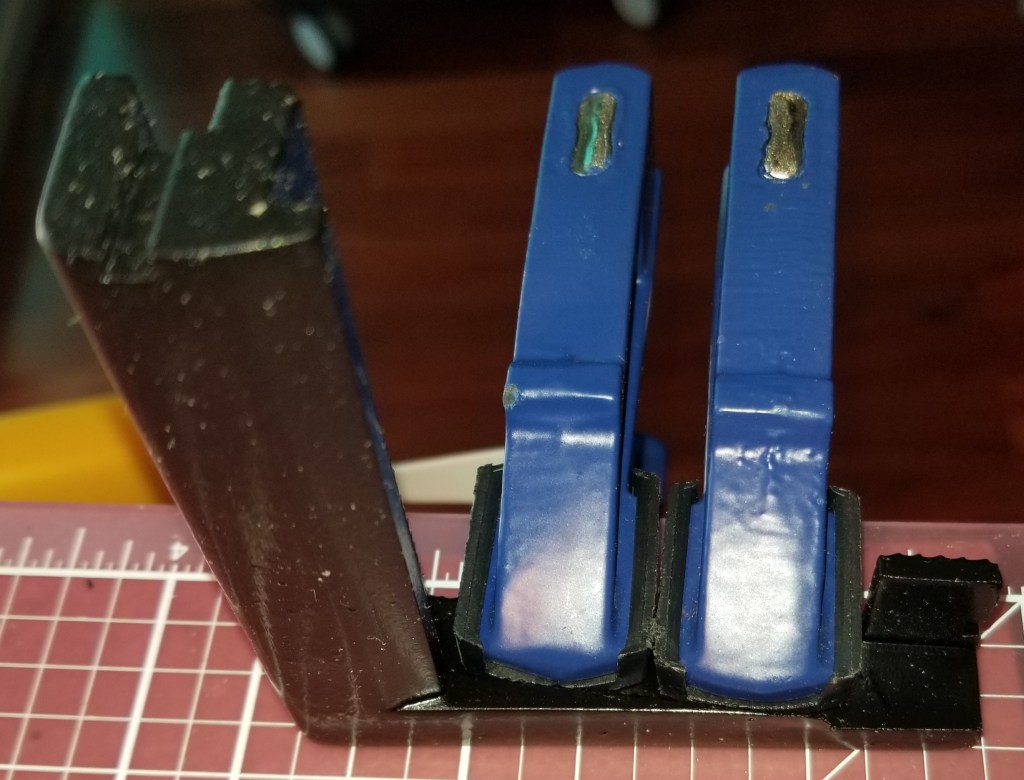
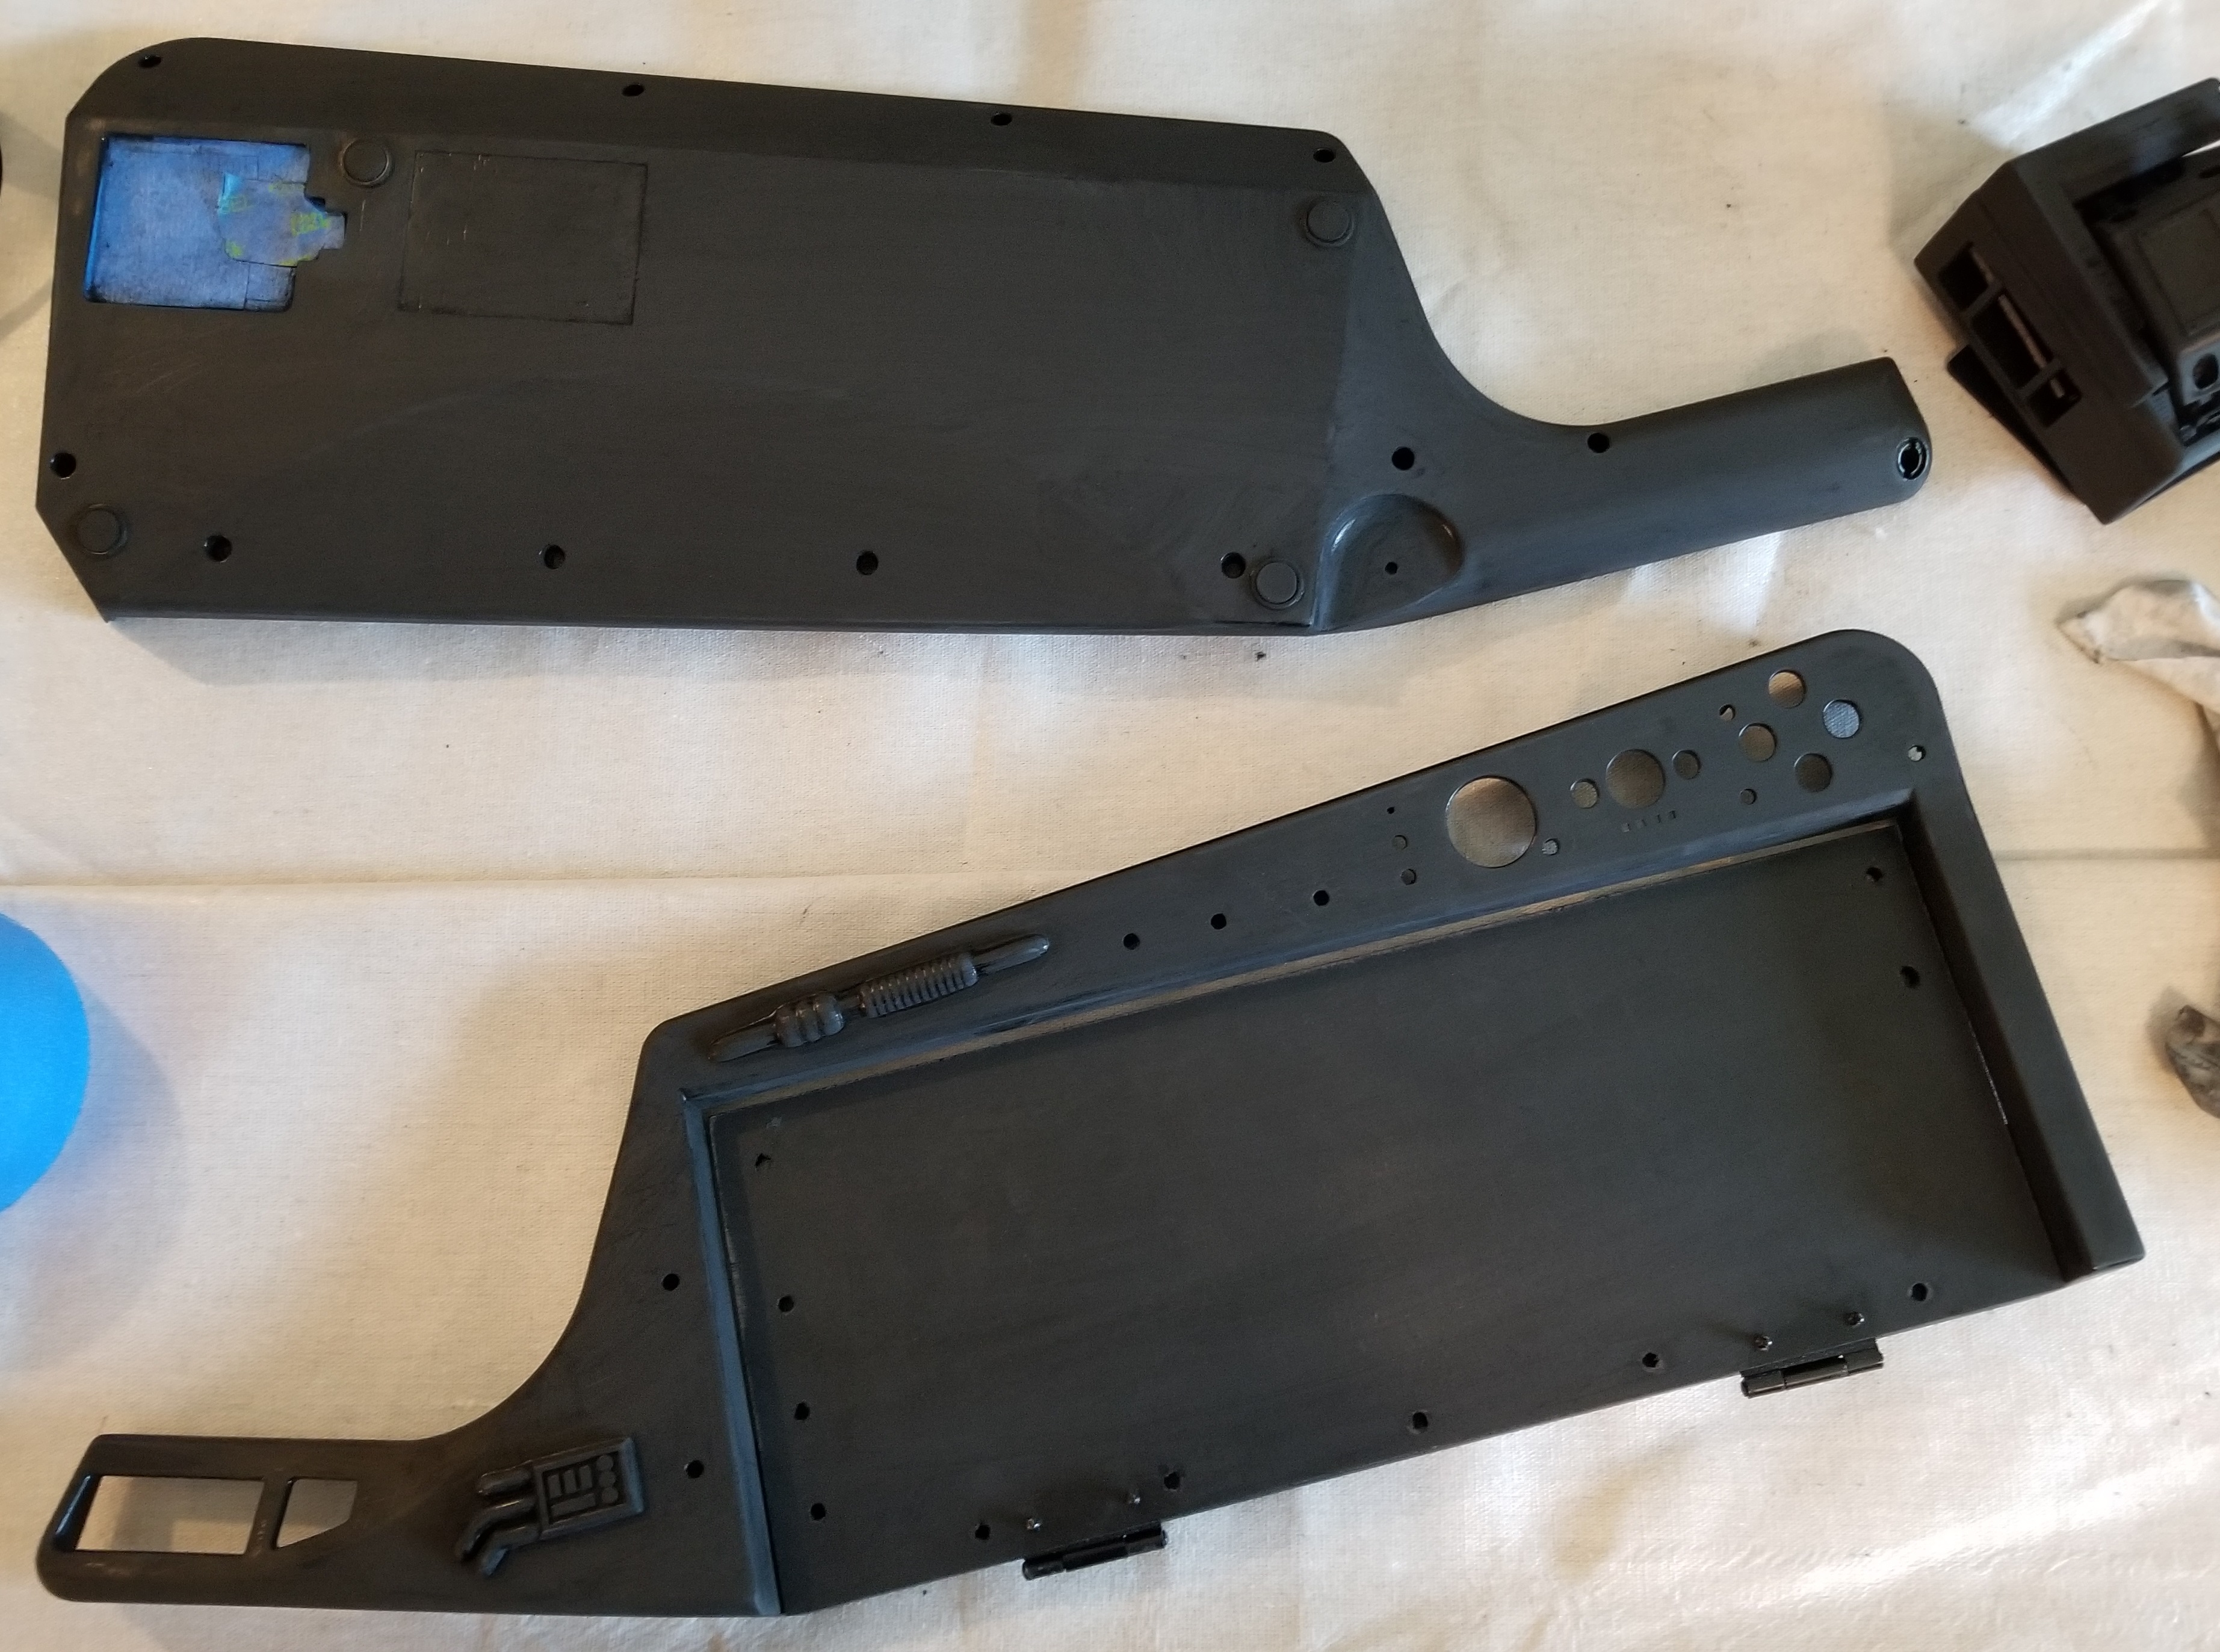
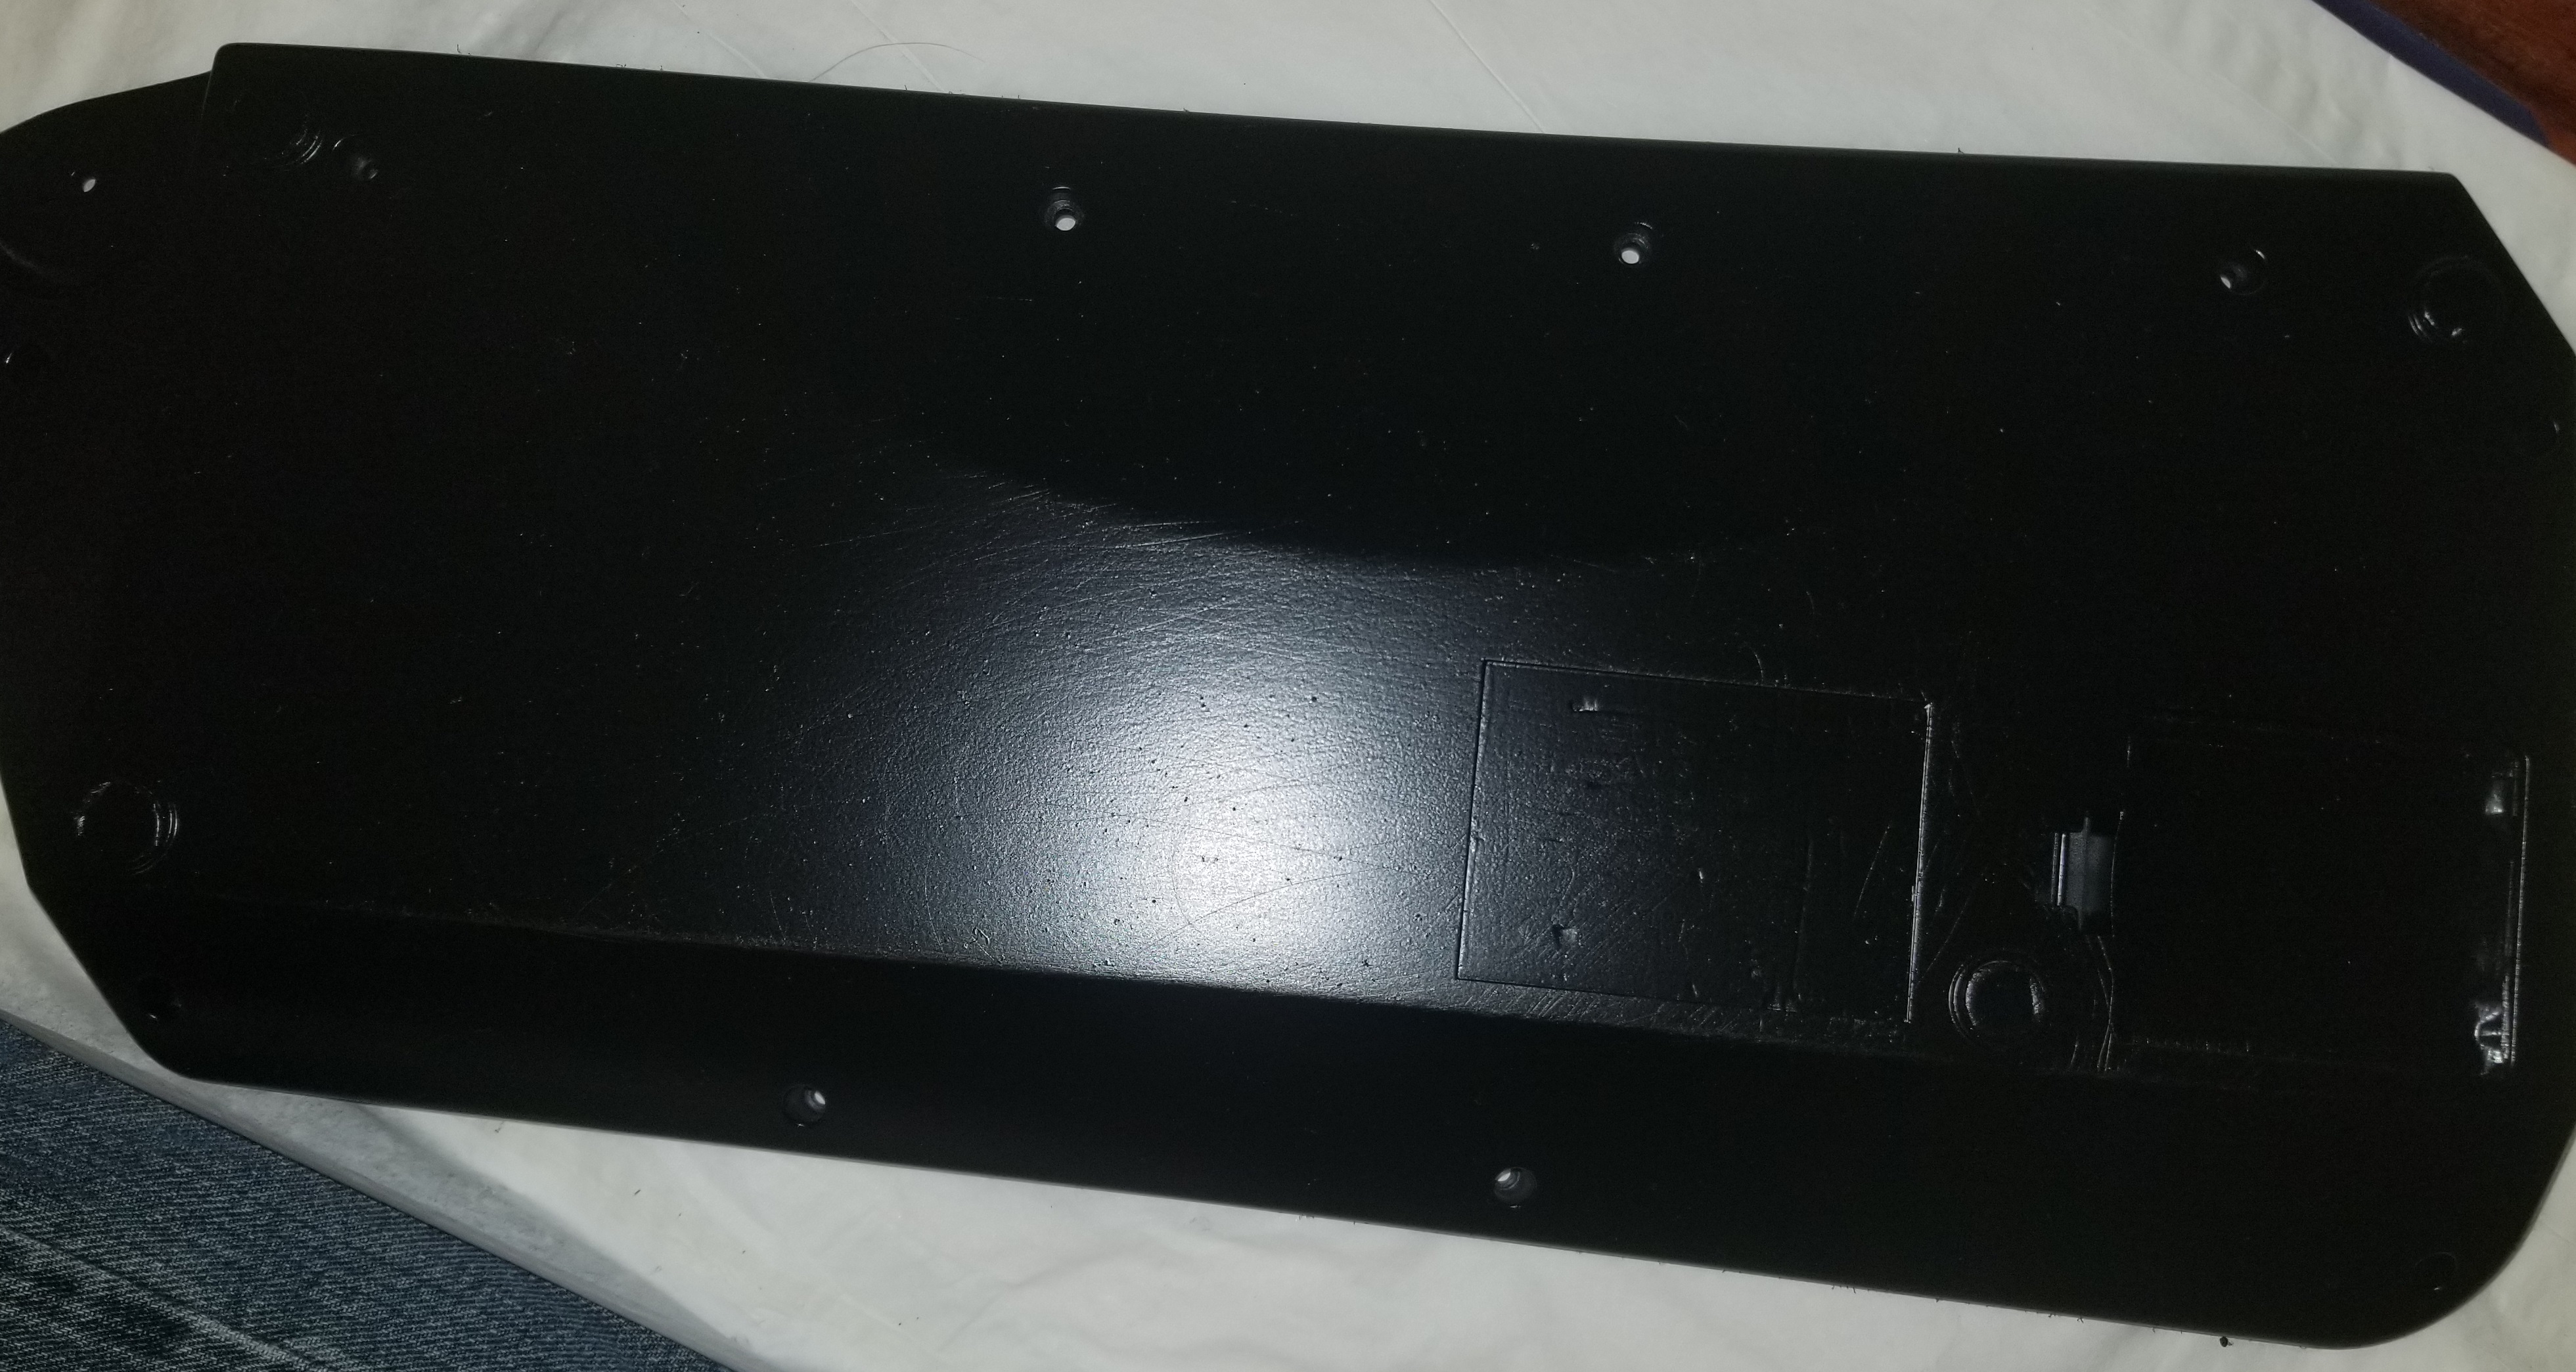
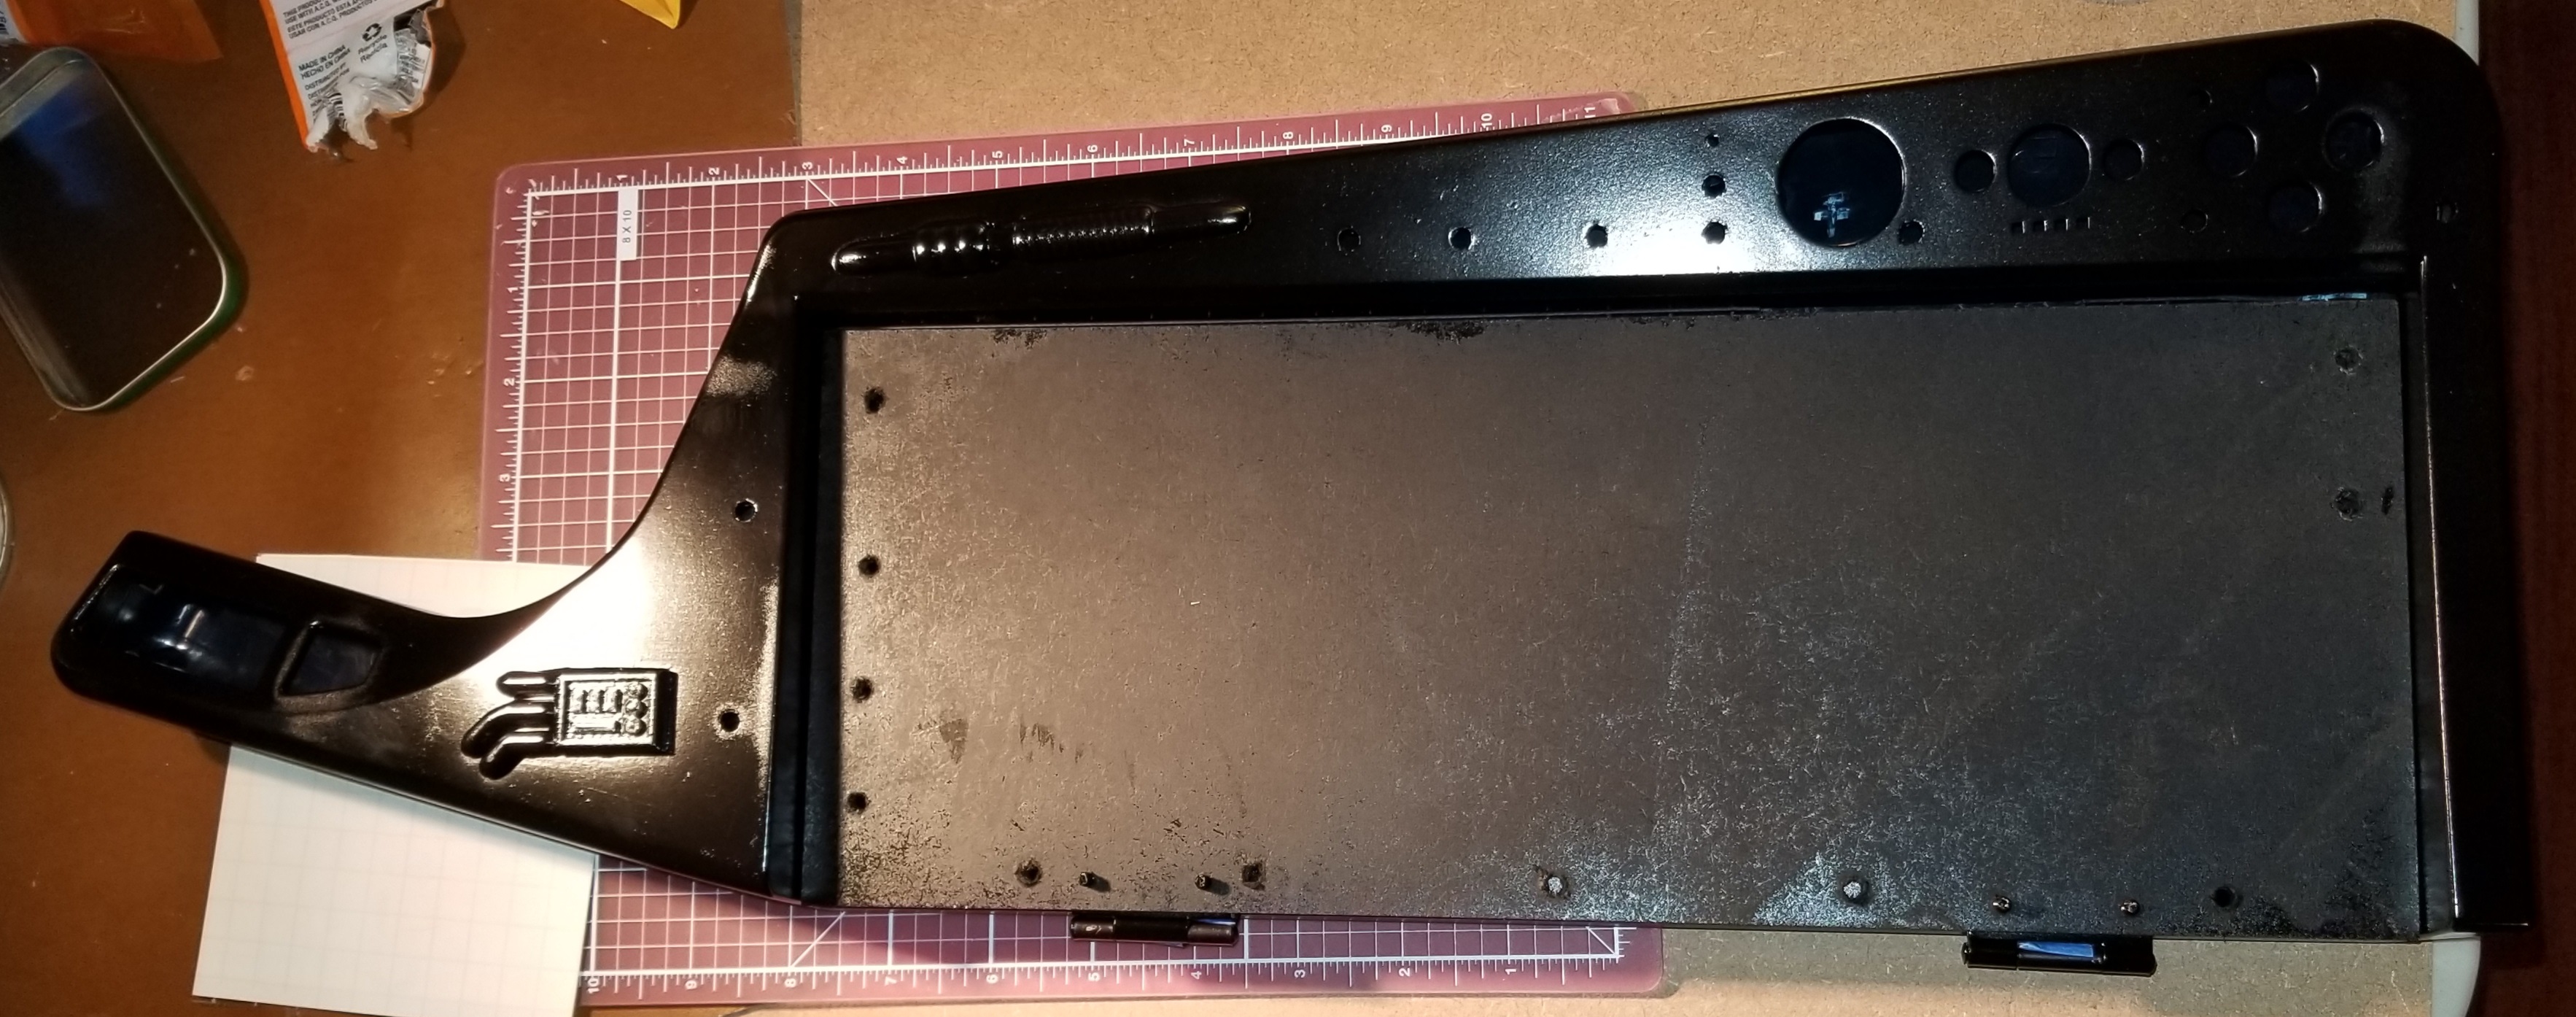
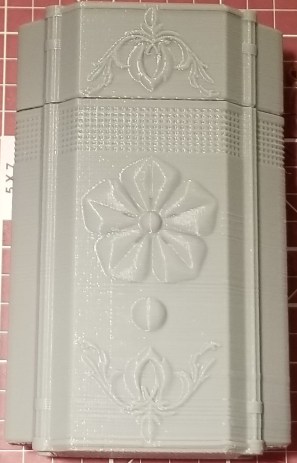
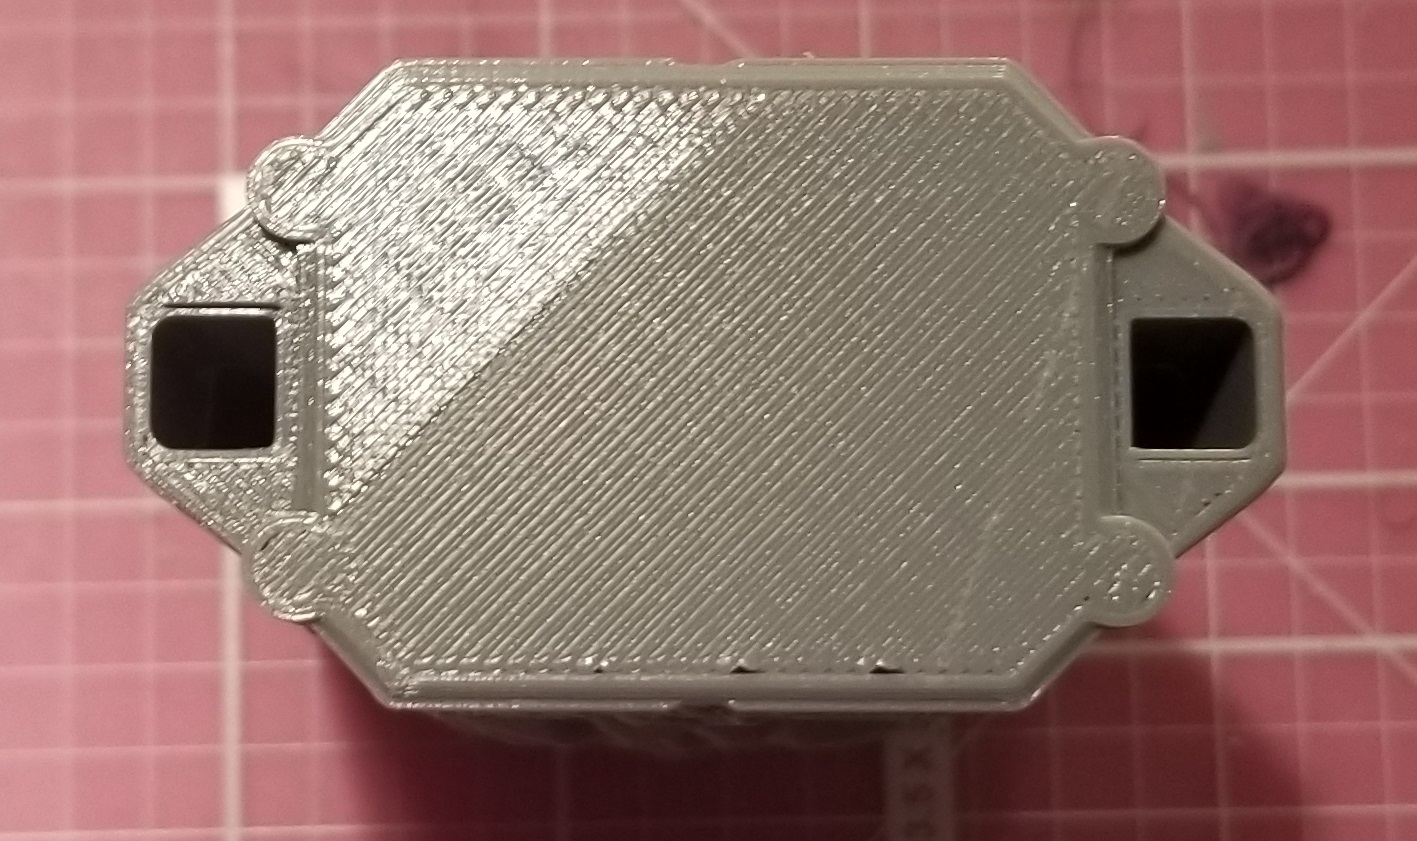
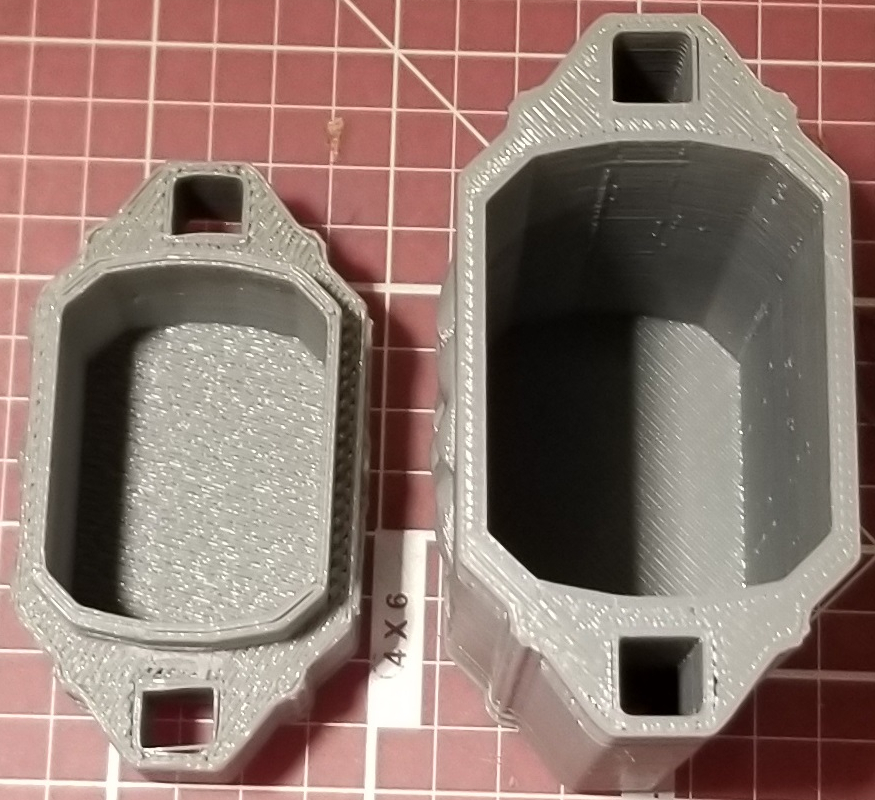
I went through a LOT of iterations with the interface module (one of the names I’ve been workshopping, may be subject to change), and eventually settled on a two-part assembly that screwed onto the casing through existing holes. It took a LOT of measuring and iterations to get it to fit reasonably, both with the electronic components and the actual casing. I designed it in two parts, with the larger portion (containing the hub itself) screwing directly onto the casing, and the smaller portion (containing the audio jacks) sliding onto the larger part, and then screwing into both the casing and the larger interface section. The smaller section also served the purpose of covering the hole that the wires went through.

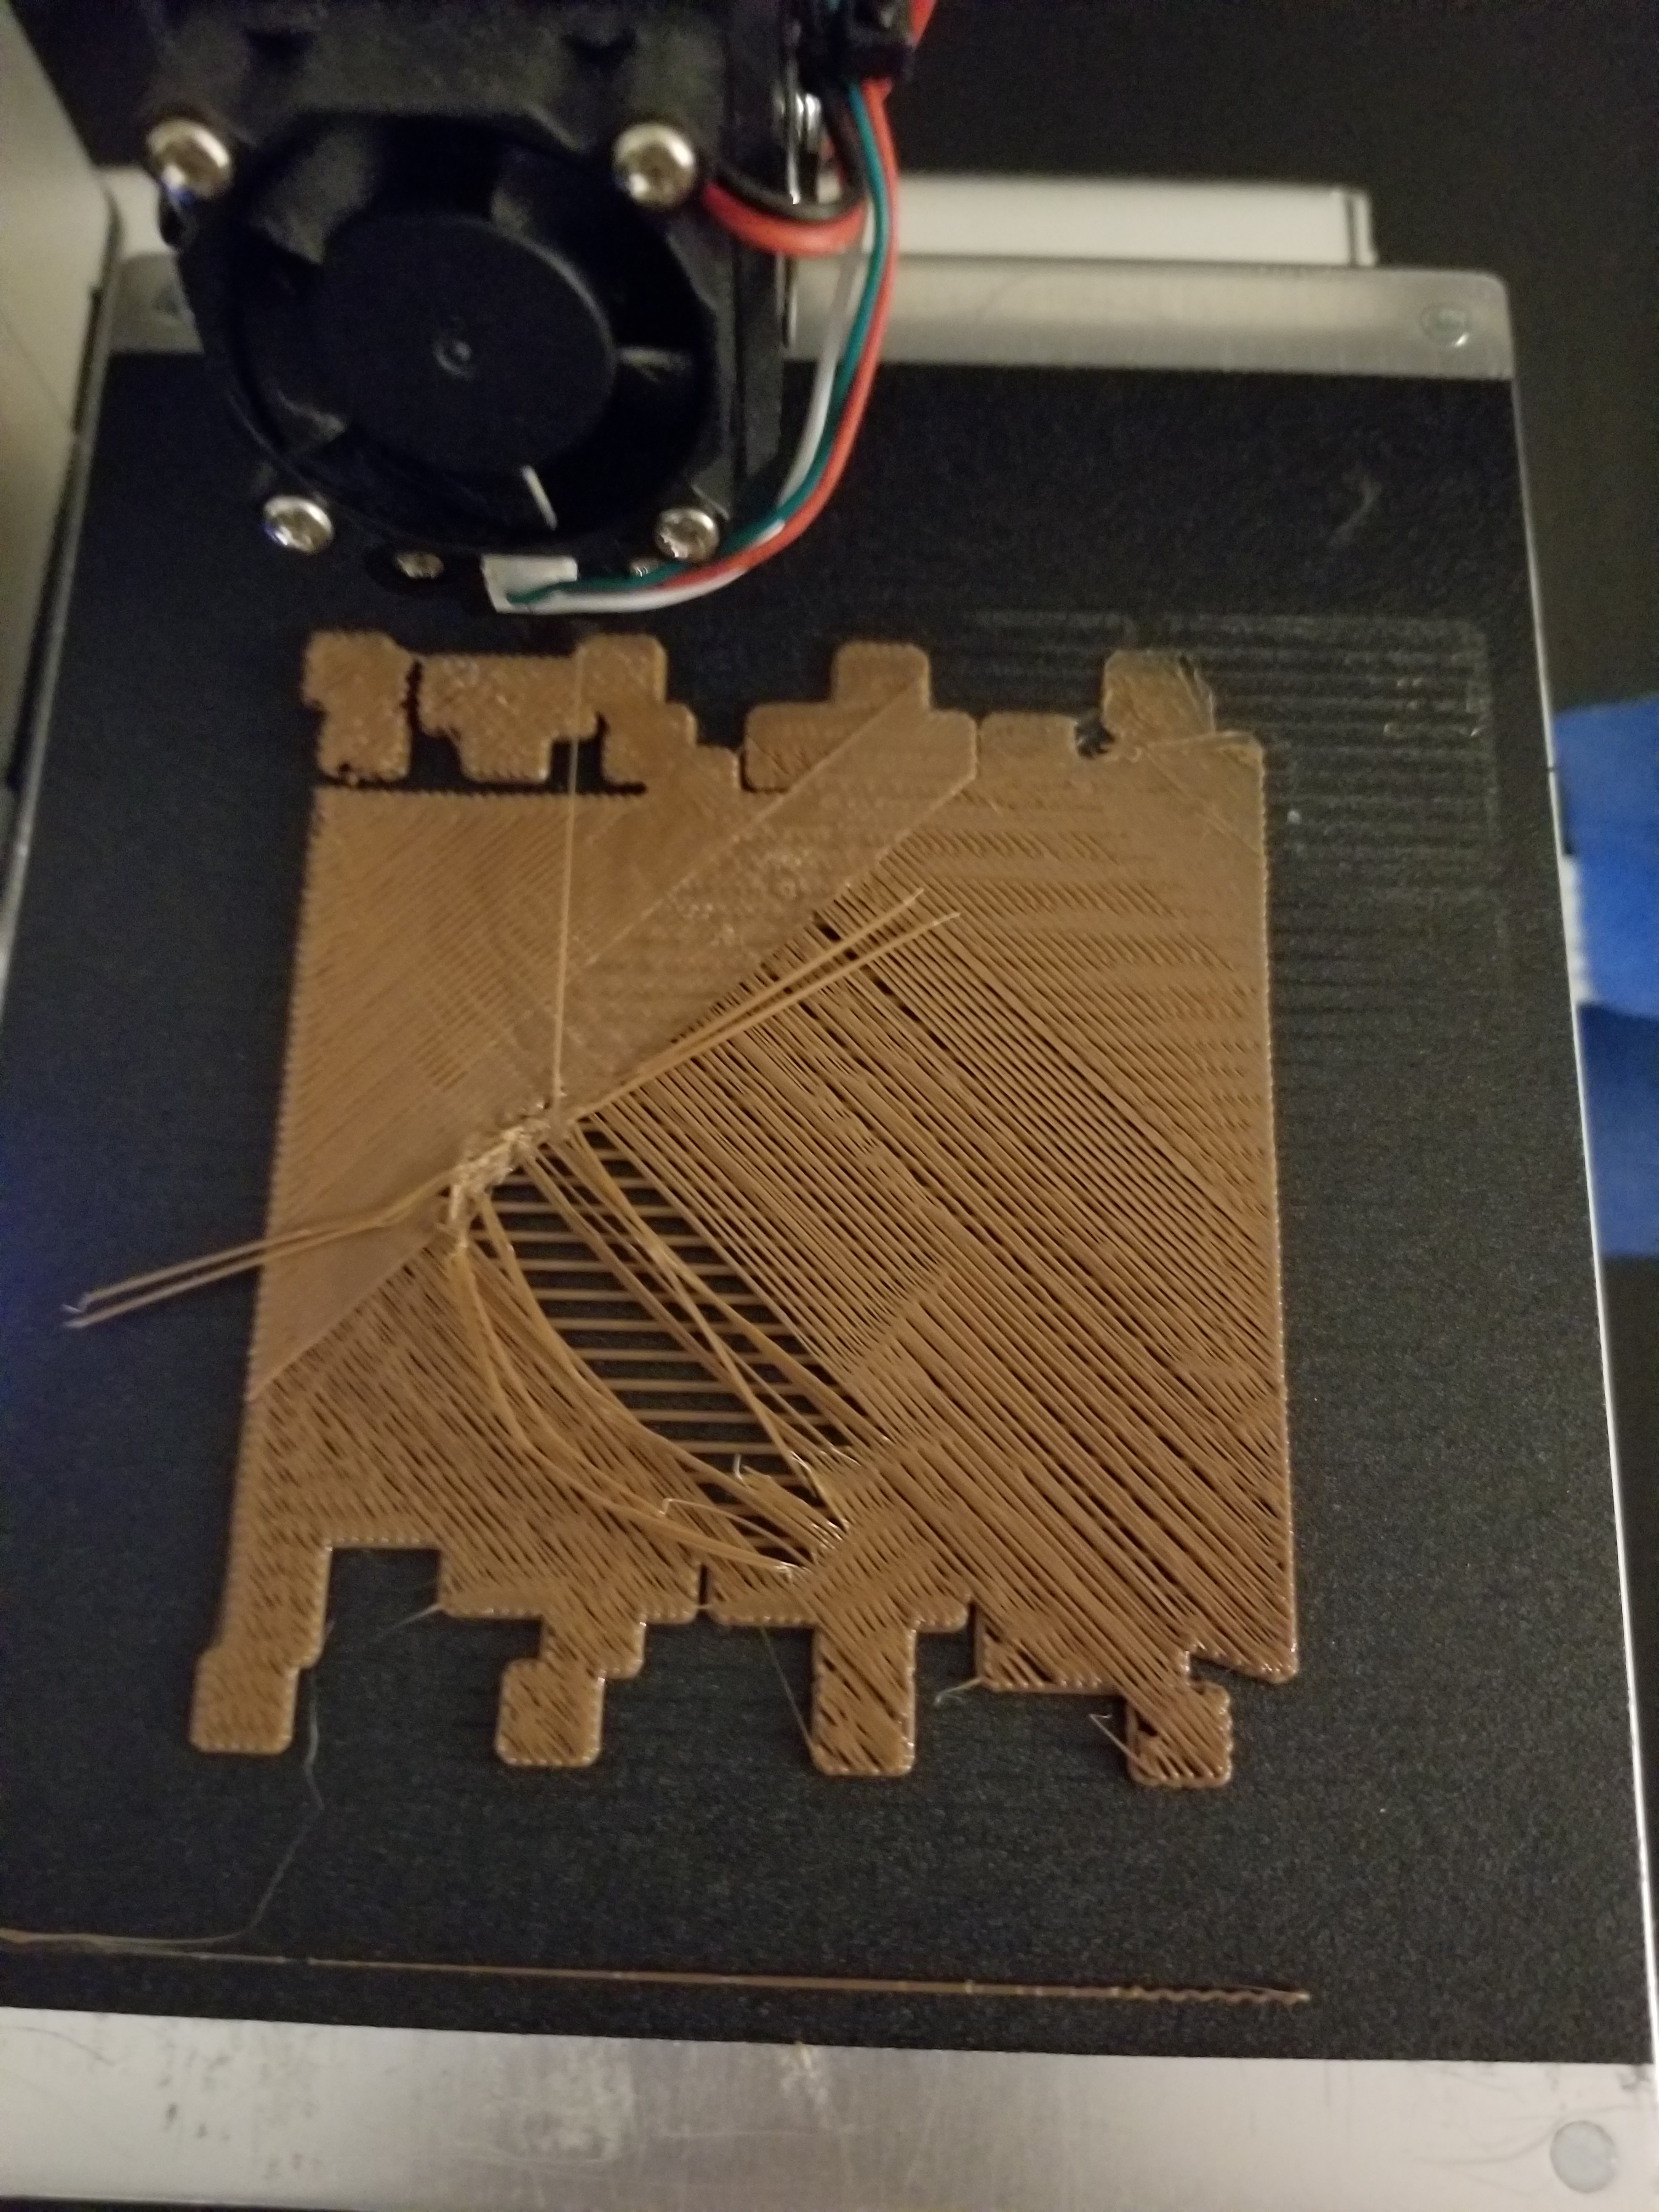
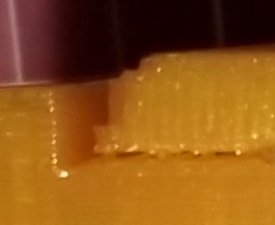
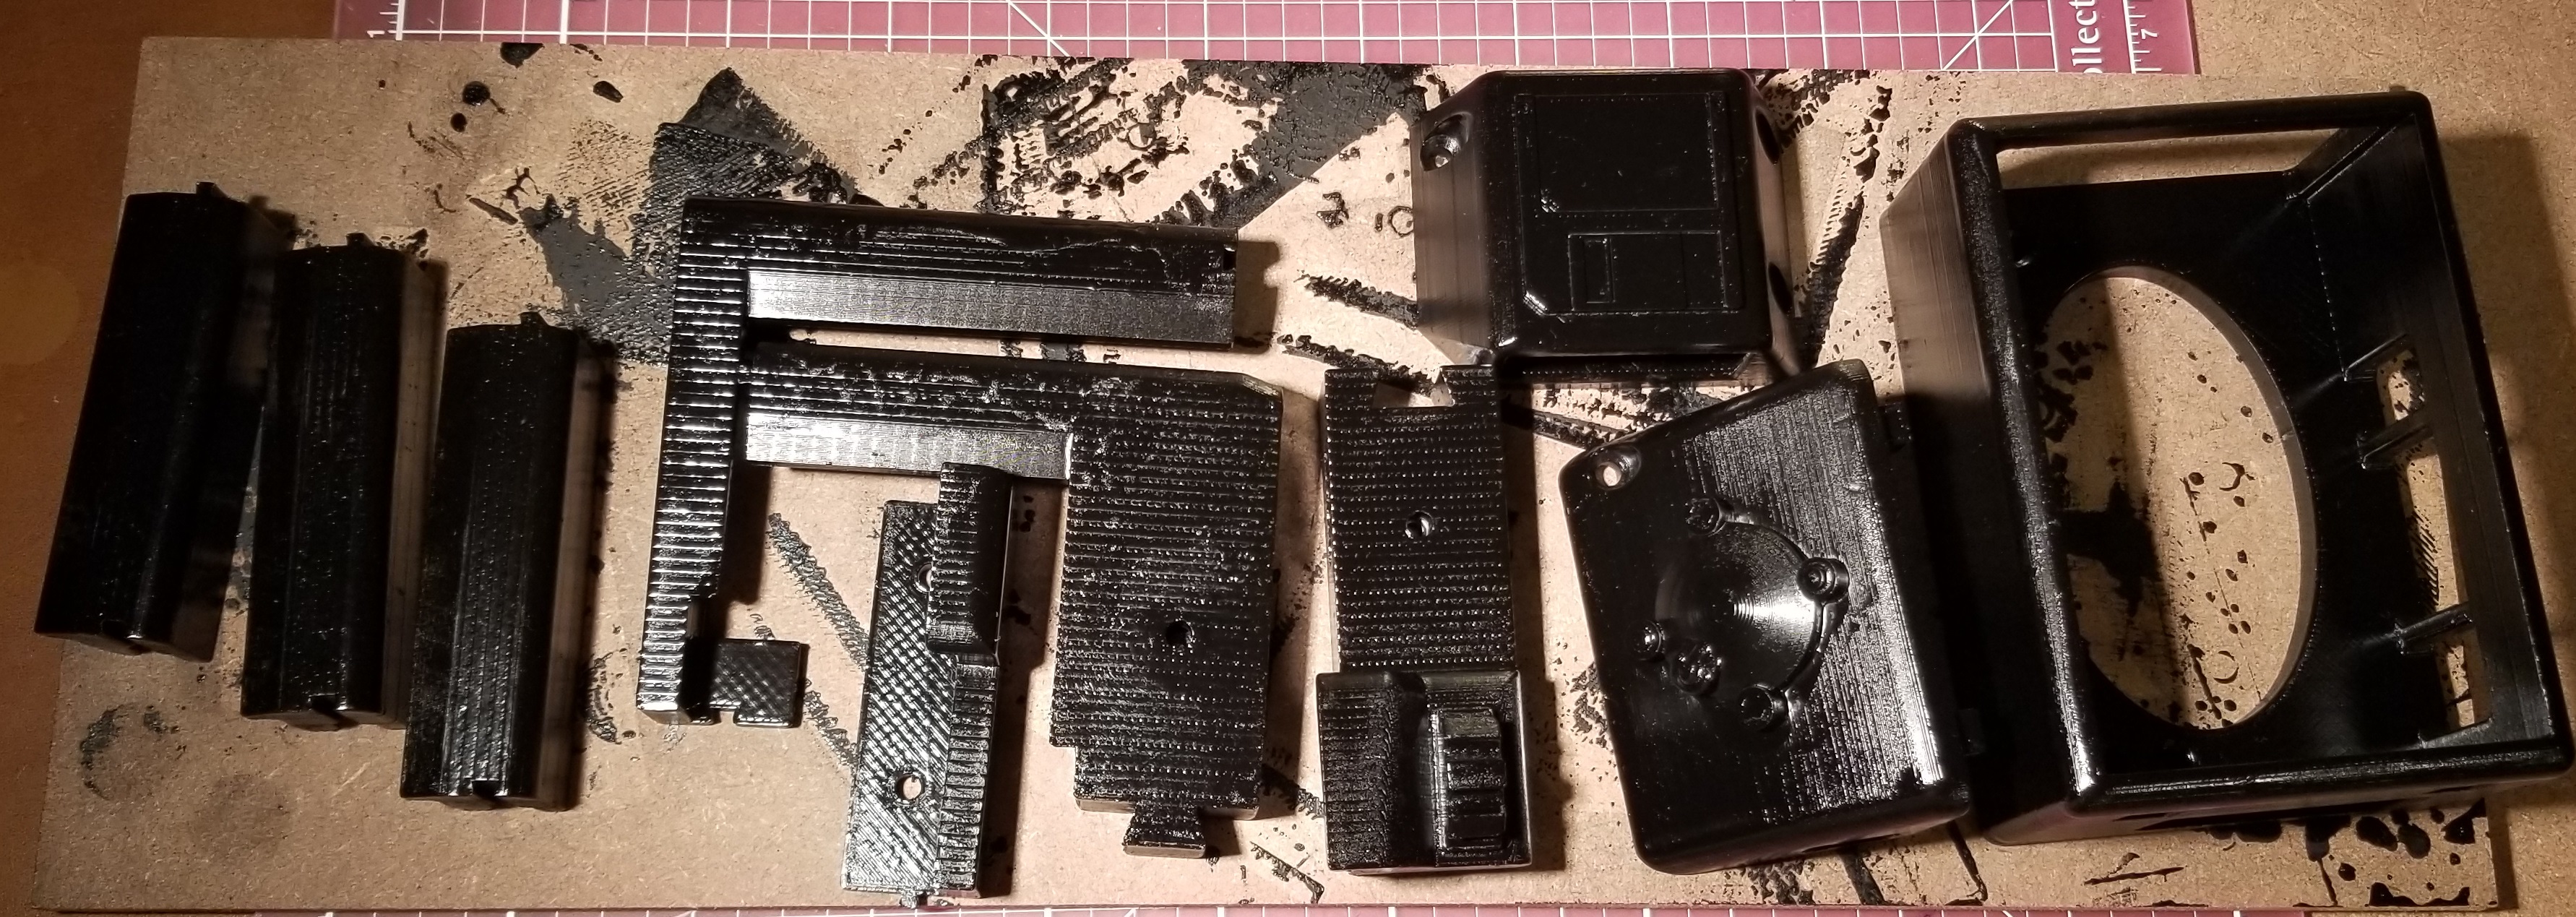
I quickly learned in that process to only print as much of a model as I actually needed to test the fit of parts, in order to reduce turnaround time and materials wastage. I also found out that parts moving in different directions can lead to weird shenanigans, like installing one part causing another to become unplugged.

Once I got that figured out and painted up (along with the new power switch), I finally assembled it for the last time. That was… interesting.

Final Assembly:

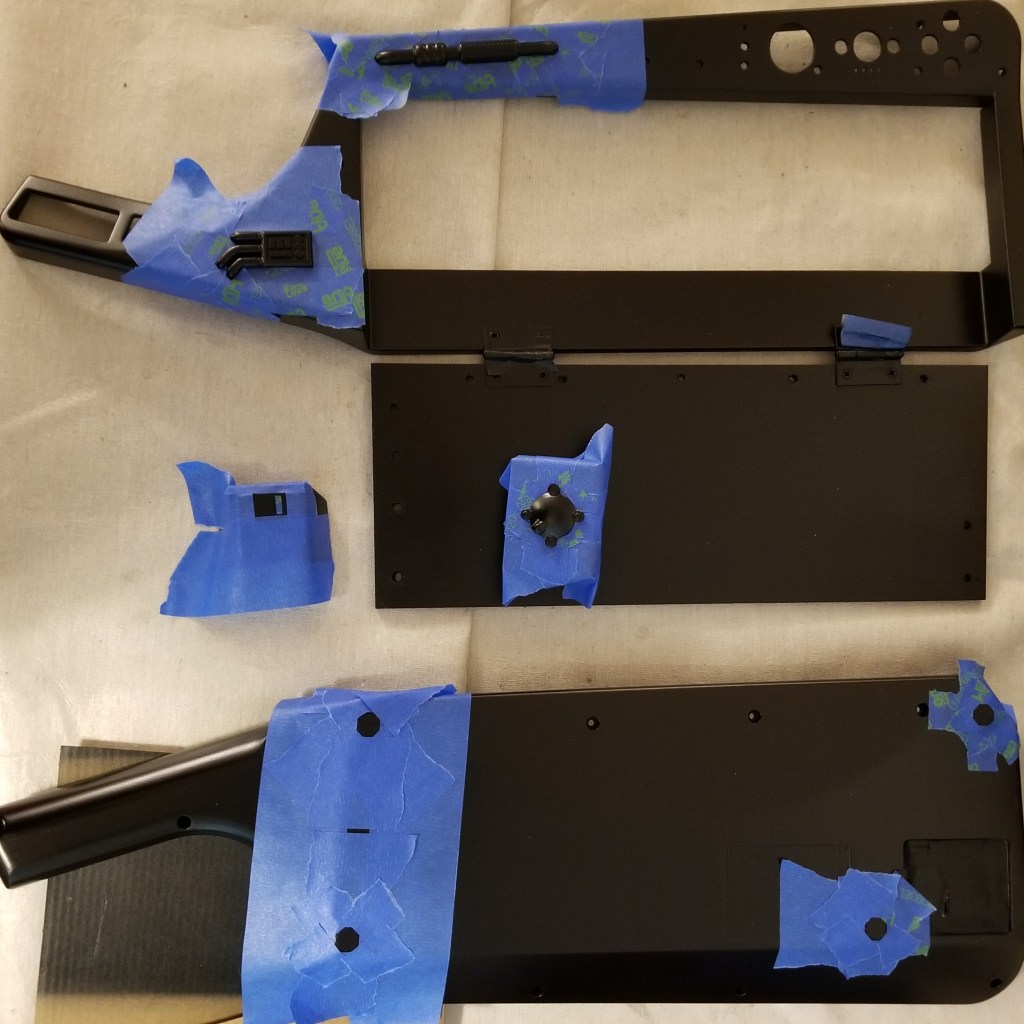
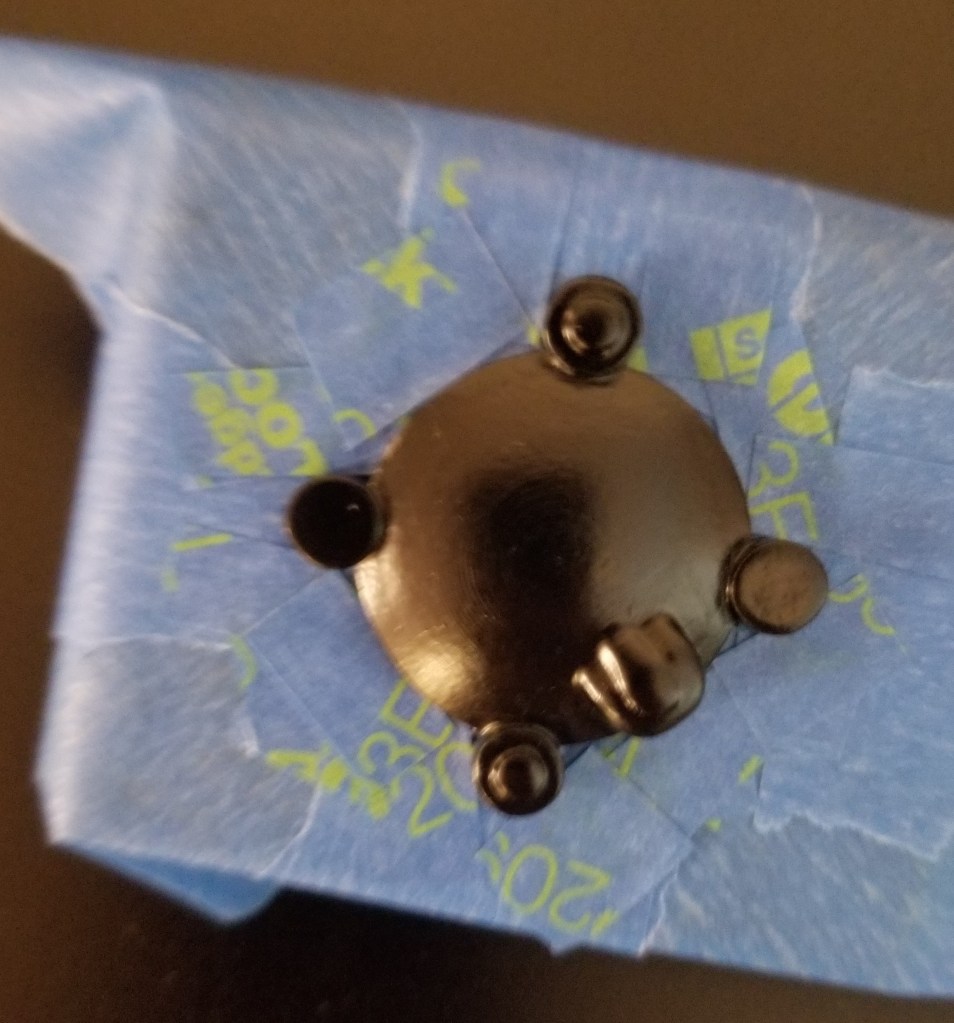
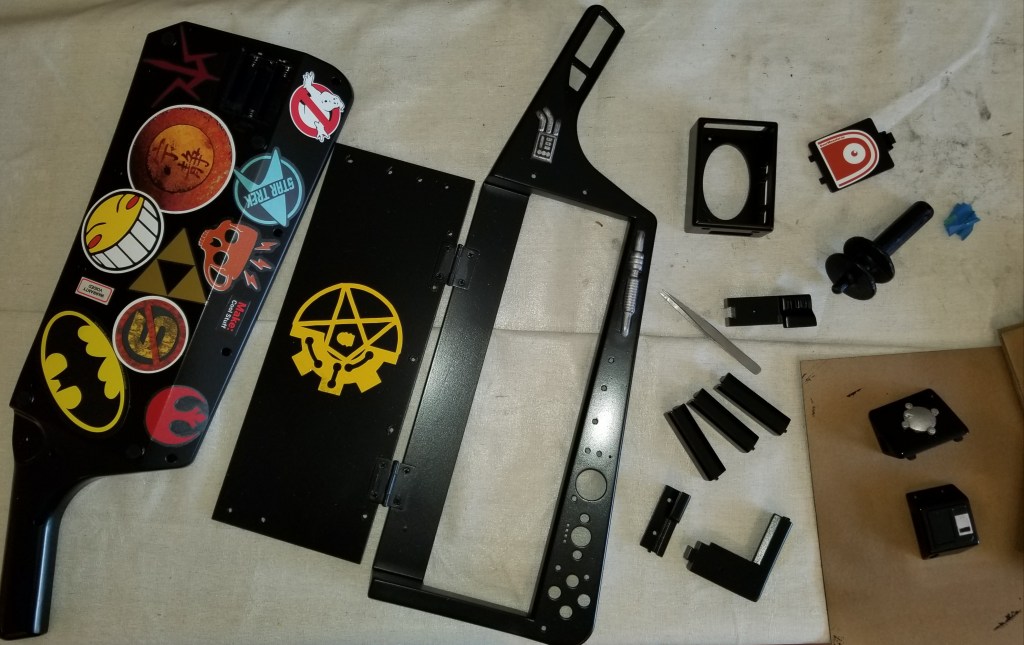
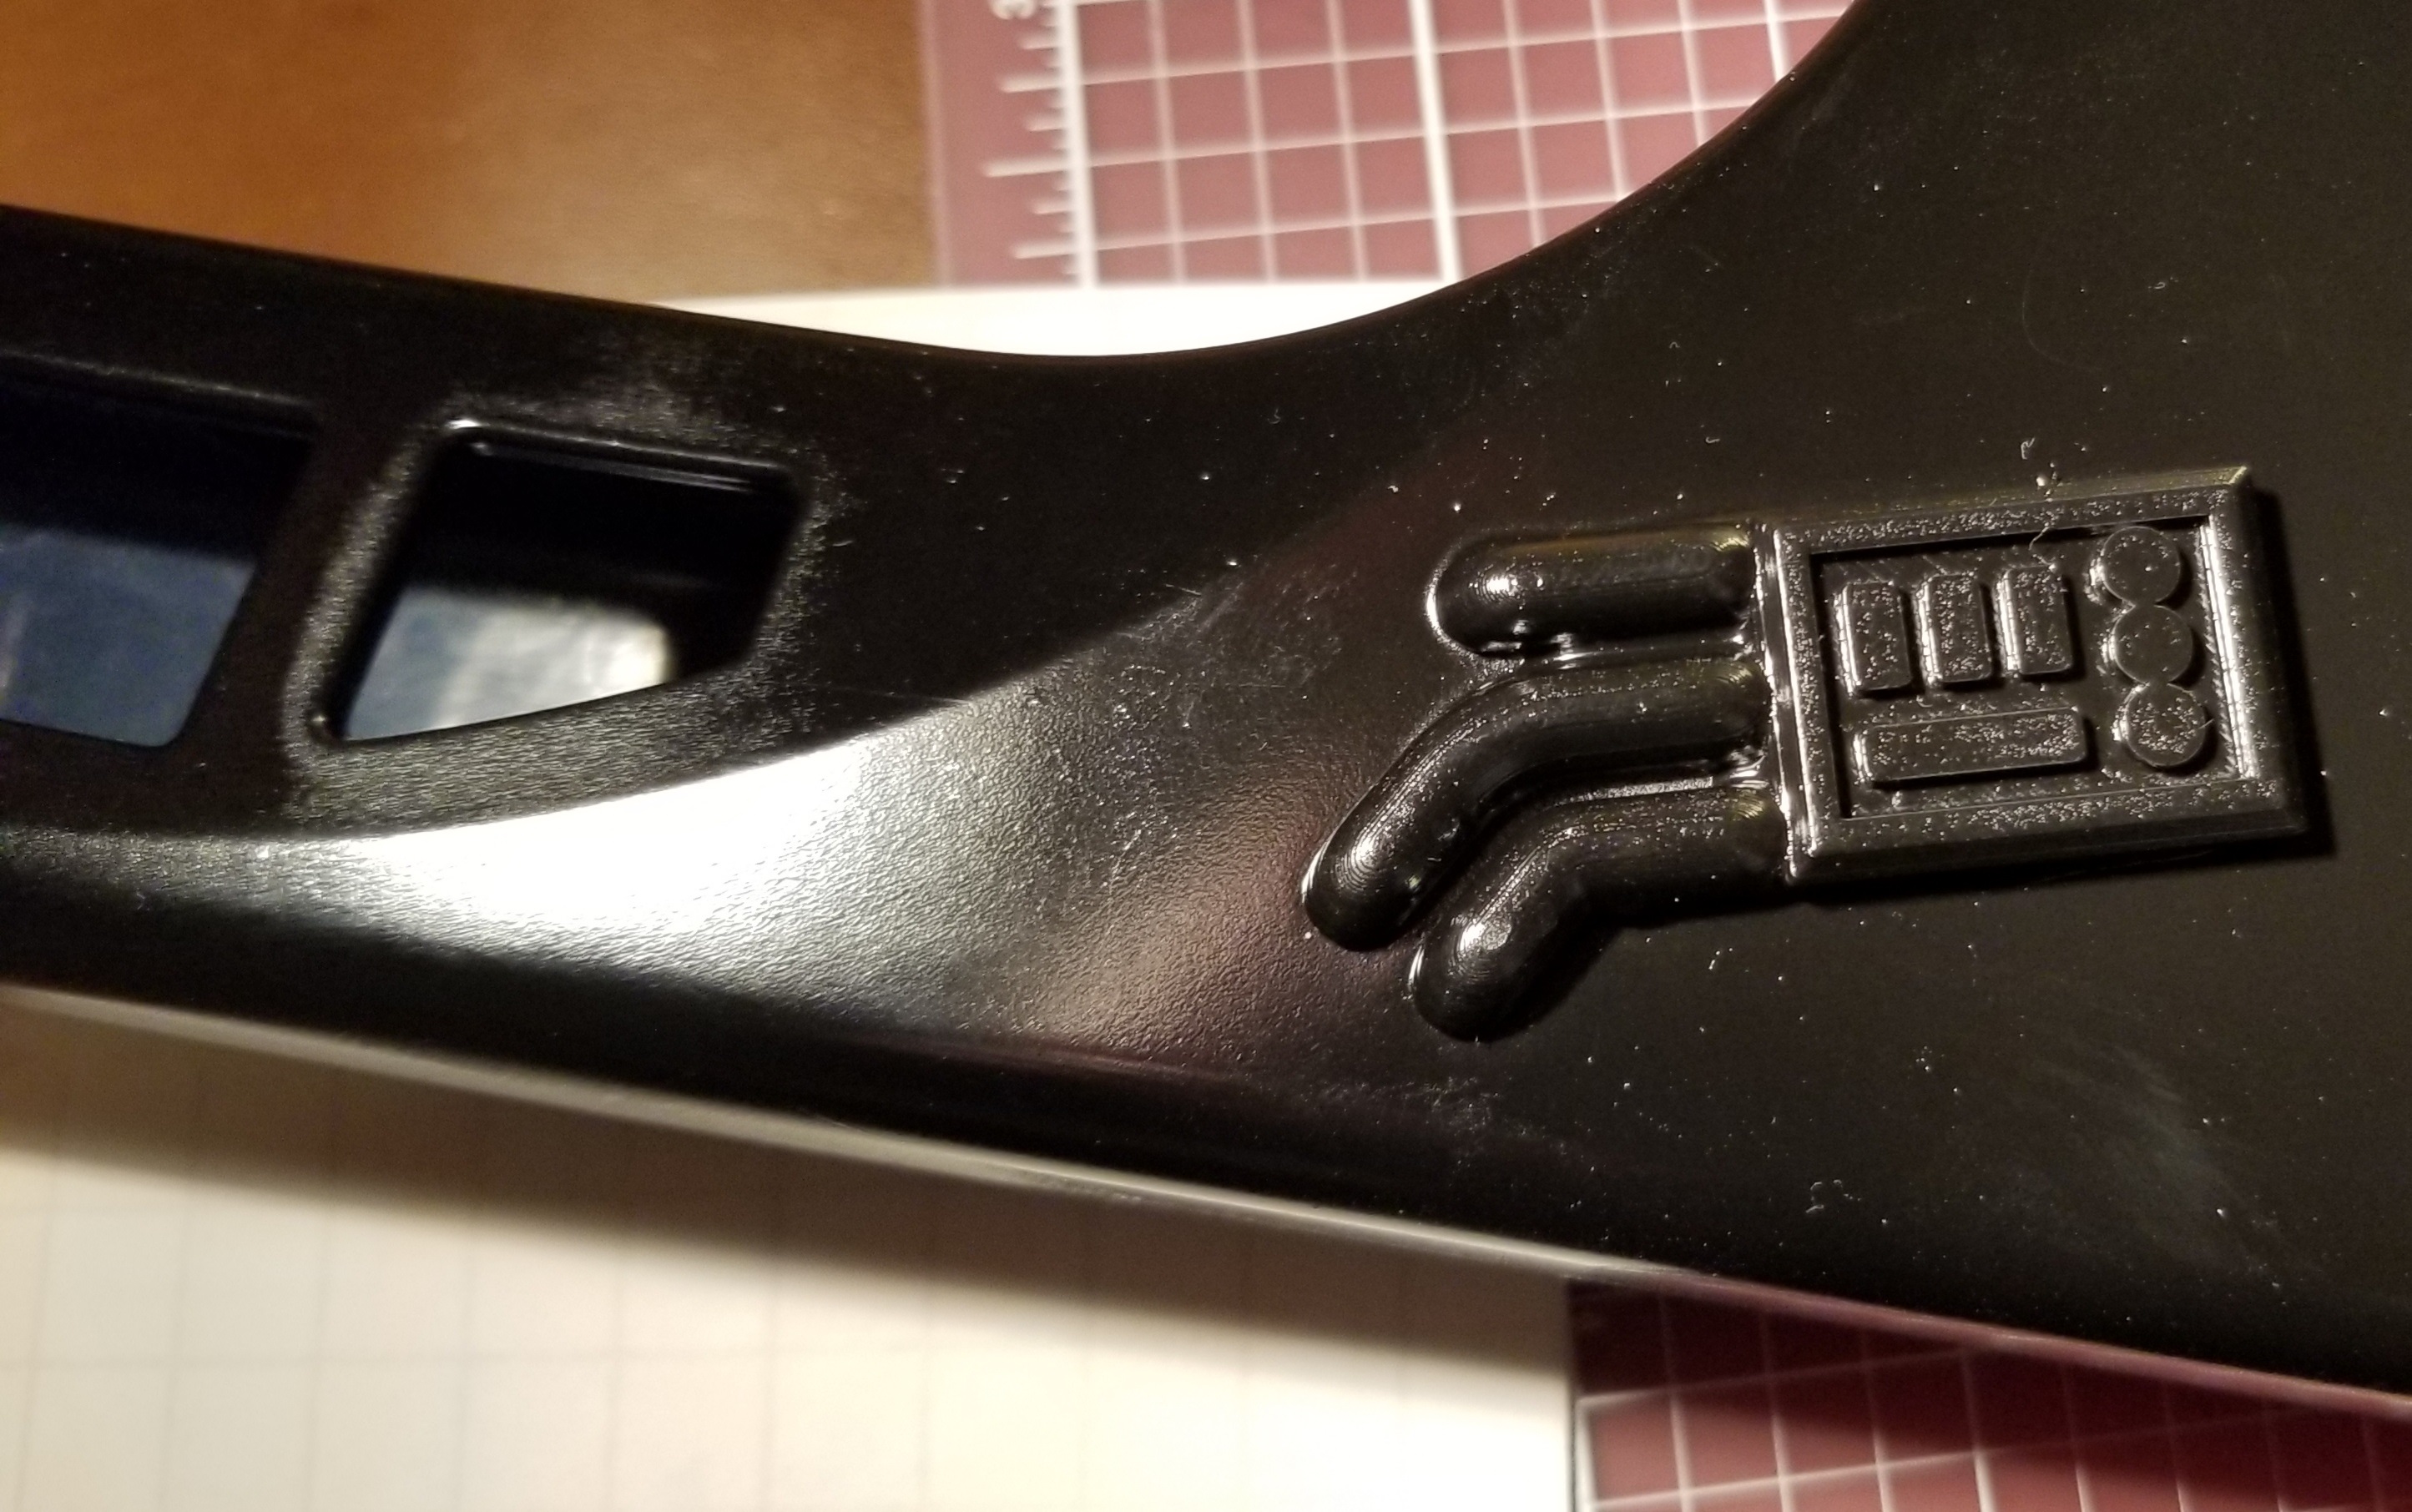
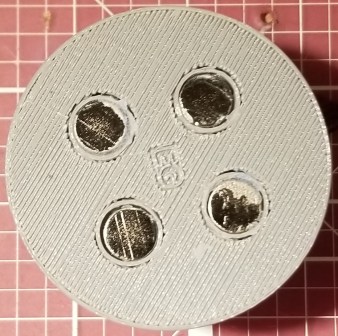
There are a lot of parts of this assembly that have to be done in a specific (and weird) order or else it physically cannot be assembled. Connecting the Raspberry Pi, it’s case, and the interface between those wires and the shell is a very delicate process of going back and forth and making sure that you don’t crush ribbon cables while also carefully routing wires before and after attaching the cable interface (the bit with the universal greeblie).

Connecting the top and bottom halves is also fraught with issues (having to carefully move wires to lay properly while closing the shells), and you have to do that before you can even start on attaching the interface module. I know I’ve missed many steps in documenting this process, including some that anyone crazy enough to attempt recreating this might want, but I’ve only got so much time and patience at the moment. What madman decided to design from a pre-existing case this way?

Oh, wait, that was me. Ahem.

If you have further questions, please let me know what you would like to know more about and I can see about adding it.
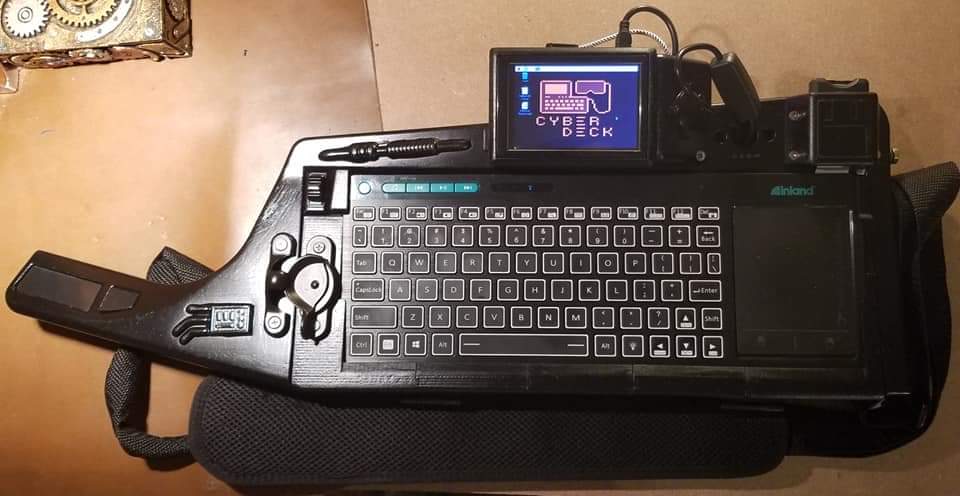
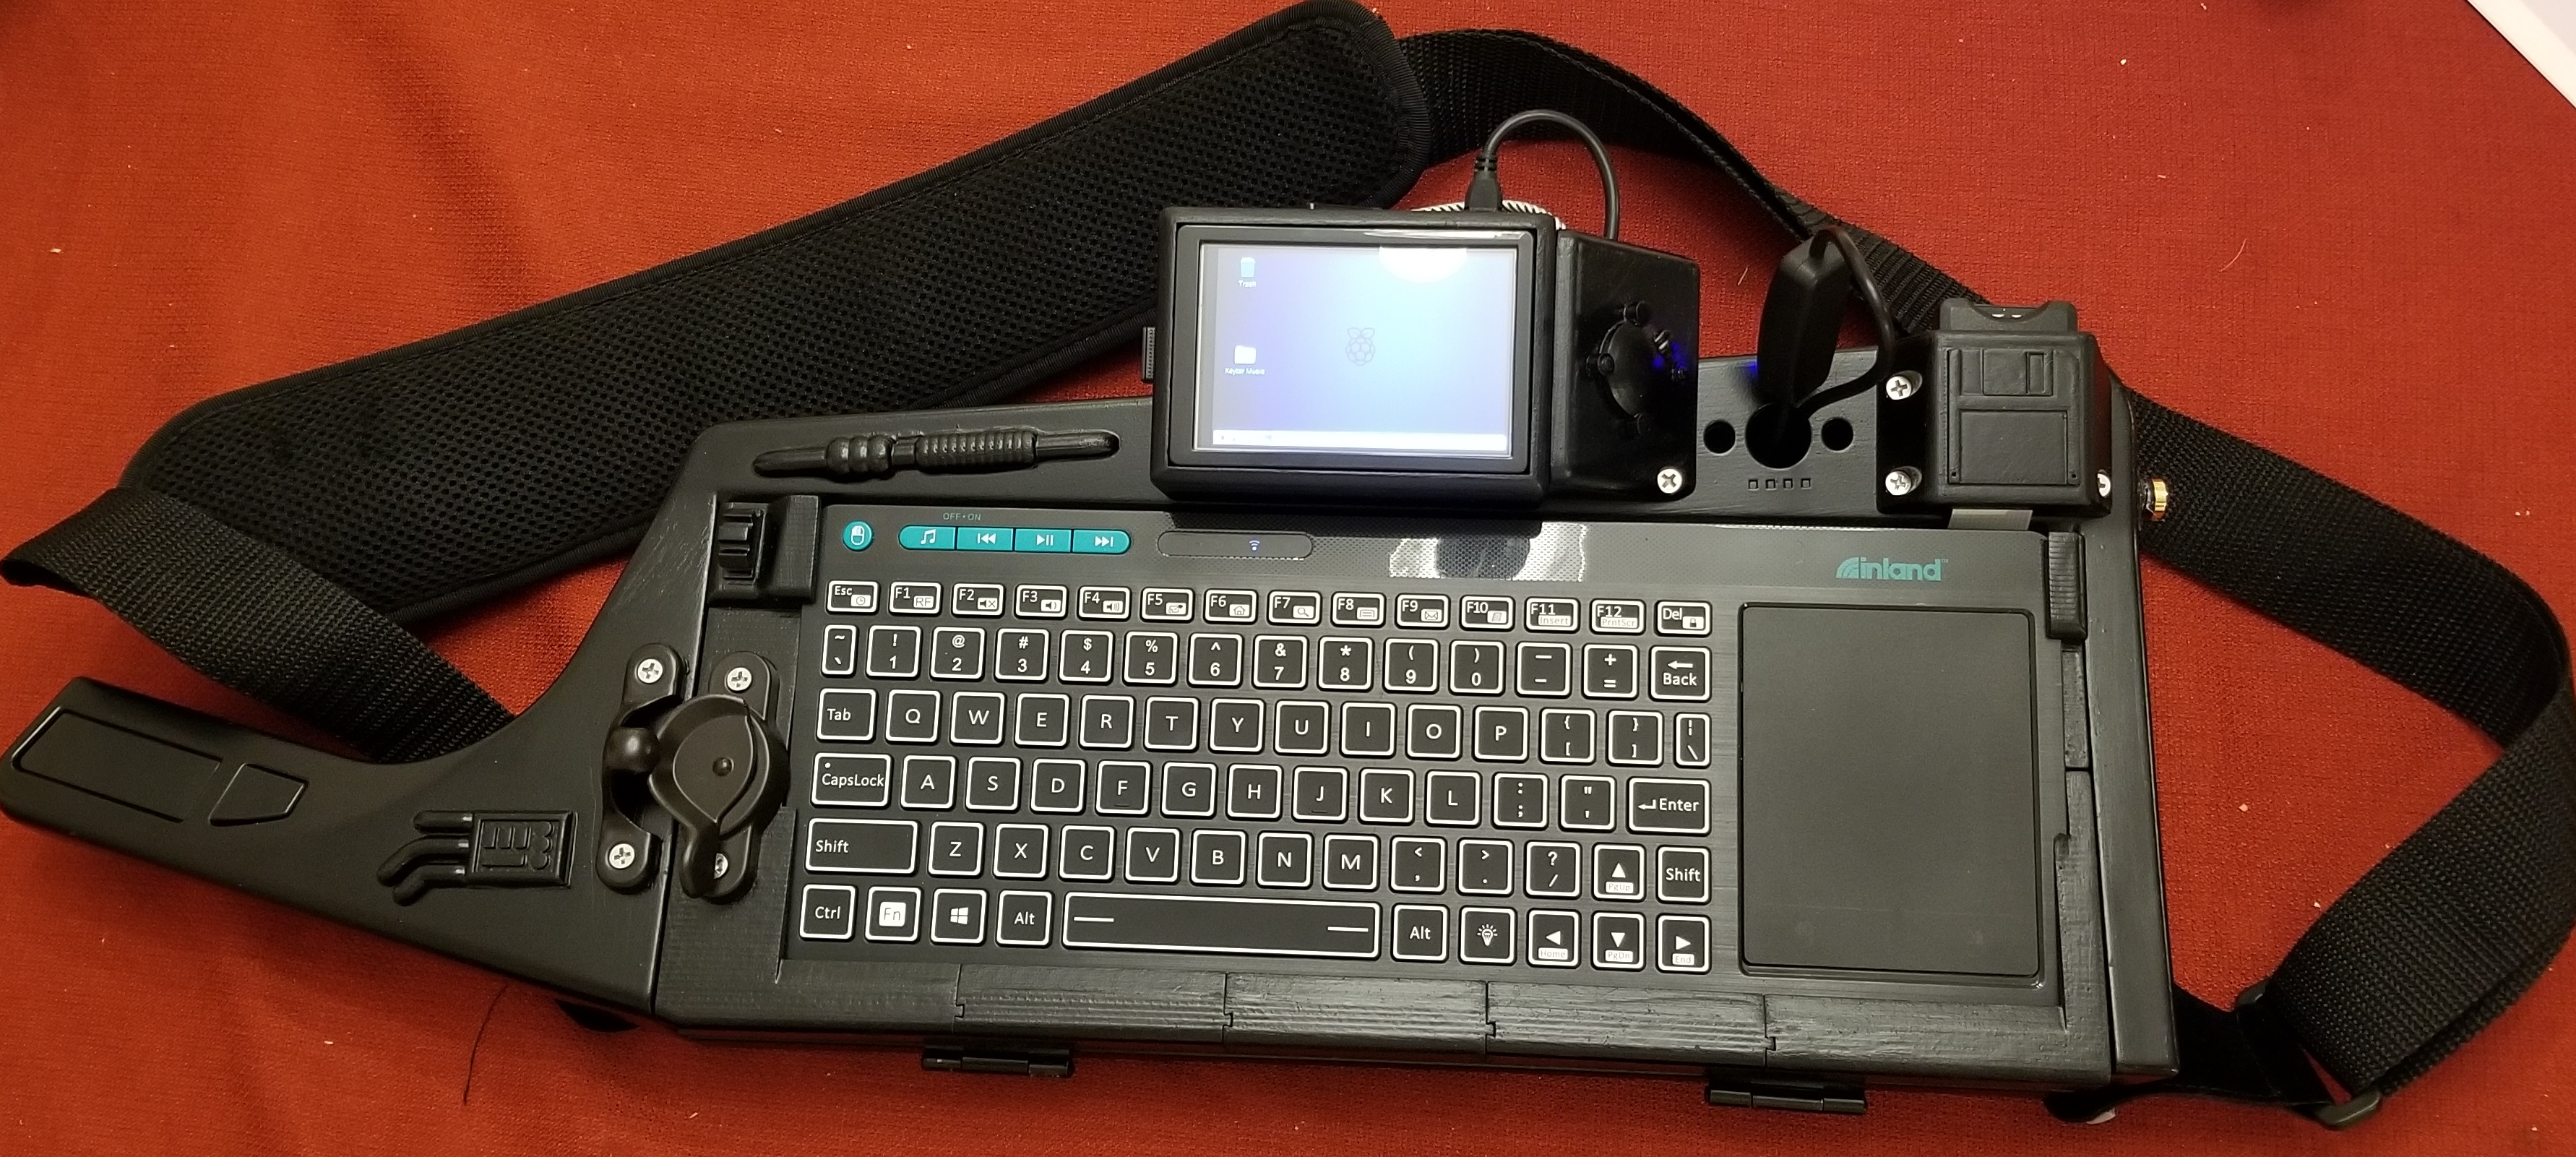
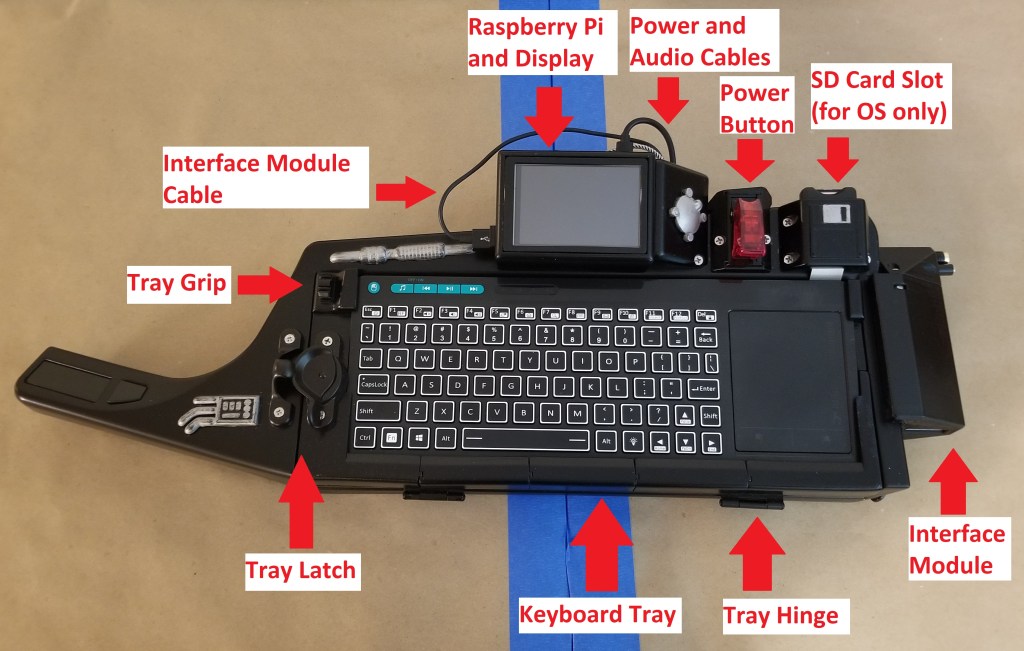
Grand Tour:

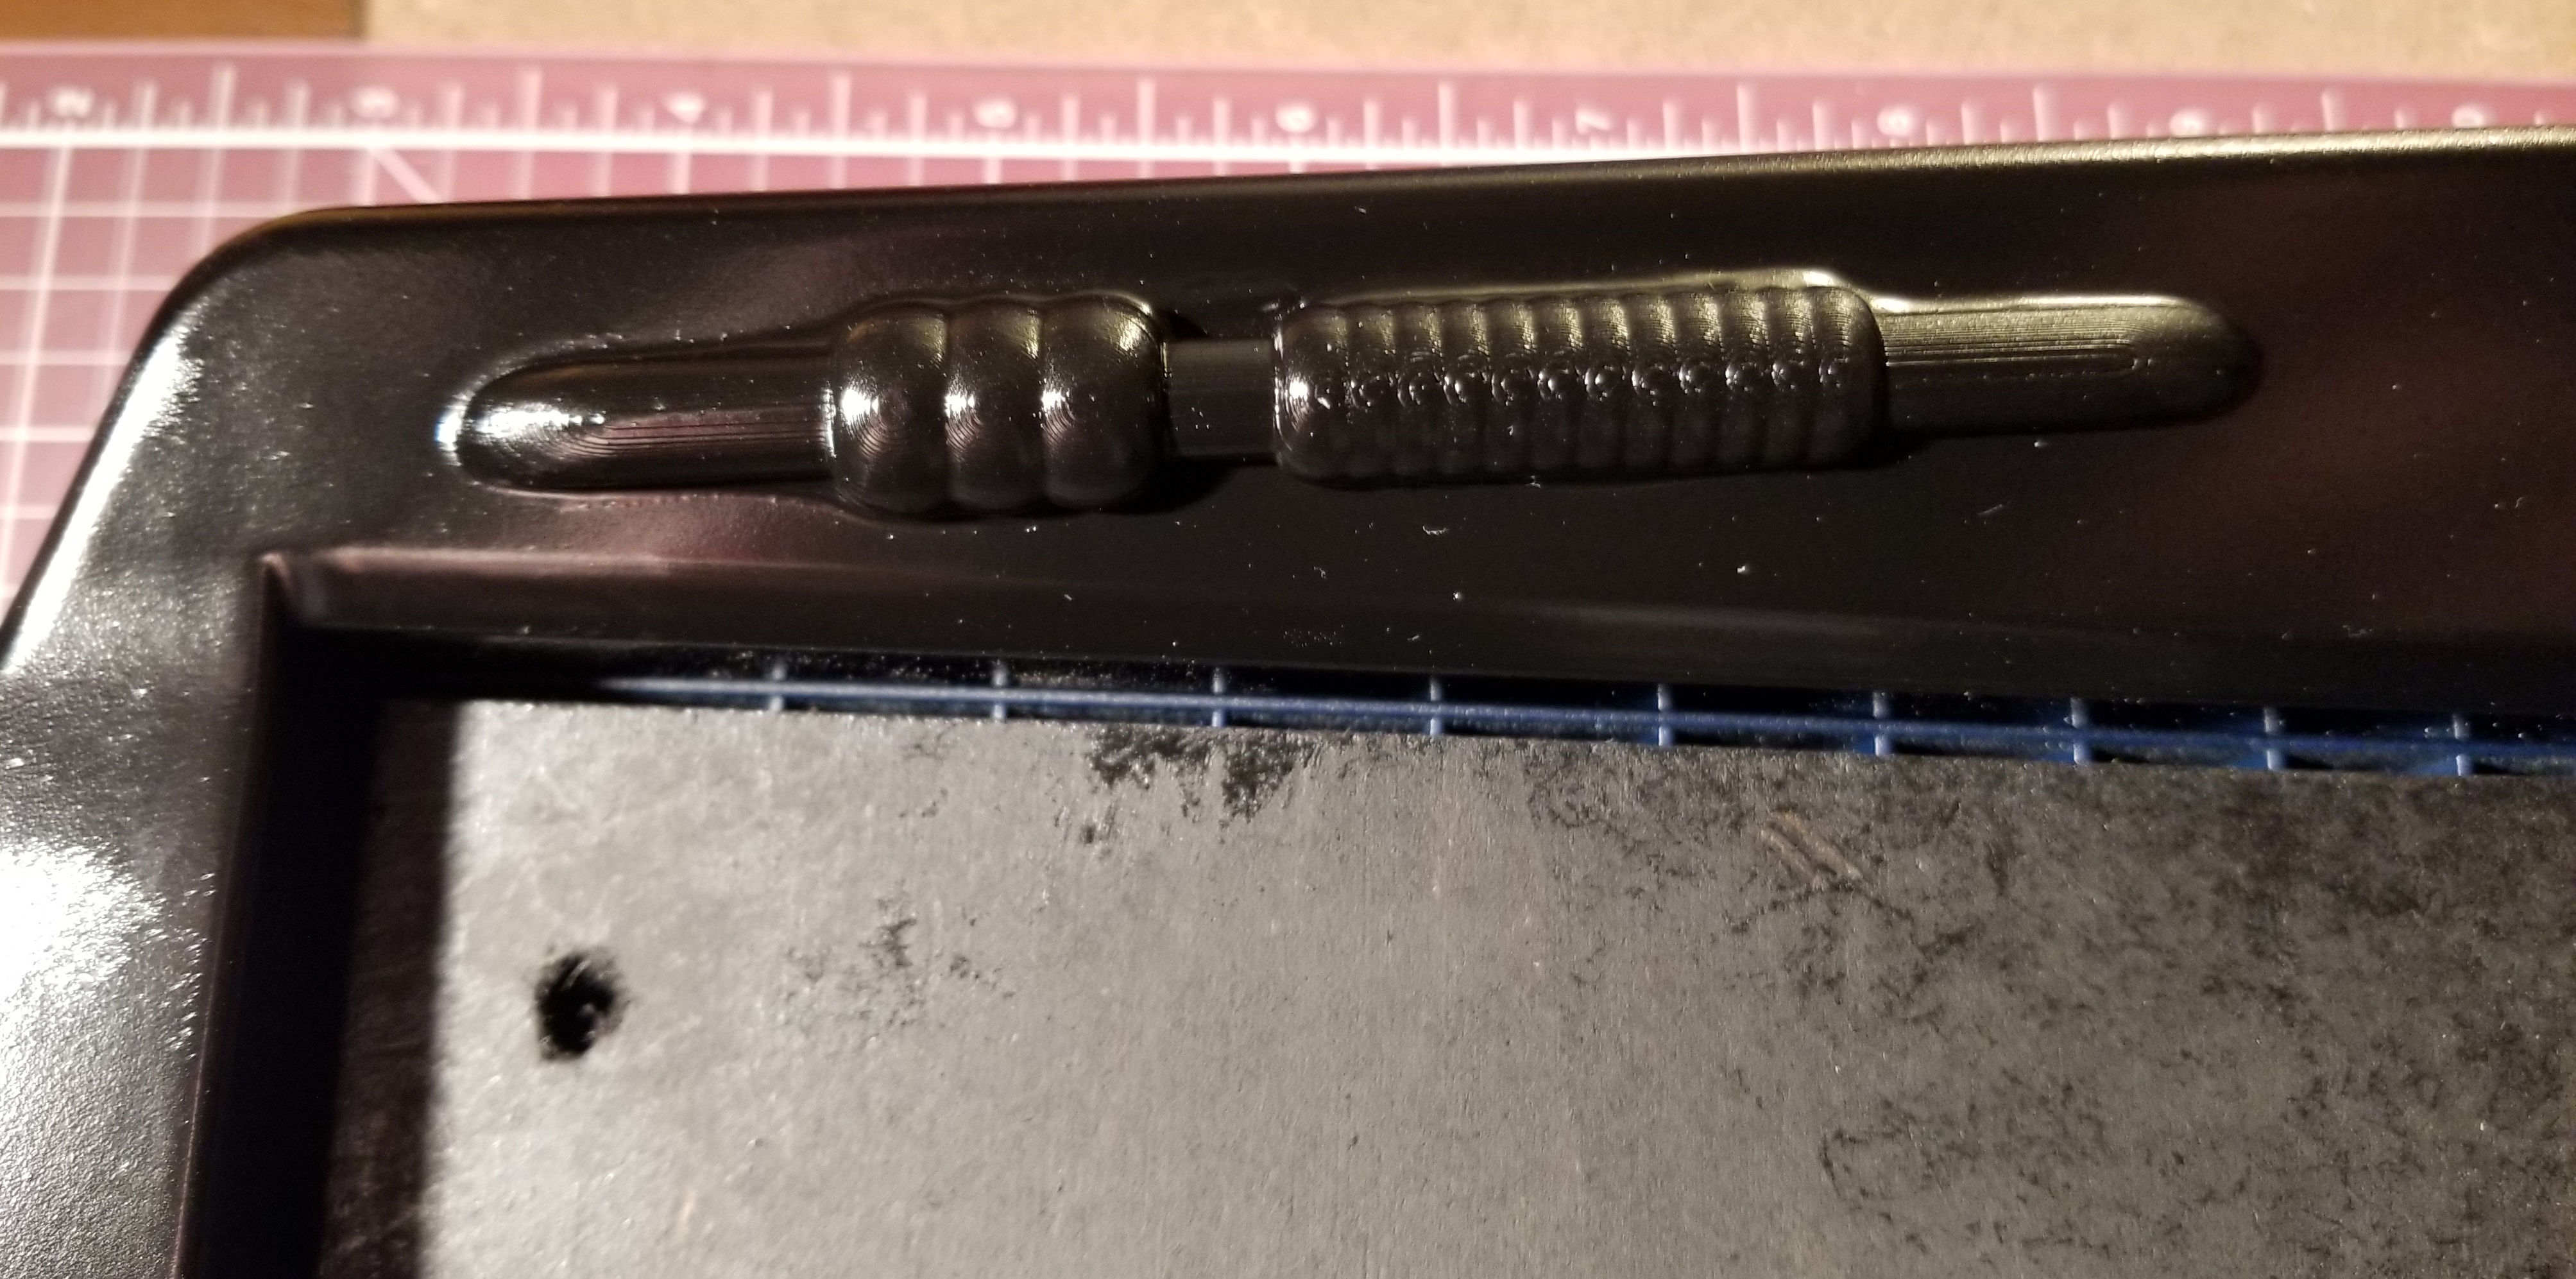
Note: the stuff on the end of the grip handle and anything in pewter color is purely decorative and non-functional.

Top View
Keyboard slides out of tray for charging
Internals
Interface Module End View
For further reference.
Back View
Recommended dose of geek-punkification

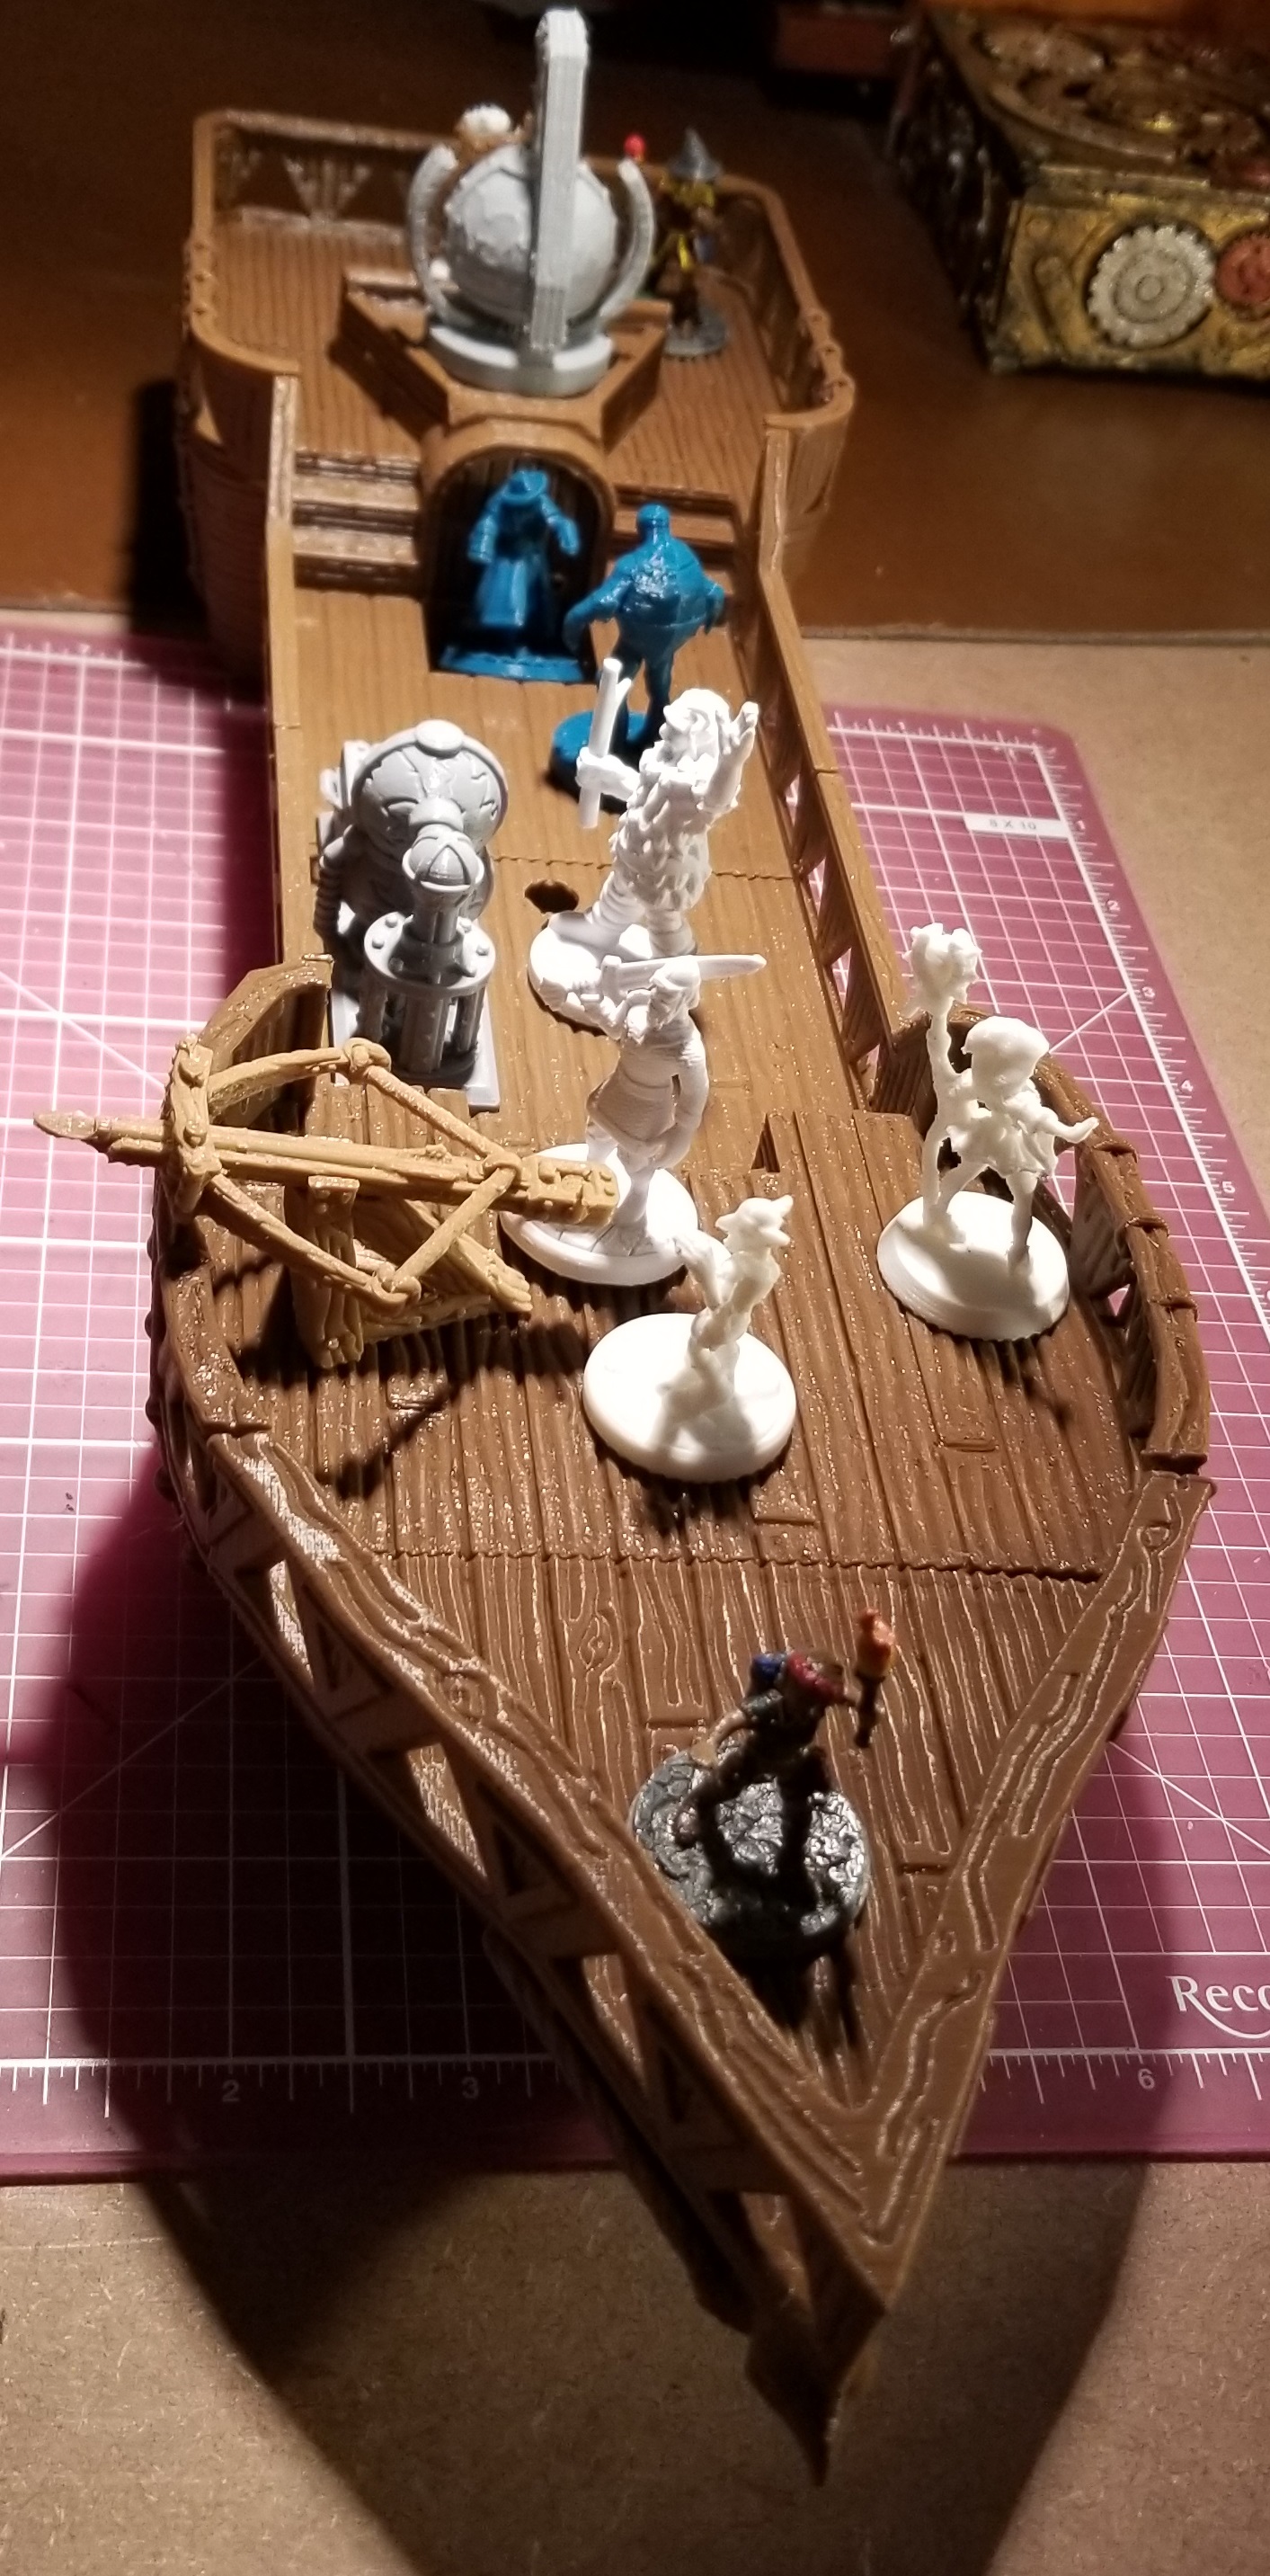
This has been a long project and a valuable learning experience. I learned more about Raspberry Pi (both from a hardware and software perspective), spraypainting, 3D modelling, 3D printing, electronics work (soldering), managing the details of a project, and working with professionals when I needed parts that I couldn’t yet make myself. I’ve even made new hobby contacts in the process who have helped me pick up more skills and helped out on other projects such as the Warp Core Lamp and encouraged me to make the Pioneer Falchion as another project.

I call this project “complete,” but as with a lot of other makers, this is more of a “project made it to baseline.” I’ve got some improvements I’d like to make (better power supply, attaching a headmounted display, making the Pi swappable as new models are released), but I’ve at least reached the initial goals I made before too much scope creep got in the way.

You may see more of the Pi-Tar (and possibly a sequel?) if/when I make upgrades to it.

Keytar Power Switch

I got fed up with the power cables sticking out of the side of the case, so I decided to make the power switch a more integral part of the build. Also, I didn’t like the gaping hole in the case.

There were two power switches, one for the deck itself, and one for powering the USB hub. I modified this one for the hub, deciding to route it fully inside the case, even though that means I have to briefly open the tray to turn on the hub.

I also made this cable up for the main power to the Pi.

As part of this design process there was a lot of tinkering and iterating.

And, I mean a LOT of tinkering. This is what I ended up with:

This image has an empty alt attribute; its file name is 20200516_103531.jpg

I knew I liked the idea of a red safety cover for the switch, but those are designed to turn a regular flip switch off when they closed. I needed a way to have a cover a switch while the thing was still powered on. I found the switch that would fit through the hole of the safety cover (after a little… modification with the deburring tool), and figured out how to design the little bugger to hole the actual switch, the switch cover, allow for proper free movement of the switch to function, and attach the switch neatly and securely to the case. I’ll spare you the iterations, but it took a while, and I think I got it to look pretty good and hold well. I like that I have a red power button under a red safety cover now. It just feels… right.

Keytar Accents and Details

After finishing the keytar’s primer/color coat, I started prepping to do the details. As mentioned in a previous post, I was using Rub’n’Buff to give a bit of a metallic finish to the details.

Like with any good detail work (unless perhaps you have a LOT more skill and confidence than I do), I prepped the sections I was going to accent by taping around the parts I wanted to add color too. This helps keep the transition between colors sharper and cleaner. It used a lot of painter’s tape and prep time, but it was worth it. I also taped around the feet on the backside of the case to protect the areas around them when sanding. I… kinda forgot to tape over them before painting, and I needed to remove the paint so that the rubber feet would work properly.

It can take a while to tape around these to my satisfaction, as I’m trying to preserve a lot of detail in the process and not look sloppy. It took a lot of small bits of tape, and some work with an exacto blade. As an example of what I’m talking about, here’s how I had taped up the universal greeblie for painting. I had to be careful to tape around all those curves.

Once I finished taping the pieces up, and through a bit of trial and error, I was able to add something of a metallic finish that I had wanted. Here it is, before and after removing the tape (there may have been an extra application of Rub’N’Buff between photos). Note the amount of extra finish that was on the protective tape that didn’t end up on the surrounding black paint.

Finished with the accents, I started decorating with stickers. I had a bit of trouble with some of them, and I’m not entirely happy with the results but, eh, you live and learn. I know a bit more of what to expect the next time I do something similar. The vinyl sticker with my logo was the hardest one to put in.

The others took a bit of planning for placement, but weren’t so bad to apply, as each sticker was a single solid piece.

After applying all that, I had to apply some more paint. A few coats of glossy clear enamel to protect everything and seal it in, and a coat of matte clear paint to knock the gloss off. The results were alright, but I think if I were to redo this I would use a painted on clear lacquer, for a thicker, stronger coat. Some of the stickers don’t adhere as well as they should, and the spray painted clear coat doesn’t force it down like a lacquer might. I also noticed that with some hard objects it was easy to accidentally add marks to the surface of the paint, it’s something about the clear coats, but at this point I don’t want to worry with attempting a fix, and I’ll just call it “built-in weathering.”

Oh, before I forget, one of my lessons learned I would like to share.

DO NOT LET YOUR SPRAYPAINTED PLA PLASTIC PARTS DRY IN THE SUN. I started getting warping in one of my parts because I didn’t realize it was in direct sunlight, and I had to try an emergency repair with clamping while it was still flexible.

Here’s all the parts after stickering and painting. Oh, and I was painting a door opening tool at the same time as well.

It was around this point that I decided that I wanted to make sure I finished the USB hub add-on and a more integrated power switch before reassembling it, but that’s a topic for another post.

Let me know if you have any questions about the processes in these posts. I’m trying to write these over a month after the fact, and have been limiting some of the details in order to progress forward.

Keytar Paintjob

I finally got around to sanding and repainting the keytar.  Here’s what the case was like beforehand.  Some parts were rather scratched up during my last attempt.  Particularly near the neck.

FB_IMG_1588466206718.jpg

I sanded it 4 times, once each with 200, 400, 800, and 1000 grit sandpaper.  That took a while, but I got through a few episodes of Babylon 5, so it’s all good.

20200501_150533.jpg

The next day I drydusted the case, wiped the whole thing down with alcohol to remove the rest of the dust, and spraypainted.

20200502_202952.jpg

It seems to have come out much smoother!  My only gripe is that I forgot to cover the rubber feet, so I’m going to need to sand off that paint and cover them with painter’s tape again before the clear coat layers.

Next steps:  Rub’n Buff on the greeblies and stickering the back of the case.

20200503_205407.jpg

I thought I’d make the greeblie accents pop a bit with some pewter contrast.  I need to do a bit of research and planning to decide exactly what I want to accent and how I need to do it.

Here’s what I’ve got in mind for the sticker arrangement at the moment.

20200503_030930.jpg

I’ve debated a couple of other stickers, but I think they might cause some problems:

20200503_015246 20200503_015241

I also feel like it needs one or two other stickers, but I haven’t found what I think is appropriate.


Miscellaneous items:

Yeah, I know I haven’t been writing in a while.  The RAM in my desktop went bad a few weeks ago, and I’ve been forced to operate from my laptop in the meantime, which is NOT convenient for getting a lot done, as I had picked it up as something super-portable for just checking email and such on trips.  The replacement RAM finally showed up, and I appear to be back in business!

I’ve been working on things around the house a lot, so hopefully I should have more content for here soon.  Being stuck at home a lot, I’ve been making a lot of tweaks and expanding my hobbies.

COM|POST 02/10/2020: A Skypirate’s Life For Me

Forest of Oakenspire Airship:

This past week’s hobby work has mostly been a matter of 3D printing the airship shown at the top of this post. The models are from a great 3D model creator who goes by Ecaroth (he’s on Kickstarter, Thingiverse, Facebook, and Heroes Hoard).  I love using his designs.

I got the STLs for this model as part of a kickstarter campaign a couple years back, but never got around to printing it until recently.  It’s taken me a while to trust a 3D printer to run unattended long enough for the process.

Each section of the hull has taken 8-13 hours to print.  Sadly, some of the pieces are somewhat warped, but it’s only really obvious on one piece (it was printed at a different orientation).

20200210_205422

Still came out pretty awesome in my opinion.  It uses openlock clips, so I can connect these modular pieces and even be able to lift it up and move it.

Lifted Airship.jpg


Printer Issues:

My 3D printer gouged itself this past week, so I had been making do with using blue tape over the build tac sheet.  I probably should have turned off the heat, as I think that is part of what has caused the blue tape to loosen and the prints to warp.

Before it gouged, it had some issues with one corner acting as if it’s much higher, which the autoleveling software is supposed to take care of.20200206_093730.jpg

I tried troubleshooting the levelling, but it ended up gouging the bed after a slight change mid print.  As you can see at the beginning of the print, it was showing indications of being way too high, but gouged as I adjusted it slightly while it moved to the problematic corner.

20200206_193100.jpg

I tried again more carefully, and it gouged at the very beginning of the print!  I’ve been using blue tape to make do over the gouges, but it’s warped them slightly (hence the bow of the ship not being as well fitted as it should be).

I’ve contacted Monoprice tech support, and apparently I didn’t get the same helpful tech support person that I did the last time I had a problem.  I guess with the information overload of extra details that I tried to get help on all at once (mostly minor things that had added up to annoy me), the thought I was trying to get another replacement printer (my first Select Mini Pro had a faulty z-axis sensor).  After emailing back, they gave me a link to replacement parts, so I finally have a place to go to order those on my own!

GigDigit

I’m stocking up on some parts now.  Spares to save me a lot of time trying to get a shipment when things are broken.


Keytar Cyberdeck Upgrades:

I still haven’t gotten around to some of the issues on the cyberdeck build that have bugged me… but I’ve been doing a lot of thinking and chatting with the deckers on the cyberdeck discord about various items.  Any guesses on what I plan to do with this new parts order?

20200210_205723.jpg
Random stuff:
I just binge watched the entirety of the mainline Dragon Ball Z Abridged series…. and then shortly after I finished they announced that they were ending it.  I don’t disagree with them, but it’s just really weird timing.

Keytar Update 01/20/2020

Lately I’ve been trying to work on the software side of things a bit lately, while I have this thing assembled (I’m still debating whether to embrace the scuffed look of the casing paint job).

For one thing, I found out that my last SD card image was 6 months old!  I had some things I had figured out since then, but as I tried new things I kept messing up the card, so I took the time to implement everything that I KNEW worked onto one card, while testing out things on a different SD card.  That way I have a safe image of all the things that work, while the other spare cards were considered expendable, and I’d only bother testing new things on them.  Once I was satisfied that I had made sufficient progress, I used Win32DiskImager to copy the image of the good card as a new baseline.

New things implemented in the baseline:

Loading all the files that I had been transferring via USB into the image so I don’t have to reload them

Establishing a new cyberdeck logo as a wallpaper (courtesy of fellow decker BillieRuben on the cyberdeck discord)

Changed screen resolution on the primary display (when I was at MAGfest I couldn’t access the buttons on some menus, which drove me NUTS).

Updating password, because apparently I had left it unlocked.  D’oh!

Implementing SSH on the Pi and installing PuTTY on my laptop.  This change was one of the more important ones!  I’ve been attempting to tweak some of the graphical settings, but every time I get them wrong, the screen on the Pi becomes unusable.  When that happens, that had forced me to swap cards, and start all over again.  It also led to me possibly corrupting cards because of powering the Pi off incorrectly, and having to wipe and reimage the cards before I could use them again.  Now, with SSH implemented, I can remote into the Pi and access the command line perfectly well, allowing me at the very least to be able to power off the Pi correctly, but it has also allowed me to continue trying new things while the display settings were messed up.  This saves a LOT of time (it takes far too long constantly reformatting and reimaging these SD cards).

Working but not baselined:

I’ve been able to VNC to share the Pi screen to an old android phone of mine.  So far that works with RealVNC Viewer on the android phone.

Instructions for VNC on Raspberry Pi

Current trials:

I’m attempting to use VNC to share a side-by-side version of the raspberry pi display onto my android device so I can use it as a head-mounted display (HMD) to simulate a larger monitor to work from on-the-go.  I’m attempting to use a software called VR VNC.  So far I’ve been receiving an error message about incompatible VNC security, and haven’t managed to get it to work.

20200120_203803.jpg

Upcoming tests:

Once I get VR VNC (or some equivalent) to work, I want to change the network interface from being over WiFi (which requires both devices to be on a WiFi network together, not ideal on-the-go) to being through a wired connection over USB.  Someone appears to have written a guide here:  Android Device as Screen for rPi via USB & VNC.  End goal:  wired connection between the keytar and the android headset to simulate a large monitor on-the-go, making using the system much easier… and has added cyberpunk vibes.  If/when I get this to work, I’m gonna get an old-fashioned-looking curly cable for the connection.  It just feels more authentic.

I’d like to add an app for simple-ish pass-through of the camera into an augmented reality display on the headset.  If the lag isn’t too bad, I might be able to wear the headset and still be able to see where I’m going at cons, if I want to fully indulge the costume at times.

Things I’ll have to get back to:

Attempting to switch between HDMI output (for a TV or digital projector) and back to the built-in LCD.  I was attempting to use some code I found to switch automatically, but that kept failing and rendering the screen unusable, hence the need for the SSH above.  Then I remembered the original scripts onboard for switching by command and thought I should make sure that works first.  So far I can get it to switch to HDMI, but not successfully back.  At least, the screen is still covered with some other text when it switches back.  I’ve already fixed one issue, from where the screen kept coming back upside down, but I haven’t gotten back to a useable desktop using this method.  Thankfully the SSH works and allows me to keep poking at it.

Down the line:

Now that I’m trying to add a HMD to the setup, I think I need to make some modifications to the casing.  I think I may either remove the existing branding from the case, and/or add a thematically appropriate sticker to cover it up.  I also may need to manufacture and attach an appropriate connection for hanging it from my belt securely.  I’m not going to want to wear it on my head all the time.


Random Updates:

I may or may not post more on these topics later, but I thought I’d go ahead and put these out there.

I reorganized my workspace, mostly by adding a rolling cart to store things on (and still be able to move out of the way when I need that particular floorspace back).  My living room (including the top of my workbench) was getting rather cluttered with projects, materials, etc. and it was becoming unusable.  I’ve now tossed some stuff, and reorganized the rest onto the cart, reclaiming some needed square-footage off of the floor, workbench, and other shelves.  I now even have space to run my laptop out of the way of the bench itself for when I want to SSH into my cyberdeck at the bench.

WorkbenchUpdate.png

I thought the table lamp needed a lampshade, so I designed and printed one inspired by a Japanese style pagoda roof.  The green is a reference back to the Jade Pagoda from Whovian lore.  Right now 3 out of the 4 segments match.  I ran out of material when printing a later version of the design.  I still need to get some more green filament to finish this properly one of these days.  I’ve posted the files on Thingiverse here:

Pagoda Style Lampshade

20200120_204007.jpg

Super MAGfest

I was at Super MAGfest (Music And Gaming festival) this past weekend.  It’s in National Harbor, Maryland the first weekend of January every year.  As you would think from the name, it’s mainly focused around music and gaming… but there is a LOT of cosplaying and associated photography as well.  It’s been recommended to me for years, and this is the second time I’ve gone.

Super MAGfest

Convention Prep:

I did another temporary build of my raspberry pi keytar cyberdeck to show off at the convention.  I loaded it up with 80s music and often had it cycling through songs as I wandered the halls of the convention center.

20200102_232011.jpg

It was extremely gratifying to get stopped in the hallways and/or called over to answer questions about it!  When you’ve worked on something for months, it’s satisfying to find that other people think it’s about as cool as you think it is.

Since I had the cyberdeck running, I decided to do a somewhat subtle cosplay as a Decker/Netrunner/Console Cowboy (depending on your cyberpunk franchise of choice).

20200103_225240.jpg

I picked up some new gear before going to the convention, just to be prepared.  I stopped by REI and picked up a backpack cover (to protect the keytar when I was walking outside through rain) and a 20L water resistant nylon backpack that compresses to be smaller than a soda can (an adventurer’s gotta have a lootbag).  I was so glad I did, as it was raining much of the day Saturday.  I was able to keep my keytar and loot dry, and able to carry a good bit more than my satchel would hold.

20200107_145721.jpg

20200107_145841.jpg


Convention Shoutouts:

I figure the best way to describe most of my experiences at the convention this year is in the form of shoutouts to some of the awesome people and groups that I met while there.


NOVA Labs:

NOVA Labs Main Website

NOVA Makers Meetup Group

I talked to these guys in the convention makerspace they were hosting (which I think is an AWESOME idea).  They have a permanent makerspace facility in Reston, VA.  I had a good conversation with those guys about some things people do with 3D printing, CNC milling, and CNC embroidery.  Also some mutual fandoms.


YNOT Cosplay:

YNOT Cosplay Instagram Page

I ran into this guy in the hallway a few times.  He’s a Ghostbusters cosplayer who has done an AMAZING job upgrading his Spirit Halloween proton pack.  I mean, way beyond anything I had dreamed of doing.  The lights and sound are awesome, the proton pack has an overheat sequence inspired by the 2009 video game, and he’s soon even gonna add a smoke dispenser to cap off that sequence.

He also had a really cool custom belt gadget (I can’t remember the name at the moment) with nixie tubes and other interesting electrical bits.


Duffy Austin:

DuffyAustin.com

This guy is a tabletop game designer who was having people playtest a new game he’s developing, called Scrap Packs: Deckbuilding RPG.  It’s in the very early development stages, but it’s a highly entertaining game based around the following ideas:
You are handed randomly drawn cards with equipment on them, and THEN you design your RPG character based on the setting the gamemaster sets.

When you name the character you give them a title, which the GM might later use to justify or deny whether you have the ability to do something.

You can combine these cards, along with a currency called Skrap, to make new items, as long as you can give it a name and describe it’s function.  The GM makes the stats on a simplified system to facilitate flexibility.

Plot elements are a combination of what cards come up as the game progresses, and how the gamemaster decides to implement them.

Example of my experience:

I began with a rusty spoon, a ballpoint pen, a feathered cap, an aluminum bucket, and a lucky coin.  We were told that our characters were from a high school, going to a cabin in the woods scenario.  I called my character “Eric the Survivalist,” and declared that he was a guy way too into “surviving” and who nobody trusted with anything dangerous because he might hurt someone with it, so things like guns would be yanked out of his hands by the party.  Hijinks ensued, including stabbing aliens with a rusty spoon (his weapon of choice), and using the skrap mechanics to have the party build a human sized slingshot and launch him at the lead alien while wielding a rocket-powered hammer and screaming “LEEROY JENKINS!”

Fun times.

I look forward to seeing the fully developed version of this game.  It’d be great for when I wanted to get people into RPGs while being rules-lite and not prepping a lot in advance.


Justin Wood:

This artist’s work caught my eye.  He had a couple comics in a series called NPCs, where NPC characters are dealing with the aftermath of a new hero’s inciting event (the town burning down) and coping with losing people and rebuilding without the help of the town’s strongest guy.  I’m enjoying it so far, and hope to see more!

I’m having trouble tracking down his webpage or listing, or I’d include it here.


Cait May:

This artist makes a lot of RPG related artwork, a lot of which seems to be inspired by The Adventure Zone, Critical Role, and her own D&D adventures, though what initially caught my eye was an Animorphs based painting.  I really like her art style, and she draws some comics, too.

CaitMayArt.com

Irregular Comic


Glitch Gear:

These guys had some fun apparel.  I got me another “Trust me I’m an Engineer shirt”… but this time with the Team Fortress 2 Engineer on it.  At this rate I might be collecting these as a theme.  Sadly, they were out of the other shirt I wanted.  Hopefully they’ll restock the “Use More Gun” engineer shirt.

Glitch Gaming Apparel


Miscellaneous:

I didn’t end up going to any of the scheduled events I had originally planned to go to, but that’s alright.  I was able to try new games, catch up with friends, meet new people, snag some loot, and see some cool things.  There were museums for the history of video games, performances of music all around the convention center, a large merch floor, and game demos galore (both tabletop and digital).  It was all around a well spent day for me.

Project Update 11/6/19: The Scratchening

The Scratchening:

This last weekend I was attempting to “improve” my keytar case paint job.  There were some blobs of paint from how I had painted the first couple coats.  I thought I was following the advice of some other people (particularly the Cyberdeck discord, yes, it’s a thing).

Apparently I failed.

I sanded the case and parts, and put another coat of paint on… and now there are visible scratches.  I’ll have to sand it again… much more carefully, and then repaint.  I’m not sure how well it will show up in the photos.

20191106_194718

20191106_194800.jpg

20191106_194745.jpg

These are apparently not what was meant by “use coarse, medium, and fine sandpaper”.

20191105_075811.jpg

I’m still annoyed at myself, and per further elaborated advice, I’m going to re-sand the thing again with a series of finer grains of sandpaper on a proper sanding block.  “When you think you’re done, keep sanding.”


In other news:

Over the weekend I had to clean/lube/recalibrate my printer.  I had been noticing some layer shifts in some prints, and this was the easiest possibility for me to address.

20191030_080856.jpg

Seems to have worked, as my prints since then have been good so far.  I needed something to test a long print time on something with verticality to make it obvious if these shifts occurred again.  I decided to look for an appropriate Benchy, and someone had my back!

20191103_081219.jpg

Benchy-209 on Thingiverse

Optimus Prime!  As a no assembly required print!  I was in the mood for printing a robot, and thought to look him up.  He transforms!

20191103_183000

20191104_071320.jpg

Optimus Prime on Thingiverse

COM|POST: Quick Project Weekend in Review 10/28/19

So, I’ve apparently got a lot to log this week, which is both awesome (yay, stuff was accomplished!) and annoying (shards, I’ve gotta log all this stuff).

I’ll try got go through it pretty quickly, since it’s multiple projects, and not a lot of focus on any one project.

Keytar Progress:

I finally found time to epoxy and prime my keytar.  I’m gonna need to get some sand paper to smooth out some parts I messed up on (I’m new to spraypainting).  Later I’ll put on another layer (I missed some stuff) or more.  Then it’s back to maybe sanding a bit, stickering, clear coating, and matte coating.  Here are a few images of where things stand now.

Keytar Parts.jpg

Keytar Whole.jpg

I’m still debating how I want to paint these greeblies.  Maybe a metallic color of some kind?

Greeblie1.jpg

Greeblie2.jpg

And here is what I’m thinking of for stickers at the moment.  I’ve got a bunch of other random stickers from a Ready Player One bundle that I’m considering layering under these, but I wonder whether I should do that, or if it might cause problems.  Also might cause these top stickers to not stand out as much.

Proposed Stickers.jpg


Costume Update:

I’ve been updating my Ghostbusters costume this year.  I’m able to fit into an actual jumpsuit this year, so I got one.  And it’s a bit too big on me (yaaaay for weight loss, but boooo, I was hoping for a good fit).  Still, at least I can wear it!  And I can (kinda) use one web belt instead of needing two.

Anyway, new jumpsuit means I need to sew patches again… or if you are lazy like me (and know that you are gonna get another suit later) you attach them to Velcro for easy transfer.  Still had to sew the name patch onto the Velcro strip that came on the uniform, but just had to attach the adhesive Velcro panels for the logo patch.

Ghostbusters Patch.jpg

I also decided since I suddenly had free time to work on projects that I’d go a bit further, and make the connectors and tube that hang off the left side of the uniform.  3D models were available on Thingiverse here:

Ghostbusters Leg Hose Connector on Thingiverse

I printed that sucker out, ordered some magnets that I superglued in, and attempted to dye the hose.

Hose and connector.jpg

connector-magnets.jpg

The dyeing didn’t go too well, but at least it is slightly greenish, which was kinda my intent.  Yes, per the first movie they are supposed to be yellowish… but I didn’t like the catheter explanation for the tube that the color implies.  I went with the video game option that implies it has something to do with slime, and tried to dye it neon green.  I think I didn’t account for some things in the process.

Also, on the printer right now is the LifeGard II monitor that the Ghostbusters wear on their belts.  Apparently it was a thing firemen would wear that would alert people if the wearer wasn’t moving for an extended period of time.  Mine is nonfunctional, just a shell, but I like adding detail.  I’m having to do it at 80% scale because anything larger wouldn’t fit on my tiny printer.

Lifegard II 3D Model on Thingiverse


Random Printing:

I can’t remember why or how I came across this box on Thingiverse, but I found it interesting, so I printed it.

inro-box-closed.jpg

Inro Top.jpg

inro-box-open.jpg

I also thought I could use a screw tray with all the screws I’ve been taking out of the keytar prior to painting, so I printed this one (after running it through the customizer) and used some of my extra magnets on it.  I was too frustrated with superglue at the moment (I forgot that it kinda spews when it’s first opened) so I just have painter’s tape holding it in the slots right now.

Screw Tray.jpg

Customizable Magnetic Screw Tray/Box (with optional lid) on Thingiverse


Gaming:

The Outer Worlds came out last Friday.  This game is AMAZING, and I’m already getting ideas of costume props that I would like to either find or create models for.  There are a lot of cool technological bits on the outfits in that game.

I think I may have to do a review of this at some point because I LOVE THIS GAME.  Briefly:  companion social interactions are believable and contribute to the narrative, I’m not constantly chasing weapon upgrades, and I’m not bogged down in junk collection.