

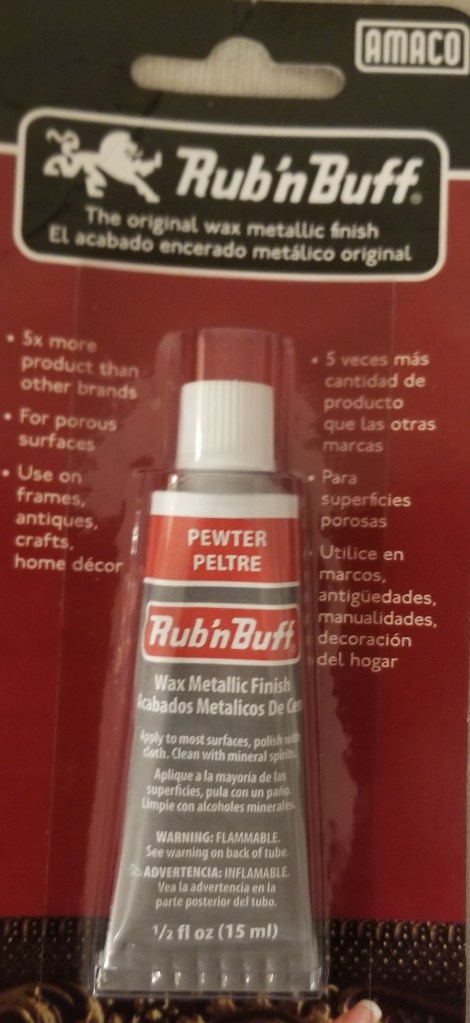
After finishing the keytar’s primer/color coat, I started prepping to do the details. As mentioned in a previous post, I was using Rub’n’Buff to give a bit of a metallic finish to the details.
Like with any good detail work (unless perhaps you have a LOT more skill and confidence than I do), I prepped the sections I was going to accent by taping around the parts I wanted to add color too. This helps keep the transition between colors sharper and cleaner. It used a lot of painter’s tape and prep time, but it was worth it. I also taped around the feet on the backside of the case to protect the areas around them when sanding. I… kinda forgot to tape over them before painting, and I needed to remove the paint so that the rubber feet would work properly.
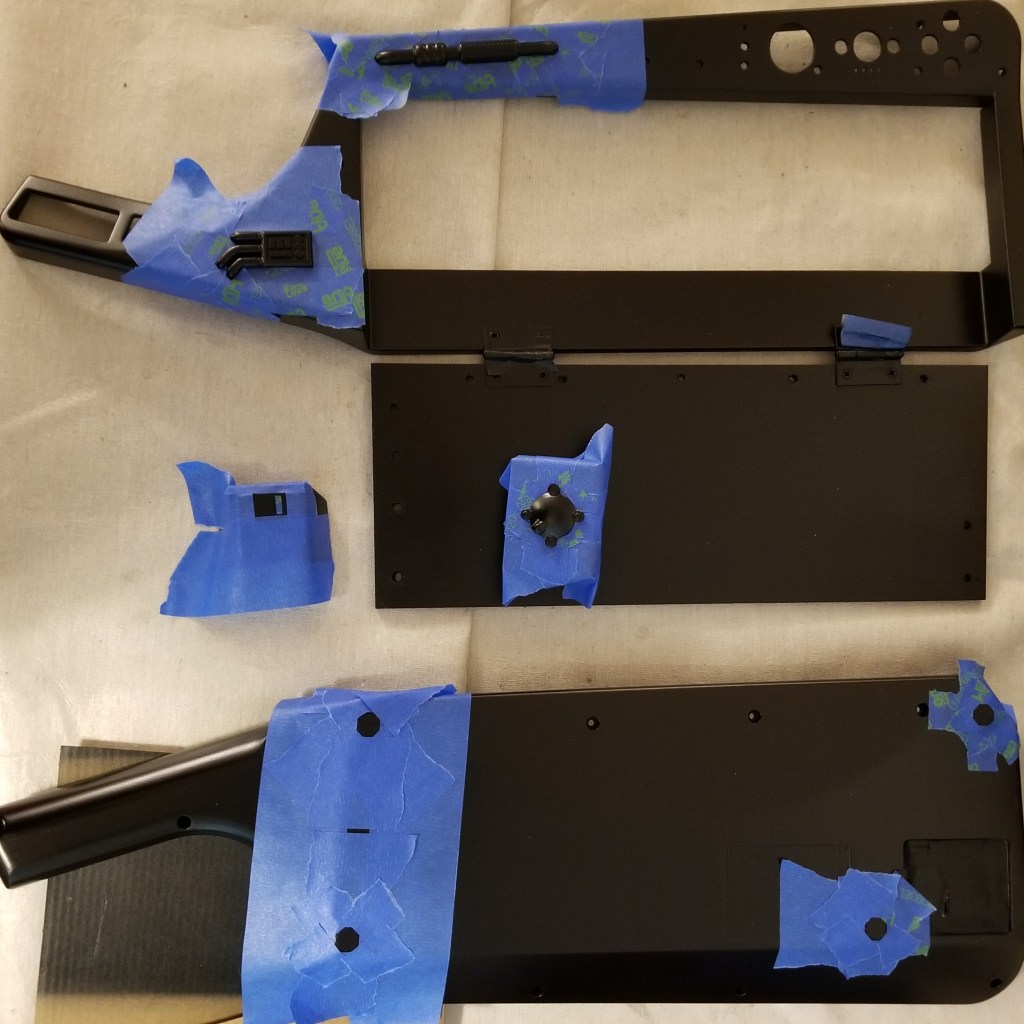
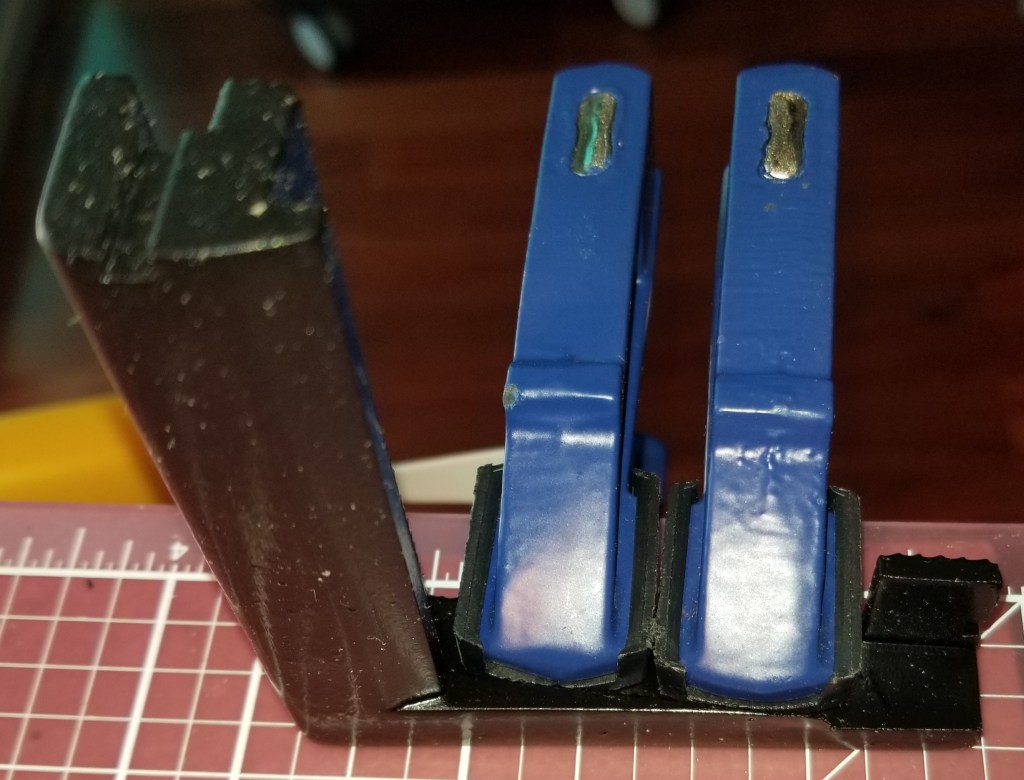
It can take a while to tape around these to my satisfaction, as I’m trying to preserve a lot of detail in the process and not look sloppy. It took a lot of small bits of tape, and some work with an exacto blade. As an example of what I’m talking about, here’s how I had taped up the universal greeblie for painting. I had to be careful to tape around all those curves.
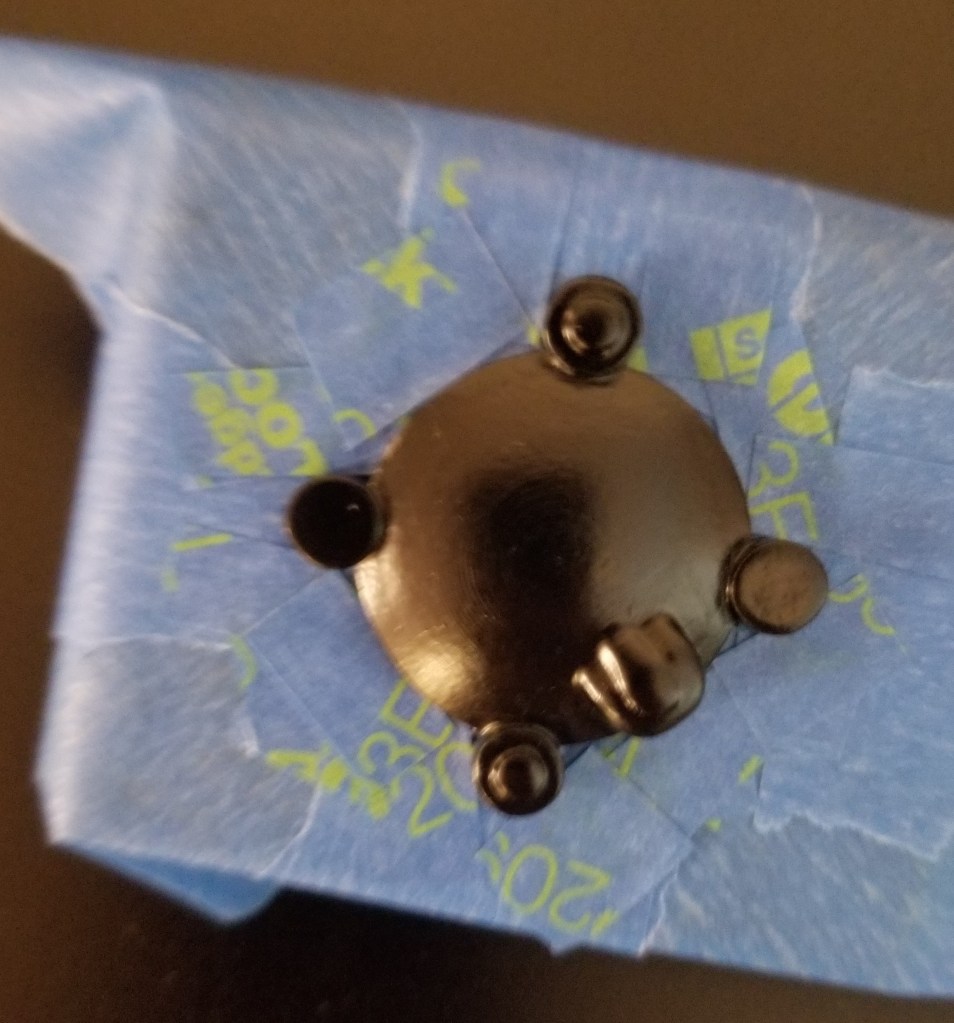
Once I finished taping the pieces up, and through a bit of trial and error, I was able to add something of a metallic finish that I had wanted. Here it is, before and after removing the tape (there may have been an extra application of Rub’N’Buff between photos). Note the amount of extra finish that was on the protective tape that didn’t end up on the surrounding black paint.


Finished with the accents, I started decorating with stickers. I had a bit of trouble with some of them, and I’m not entirely happy with the results but, eh, you live and learn. I know a bit more of what to expect the next time I do something similar. The vinyl sticker with my logo was the hardest one to put in.
The others took a bit of planning for placement, but weren’t so bad to apply, as each sticker was a single solid piece.
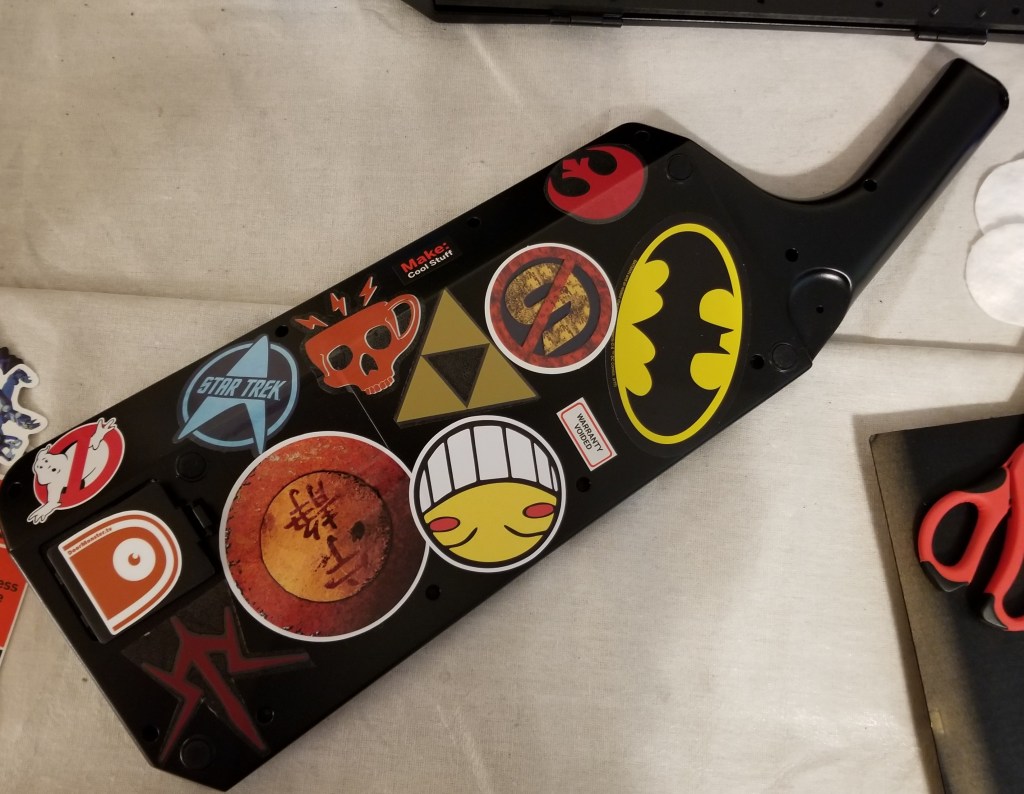
After applying all that, I had to apply some more paint. A few coats of glossy clear enamel to protect everything and seal it in, and a coat of matte clear paint to knock the gloss off. The results were alright, but I think if I were to redo this I would use a painted on clear lacquer, for a thicker, stronger coat. Some of the stickers don’t adhere as well as they should, and the spray painted clear coat doesn’t force it down like a lacquer might. I also noticed that with some hard objects it was easy to accidentally add marks to the surface of the paint, it’s something about the clear coats, but at this point I don’t want to worry with attempting a fix, and I’ll just call it “built-in weathering.”
Oh, before I forget, one of my lessons learned I would like to share.
DO NOT LET YOUR SPRAYPAINTED PLA PLASTIC PARTS DRY IN THE SUN. I started getting warping in one of my parts because I didn’t realize it was in direct sunlight, and I had to try an emergency repair with clamping while it was still flexible.
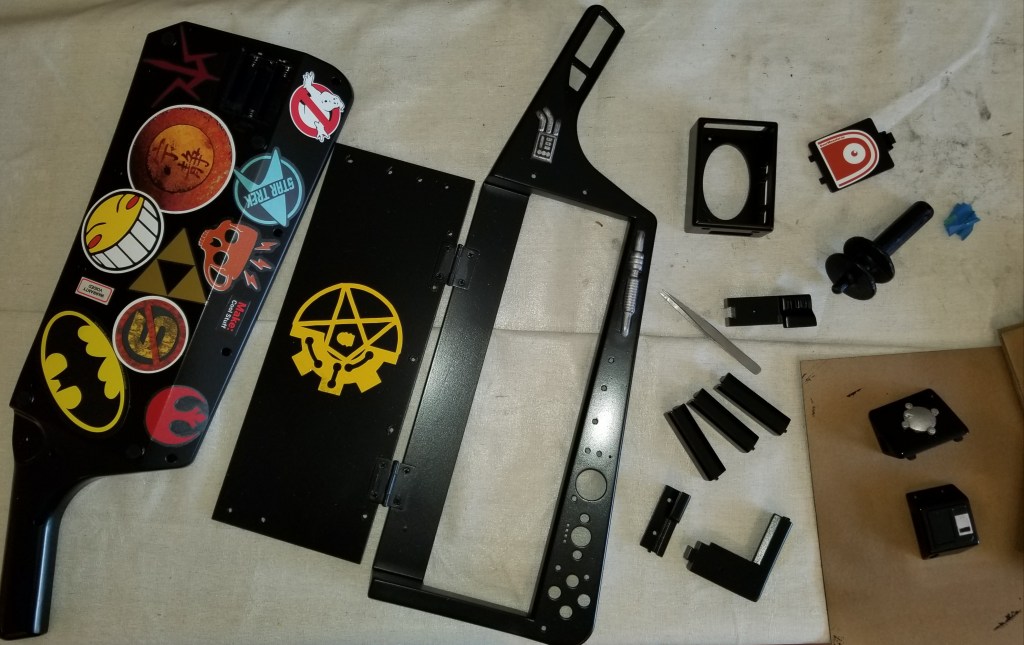
Here’s all the parts after stickering and painting. Oh, and I was painting a door opening tool at the same time as well.
It was around this point that I decided that I wanted to make sure I finished the USB hub add-on and a more integrated power switch before reassembling it, but that’s a topic for another post.
Let me know if you have any questions about the processes in these posts. I’m trying to write these over a month after the fact, and have been limiting some of the details in order to progress forward.
