

As you’ve seen references to before, I’ve been fiddling with a Raspberry Pi. I was gonna use the case I posted, but the case is not designed well, and I decided to go another route.
I’ve going through a lot of cyberpunk stuff lately, so I thought I’d make my own “cyberdeck,” or at least a semi-functional prop of one. I figured the idea would be that a decker or console cowboy character might want to be able to somewhat hide in plain sight… at least in a cyberpunk world. In this heavily 80s inspired environment, they might try to hide their portable cyberdeck as an instrument for when they need to duck into a crowd and disappear. What better instrument than a keytar?
I did some looking around, and I couldn’t find a keytar within a price range that I’d feel comfortable tearing it apart. Also, it needed to have just enough space for the keyboard I had already gotten for the Pi. I did find this, a keytar controller built for the rockband games. Not even $30 at a secondhand store.

Conveniently, it came with a strap for carrying.
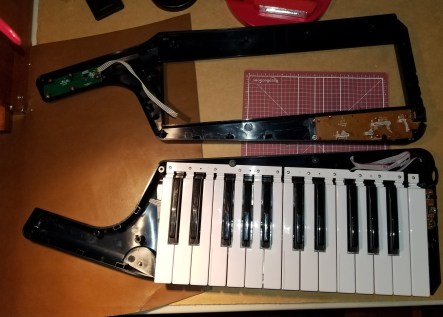
Here’s the case with the cover off. I had to cut some of the wires to get it open. They must have snapped the connectors in while closing it up, but I was unable to pull them apart, and I’m not planning on reusing most of them. The ones I thought I might try to figure out later I cut, but left a lot of wire dangling.
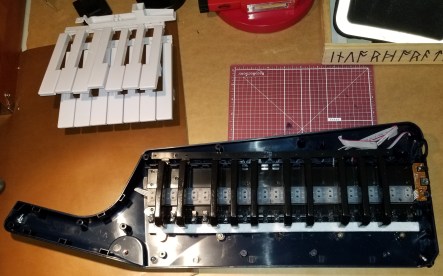
Here is the case with the white keys removed. Starting to reveal some of the underlying components.
This part threw me off. Apparently the keys had some sort of silicone based lubricant on them, which. I wasn’t so sure about it, so I used gloves to remove some of the internal components.
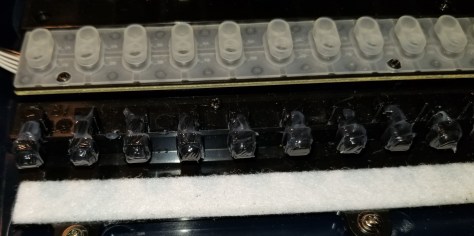
Like I said, gloves. I didn’t want to mess around with it.

Here is the case closed back up after removing most components. The components that remain attached are ones I’m considering keeping or modifying for the casemod.

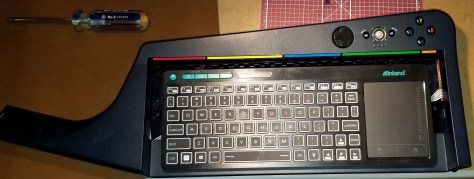
Here’s the case with just the keyboard in it. It’s loose, but I think I can fab up some pieces to hold the keyboard in place.
Now that I’ve ripped the case open, here’s the general arrangement I’m trying to get to.

I’ve still got quite a long way to go, and I’m figuring out a lot as I go along. I’m going to be asking around in my circles to figure things as I go. I’m just learning the Pi, so that’s becoming an interesting journey by itself, and I haven’t done much painting or casemodding before. This thing is probably going to come out rough, but I think I’m gonna have fun with it. One of the hard parts is going to be remembering “better is the enemy of good enough.” I keep thinking of more things that could be done on it, and I’m having to make myself write a list labelled “MK II.”
