

I’ve been a bit busy lately, but I am gradually making progress.
After the last update, I realized I had more components that I might be keeping, but needed to remove for when I paint the case. I think this bit was some sort of capacitive input for they keytar. I’m keeping it 1) because i need something to plug the whole it was in and 2) because I’d like to see if I could figure out how to use it for something one day.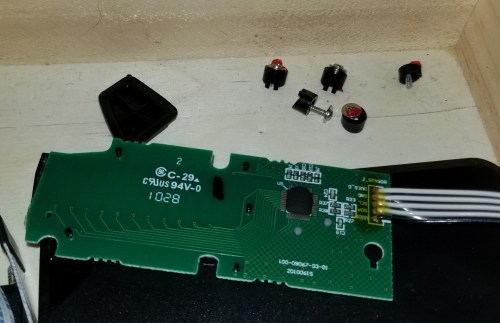
Buttons to plug holes and/or be reused.
Here’s what the case looks like with most of the components removed.

I’ve also been taking a look at layout for the components with the Raspberry Pi, and finally gotten a screen to work. I had to trade in the screen I had, and then order a combination of screen and case specifically for the Raspberry Pi 3 B+.
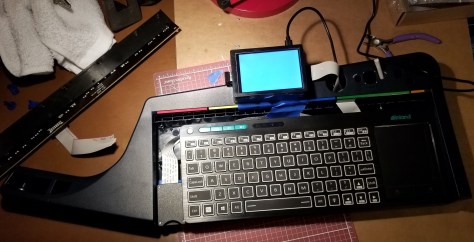
While I had the time on the 4th of July, I’ve also started working on some other things. Here is picture of the current draft of my holder for the Pi inside it’s case. I’ve been designing it in AutoDesk Fusion 360. It’s supposed to allow me to put the Pi on the keytar while still being able to remove it if necessary, and allow for airflow. I still need to figure out where I want to put the screws to mount it to the overall case, and put the appropriate holes in this case and the keytar.

I also stopped by Home Depot to pick up parts so I could make some progress… and I need to do some rethinking. I eyeballed the part I was planning to use for the keyboard tray. Let’s just say… it’s thicker than I thought and the space for it is shallower than I thought. I really should have measured that and taken it with me. Now the top of the keyboard extends above the keytar case instead of being within it. I need to pick a different material (I’m currently using PVC board) and get it cut to fit. I guess I’ll just put something to cover up where the hinge screws are going to punch through, unless I decide to keep the ridiculously thick tray.

If I keep it, here’s what it looks like.

I have already slightly sanded the exterior to aid in later repainting, and I’ve got the paints on standby. Black paint/primer, glossy clear coat, and matte clear coat. I’m still deciding whether I want the eventual stickers to be sealed in by the clear coats, or to put them on the exterior of all the paint like it would normally be done.
Upcoming work:
Making up my mind on and purchasing the components for the internal electronics.
Figuring out how to have the power wires exit the case.
Completing the design of the screen holder and 3d printing it. The design still needs screw holes, mounting points for a cover for the ribbon cable and the hole the wires are coming out of, and possibly a wedge of material to be attached as additional support behind the computer in the area where it overhangs the case.
