Category Archives: 3D Printing

Snapmaker 2 Kickstarter Upcoming!

(Note:  I’ve updated this article after it’s original posting, due to updates in information and in my own setup)

Update 05/04/2019:  Kickstarter countdown is ongoing.  Countdown clock till launch is here:

Snapmaker 2 Kickstarter Countdown

Back to the article:

As I’ve mentioned in a previous post, the Snapmaker 3D printer is a combination 3D printer, laser engraver, and CNC milling machine.  As I said at the time, the original model is smaller than my Colido DIY and would have required me to downsize my printable area (assuming I was replacing rather than supplementing the printer).  I had also gotten the impression that a 3D printer with a single z-axis column can be prone to having vibration issues.  They had teased an image of a two column model that they were going to release down the road, but they had not provided a lot of information about it.

Well, that’s changed.

Somewhat recently they announced an upcoming Kickstarter campaign for the Snapmaker 2.  The Snapmaker 2 is their blanket term for their next generation, which has upgraded components across the board.  It also includes three sizes of printers you can get.

The three sizes have the following print areas:

  1. Small:        165 mm W x 170 mm D x 145 mm H (at least 5.7 inches on each side)
  2. Medium:   230 mm W x 265 mm D x 240 mm H (at least 9.05 inches on each side)
  3. Large:        330 mm W x 365 mm D x 335 mm H (at least 12 inches on each side)

As you can see, the larger two sizes have the two column design I want, which should be more stable and provide the larger build area I need for some projects.  I haven’t decided which of those two I’ll eventually want, but I’m pretty sure I’m going to be getting one of those two at some point.  There are all kinds of projects you can do with a print volume that size.

This new generation appears to be loaded with features, including auto-leveling, wi-fi control, filament sensors, power-loss detection and recovery, and more.  There are also a number of improvements on the implementation of the original Snapmaker’s features.  That’s a hell of an improvement over my Colido DIY which was almost completely manually operated, and a couple steps beyond what my new Monoprice Select Mini Pro has.   I look forward to being able to get more reliable large prints that I can run wirelessly and not require a computer to be plugged directly into it.

I’m looking forward to learning more, and hopefully getting my hands on one of these sturdy multipurpose fabbing machines.  Gonna get busy building with one of these!

Since the original publication of this post, the Snapmaker Team has been in touch with subscribers to their newsletter, giving us previews of the features and asking us whether we would be satisfied with the features and improvements they displayed.  I highly recommend subscribing to their newsletter if you want to keep in the loop on the Snapmaker 2.


While you are here, please take a moment to glance at the other parts of my site.  You may find even more useful information related to our shared interests here!

DM Tools: DM’s Toolbox of Holding

I thought it was time to share some of my tools of the trade.  This toolbox was supposed to be the first post in that series, but I realized the section with Flatminis wouldn’t make much sense without doing the Flatminis article first.

Anyway, I would like to start by making it clear that this is just my toolbox, what I’ve decided to put together and what works for me.  This is by no means saying that this is “THE” way to put a DM’s toolbox together, this is just what works for me.  I know many other DMs who use almost completely different and often much smaller sets of tools/ game aids and run games as good or better than mine.  I also bring in the toolbox regardless of whether I’m running or playing, as a DM can always have a bad day when they forgot to bring something, or a player might have forgotten stuff for the character they are playing that night.  I must note that I’ve only been running Adventure League games with this toolbox, so the items I might need are more predictable and the NPC characters are premade, so there are some items that homebrew DMs might use to help with a more spontaneous game that are not included in the toolbox in it’s present form.

I’ve included hyperlinks in this article to the appropriate Thingiverse pages for most of the items in the box.

For my toolbox, I got a standard crafting toolbox from a hobby store, since it has a bunch of compartments for small objects.  I customized it a bit for my own use.

Toolbox_Top.png

Translation of the runes:

“I prepared explosive runes this morning”

I finally found a place for a bumper sticker I’ve always wanted to use.  I thought it was appropriate for DMing.

Back_Of_Toolbox.png

One of the top compartments holds a couple of spare sets of dice, in case of a new player or someone forgetting their dice.  The other holds a couple dozen goblin Flatminis.  You can never really have enough goblins.

Toolbox_Top_Open_2.png

Here’s the inside of the toolbox.  As you can see most of the items in my toolbox are 3D printed.  I won’t go into everything in the box, but I  will cover some of the highlights.

Toolbox Open.png

At the top of the toolbox are minis I keep for a lot of common enemies, mostly the Flatminis kind.

Toolbox_Open_Upper.png

This toolbox has minis for groups of:

For use with those, I have numbered bases to make DM monster accounting simpler, and unnumbered bases for more distinct minis that I covered in another post.  For enemies I don’t have specific minis of, I have ninjas.  Because… why not ninjas?

773f84a53f646d9ff9563ef1286d77f5_preview_featured.jpg

FlatMinis: Ninja

I have doors for when we want to mark open or closed doors on the game mat.  When I made these I scaled them up so they’d match a 1 inch grid.

doors1.jpg

Mansions of Madness Doors

I even have a kicked in door that someone designed on Thingiverse shortly after I put a general inquiry out on one of the groups.

Kicked In Door.jpg

Broken Door Miniature

For when I don’t have a distinctly different mini for a chieftain or other leader of a group of enemies, I have some different colored marker bases to indicate them.

Minis Leader Marker.jpg

Minis Leader Marker

For creatures that are enlarged from medium to large, or to hold some of the larger minis I have, I have these bases which I modified to be compatible with a few different things.

Numbered Multicompatible Base.jpgNumbered Multicompatible Enlarger Base

I also have a few templates for various spell effects, and markers for effects.  The easiest to do one are the status effect indicators, which are just rings from plastic soda bottles.  I keep them on a carabiner clip for ease of storage.

templates.jpg

Some of the most fun/useful items to me are the tokens I use.  I have tokens to remind people of various effects they have access to.  Inspiration tokens for DMs to hand out, bardic inspiration tokens for my bard to use, a token to mark enemies who failed to save against vicious mockery, and death save success and failure tokens.

tokens.jpg
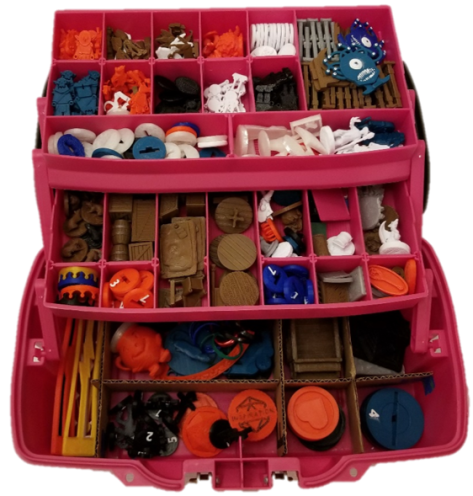
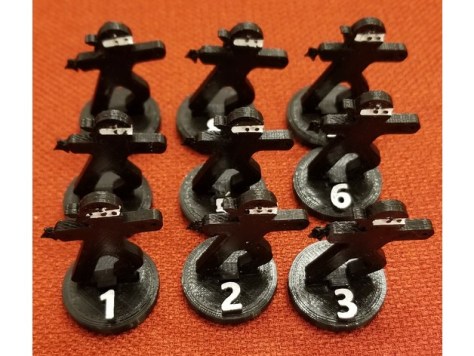
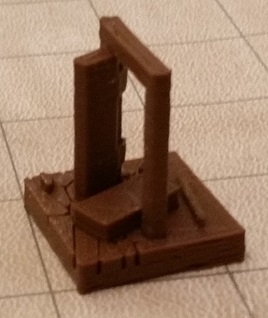
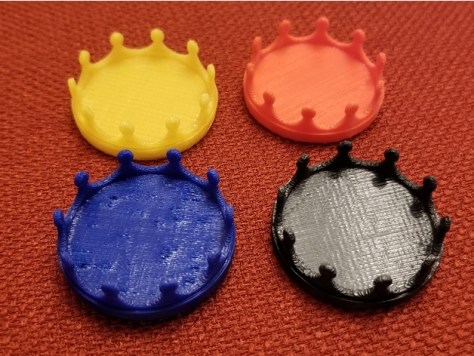
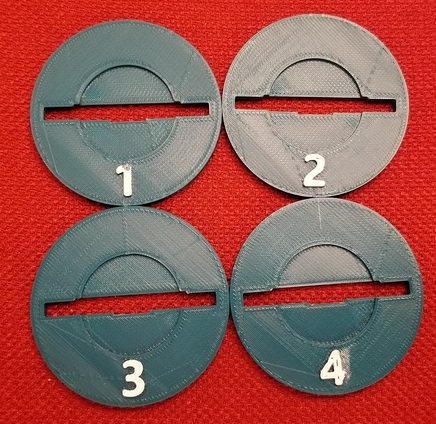
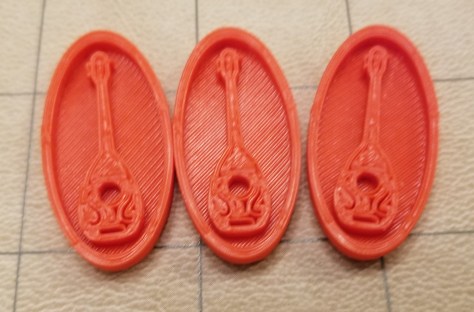
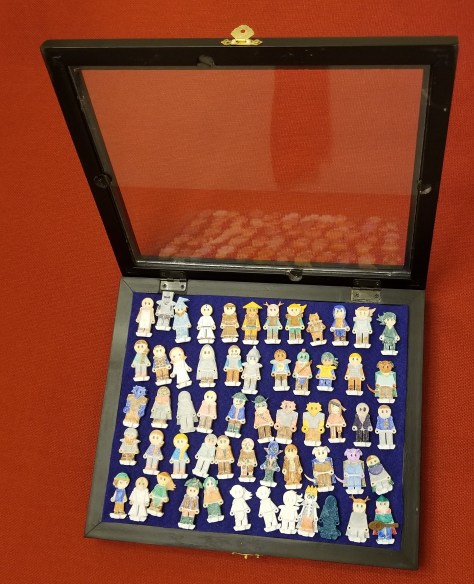
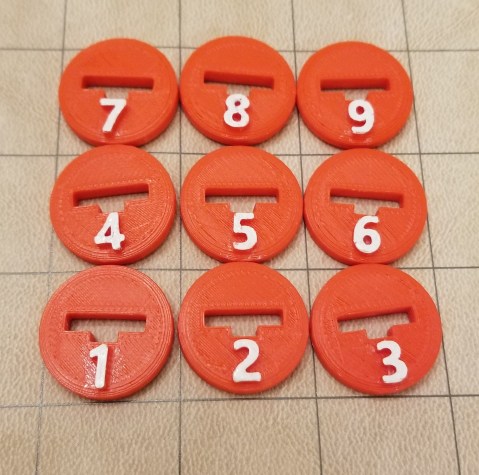
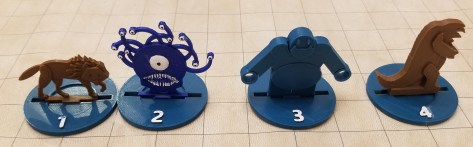
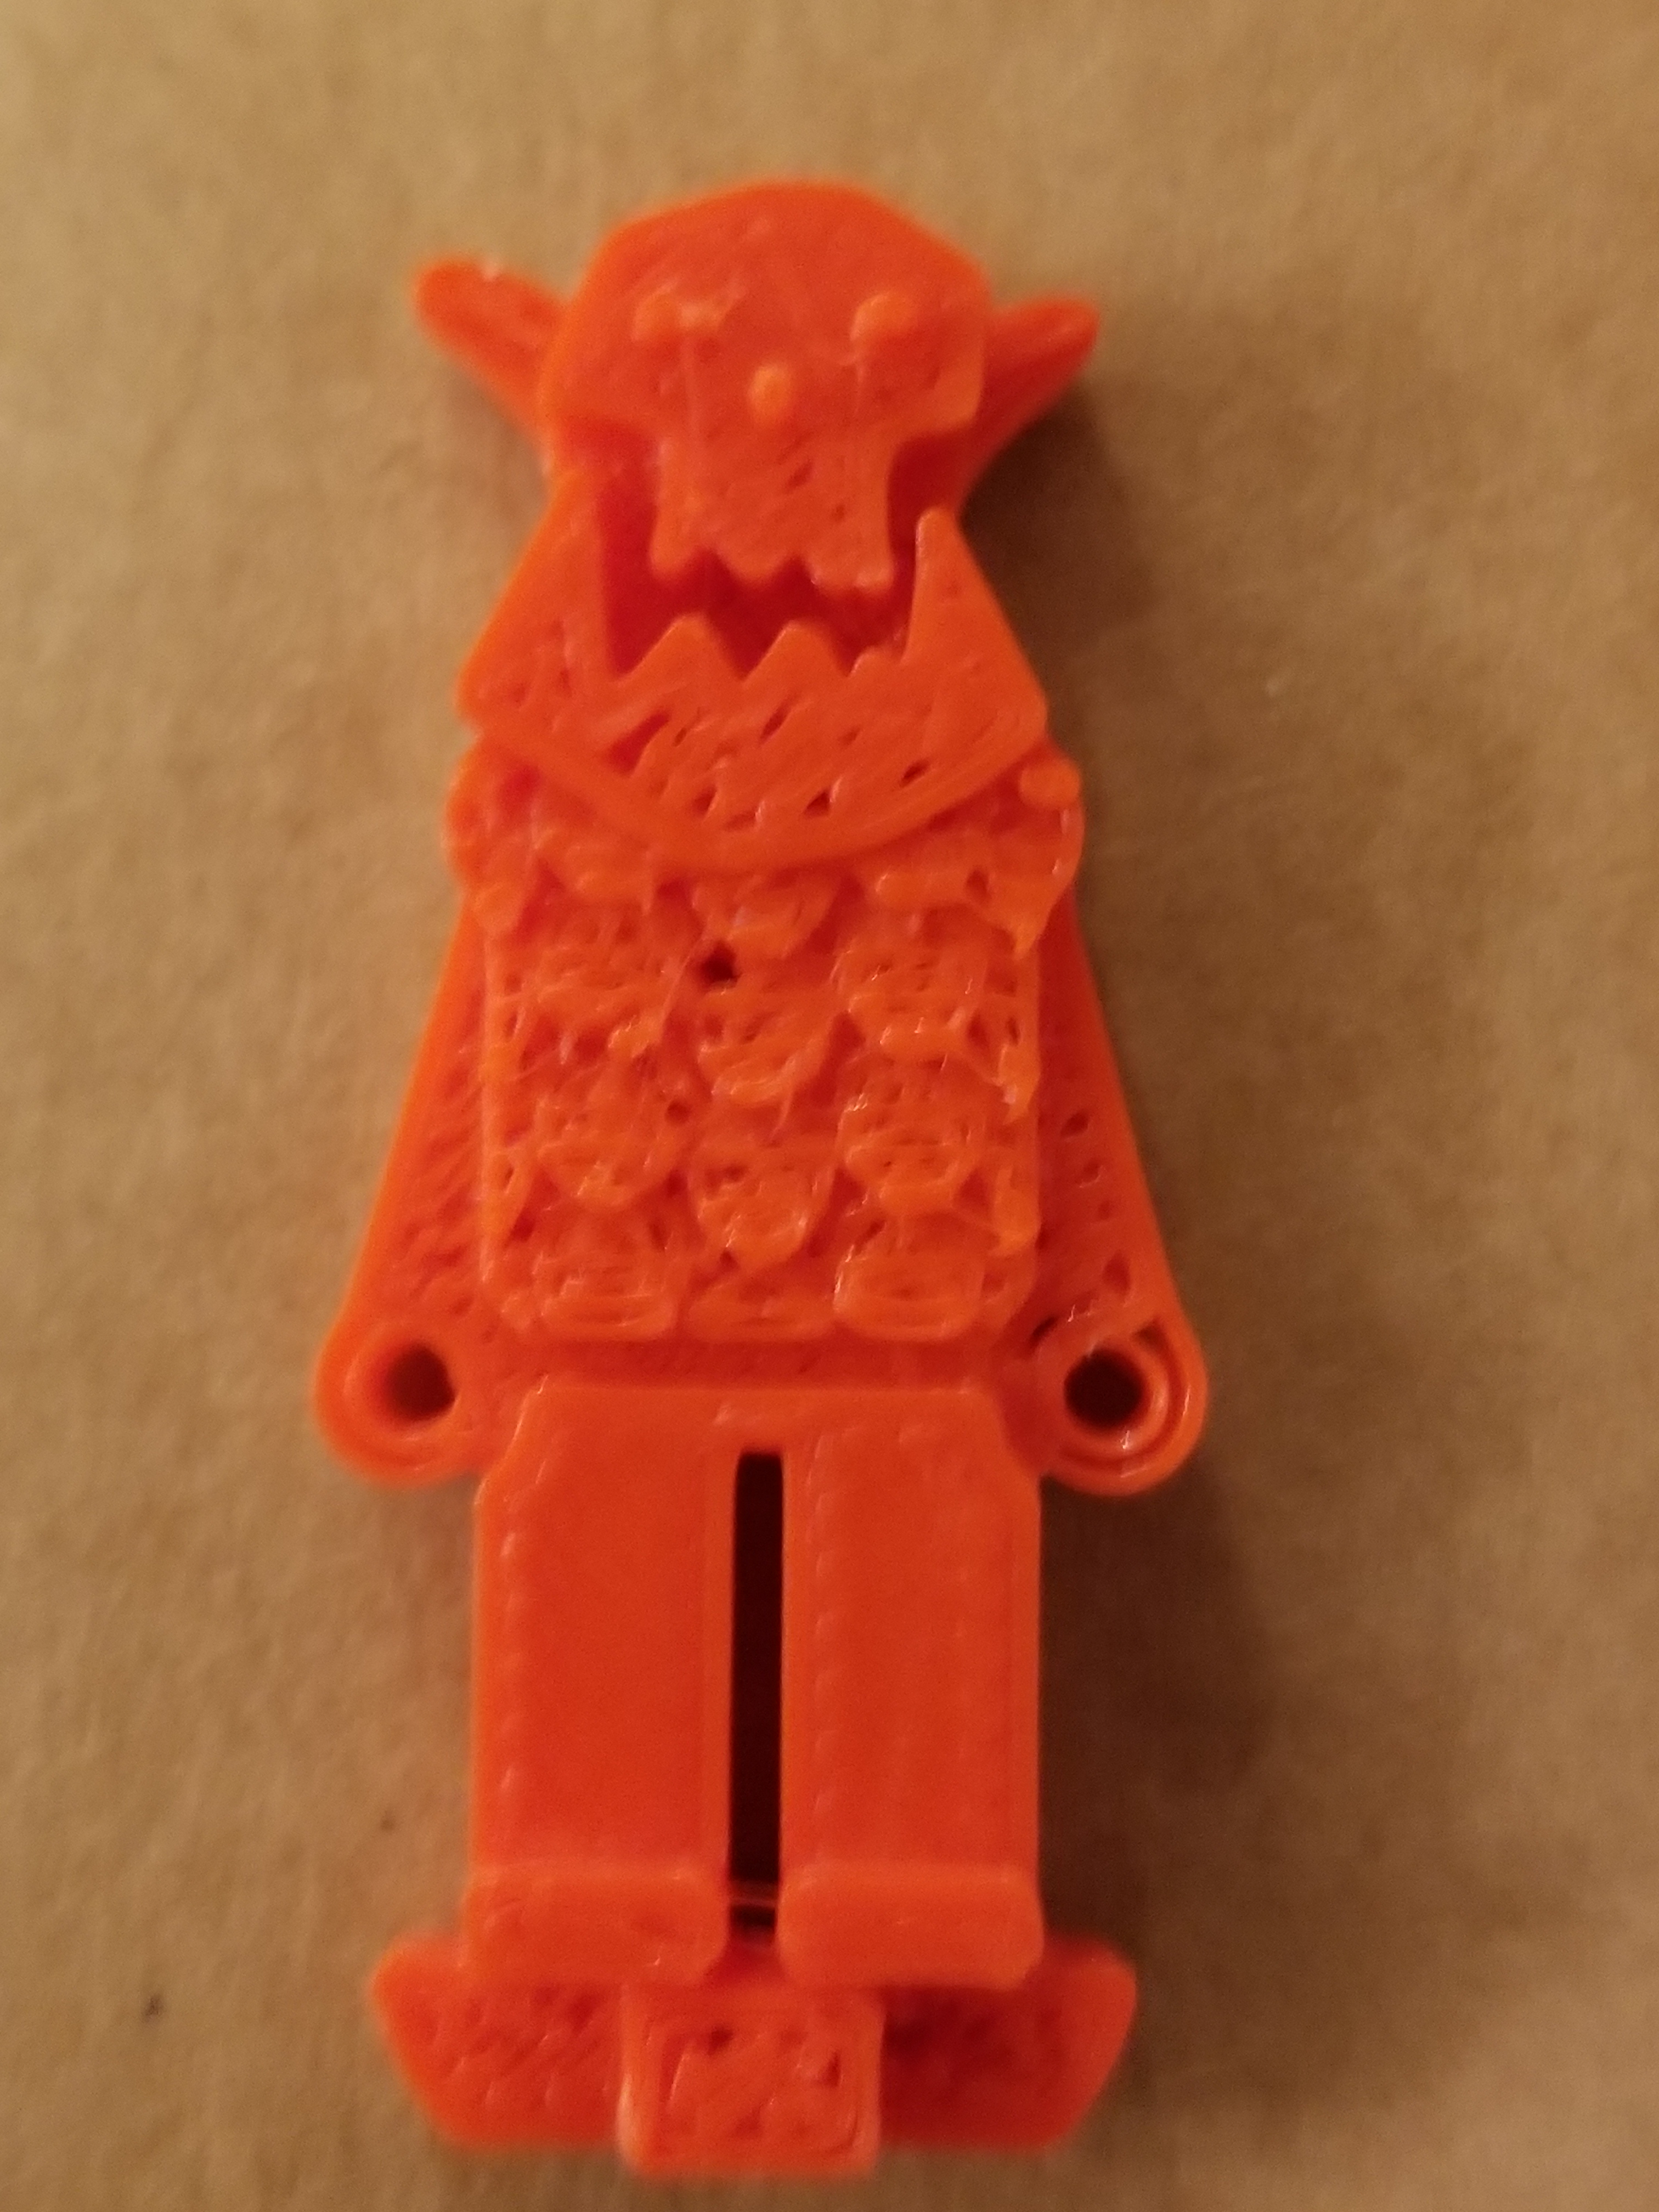
There are many other odds and ends in here such as scatter terrain, and minis that I rotate in and out of usage when I feel I need them (or not).  I often don’t use more than a fraction of the box when I’m not DMing, but I’ve also had situations where it ended up saving the game that night because the DM forgot to pack most of their minis or didn’t have a collection of their own yet.  That (and all the stuff I tend to make for my own characters) makes it worth it to me to carry it around every game night.

Oh, and I can’t forget this guy:

kool-aid

OH YEAAAAAAAH!

Sometimes you just need somebody to represent a large creature.

NEW MODELS POSTED: 01/13/2019

I’ve been going through some of the files on my desktop, and decided to catch up a bit more on uploading them.

Bardic Inspiration Token

This is one of the 3D printed items that I’ve used the most at the gaming table.  It helps remind people when I’ve given them bardic inspiration, and reminds me of how many uses I have.

Bardic Inspiration Tokens.jpg

The below items I haven’t got printed examples of, as far as I know.  They are items I mixed into new items, but then decided not to actually use.

Bone Pile – Based

Meeple-Based Commoner Token


DM Tools: Flatminis and Case

I’ve probably been a bit confusing with some of my posts so far, referring to my collection of Flatminis without really explaining them, so here it is.

Flatminis are series of RPG minis available on Thingiverse for free to 3D print.  They are more of what I refer to as 2.5D minis, as they are designed to print flat on a 3D print bed, and it adds depth to them in layers, not requiring any sort of support (though I do highly recommend printing them using rafting, or you’ll have a hard time getting them off the plate).  You print the mini that has a standardized connector tab, and you print a matching base system to go with them that you insert the tab into like so:

1.

flatminis 1

2.

flatminis 2.jpg

3.

flatminis 3.jpg

The base design is standardized, so if you have your printer calibrated well you can print a number of the bases, and then print an even larger number of minis because you likely aren’t going to need all the minis at the same time.

Also, by storing the mini and base separately, you can store them much more compactly.  I keep a lot of the bases in my toolbox, and the player character/npc minis in a separate case for ease of storage and access.  The case is a little display case that I found at a hobby store and added some layers of felt to thicken up the padding and make it look better.  I also had to tape back the display stand portion of it so it wouldn’t flap in the way.

flatminis case closed.jpg

flatminis case open.jpgflatminis case back.jpg

Personally, I sometimes refer to these as Crayola Characters.  Why?  Because I like 3D printing, but not so much doing the detailed painting others do with minis, I literally use crayola markers to color in the white plastic characters, and then clearcoat the outside with nail polish topcoat 24 hours later to seal in the ink and prevent smearing/wearing off on other items (or my hands) in use or storage.

flatminis-colored-in.jpg

Sure, these minis can be simplistic and goofy looking, but I like them.  It allows me to safely and easily carry a wide variety of minis for when someone (particularly newer players or players with new characters) doesn’t have a mini, or when we need some random NPCs in a game.

Also, my enemy minis are mostly Flatminis as well, allowing me to keep an assortment of common enemies on hand without having to carry a bulky foam case with a lot of fragile minis.  I have at least 8 of each of the following minis.

flatminis enemies.jpg

Thingiverse has a pretty good variety of them, which I and some others add to every so often as we create things for our own needs.  I tend to remix in the connector pieces from existing Flatminis, and use a combination of Paint and Microsoft 3D Builder to turn 2D images into minis designs like I did with the heads of the orcs.

flatminis orc.jpg

Sometimes I also find keychains or other mostly flat designs on Thingiverse and remix them into Flatminis, like I did with my ninja minis and making twig blights out of a model of baby Groot.

flatminis ninja and groot.jpg

For DM accounting purposes I made some modified bases with numbers on them,

numbered flatminis bases.jpg

There are also some large size Flatminis.

large flatminis.jpg

It’s really convenient storage and portability-wise to use Flatminis, and enables me to always have a good amount of mini variety at the table.  It’s also kinda awesome when we have new players at the table who don’t have minis.  There’s almost always something close enough for someone to use.

Note:  There are weapon sets made to fit Flatminis, but I don’t make these due to some issues with the 3D printing process of such small and thin objects.

“Get a scan with your tricorder”

I’ve been working on a 3d print of a tricorder.   I’ve wanted one ever since I was a kid.  I found the model here: Tricorder

I figured I’d print it as a test of the new spool of  “silver” filament that I got recently.  I’ve still got a ways to go on finishing it.  Here are the images I have of it so far:

Tricorder_Front.jpgTricorder_Back.jpg

It took a little bit of post-processing to get it to where it is now.  As-printed, the hinges don’t allow the full range of motion of the flip portion.  I had to carve them out a bit.  However, in the process of testing, the gripping portion of the hinge brackets broke, and they were never great to begin with.  I still need to find a way to manufacture and attach pieces to hold the hinges in so the bottom doesn’t fall off anymore.  And my printer just started going haywire in my last attempt at printing parts for the hinges.  It’s now deadline for a bit, but that’s another story.

The other issue is that I printed it at the “Fast” setting in Simplify3D for my printer, and it seems mostly good enough for me.  I do think I made one mistake.  Since this was a wide but not terribly tall print, I printed this with rafting, to make it easier to remove from the print bed.  The tradeoff was the terrible surface quality on the bottom of it, as you can see in the picture on the right.  I’m still debating whether to try to fix the surface with a filler, which would require me to then sand, prime, and pain the whole thing, or just to call it wear and tear from usage.

I also need to find, print, and attach the appropriate decals.  I’m considering asking a friend who has a machine for printing and cutting vinyl to make the decals for me.

Anyway, I’m much closer to one of my childhood goals of having my own tricorder!Tricorder_Closed.jpg

This also prompted an interesting conversation with my RPG group.

“Any sufficiently advanced technology is indistinguishable from magic.”  ~Arthur C. Clarke

Have a character whose backstory is that they are a Vulcan who is posing as an elf wizard, and relate every spell back to him using a device that creates the same effect.  A tricorder being used for Detect Magic was the first example.  Then there was stuff like using various settings on a phaser for various fire spells.  Just a thought.  It would also explain a wizard not having any local or historical knowledge.

Ghostbusters Proton Grenade Costume Prop

This is one of my favorite designs now.  I’ve been working on my Ghostbuster costume lately, and it got me thinking.

I knew I had seen some various ones, but the one I liked best is here:

Proton Grenade Article

(from the above link)

So I designed my own in AutoDesk Fusion 360 and printed it out the past couple of days.proton grenade

You can find the files here:

Proton Grenade on Thingiverse

Fair warning: the pieces might not fit properly, I sized them in different pieces of software while trying to figure out how the tolerances would work out and was kinda guesstimating.  Also, the original model has an antenna thingie on the side, which is snapped off in my print.  I wasn’t paying enough attention when I pulled it off the printer.

Oculus Touch Controls Wall Mount

I found this wall mount on Thingiverse a while ago, but hadn’t taken the time to print it before.  It’s mounted with command strip tape, so we’ll see how long that holds up.  There were other versions that used screws, but I prefer not to put holes in my walls when i can avoid it.

Oculus Touch Wall Mount Command Strip Version
There’s another add on option for hanging the headset on that same mount, but I don’t think I trust the single command strip to hold that much weight.  I’m still weighing my options, but I would like to have some stand or mount for it to keep it from taking up horizontal space on my desk or table when not in use.

Headset Hanger Add On

Image is from Thingiverse at the link above.

IT’S ALIVE!

The printer is up and running again.  I reattached the belt with the new replacement part, lubed the rods and z axis screws with a spray can of white lithium grease, put a couple of drops of sewing machine oil on the pulley for the y axis, and tightened all the screws after reassembly.

Now all that’s left is calibration.  The xyz axis calibration cube came out alright, but the surface finish test and the surfaces of my minis could be better.  I also need to figure out why the hands keep getting sliced into two shells each instead of being merged as a unit.

20181004_202358.jpg20181004_202419.jpg20181004_195602.jpg