So, it’s been quite a while since I’ve posted, and at this rate I’m not sure I’ll be finishing a detailed description of the design and construction process anytime soon, so I’m gonna skip ahead a bit. If there’s enough interest in explaining the portions that I’ve skipped past (or I make myself take the time) I may circle back and explain.
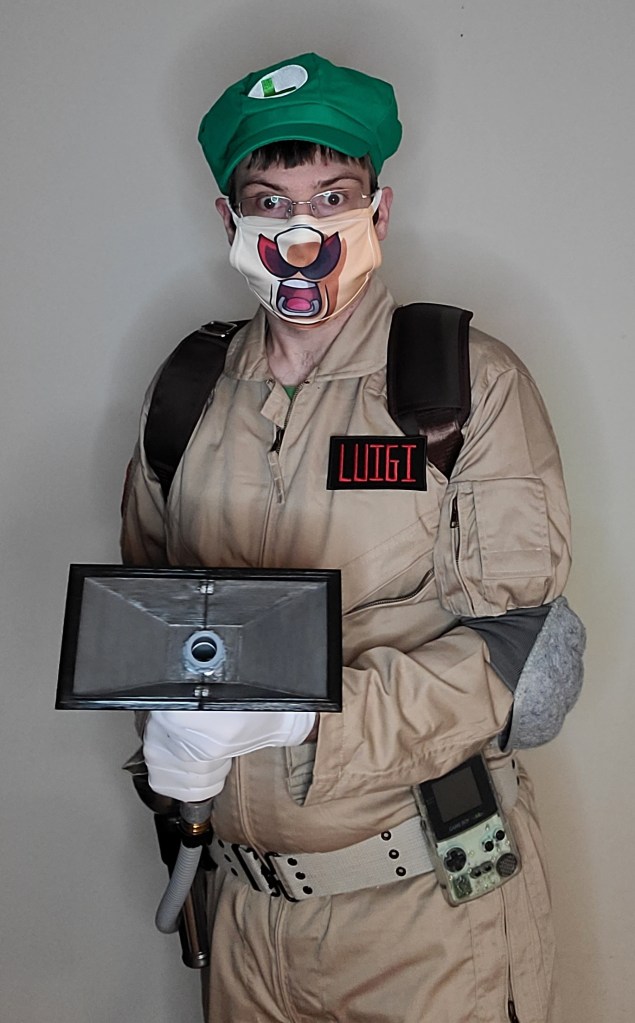
Anyway, here we go. Through a lot of tinkering with 3D models, learning how to perform photogrammetry, and some hands on work, I finally finished the polterbuster, so now I have my completed costume.
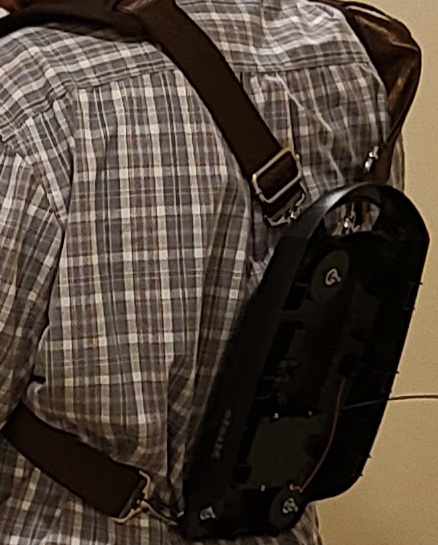
I got the hand unit to hang off the side of the pack on the custom made mounting brackets with some magnets. Haven’t yet gotten the straps to handle the pack being unbalanced with the unit on it yet.
And now here’s everything put together. It was finished just in time for Halloween… when there was nowhere to go. Oh well, there’s always the next convention!
Maybe one day I’ll revisit this and get some decent sound effects added to it.
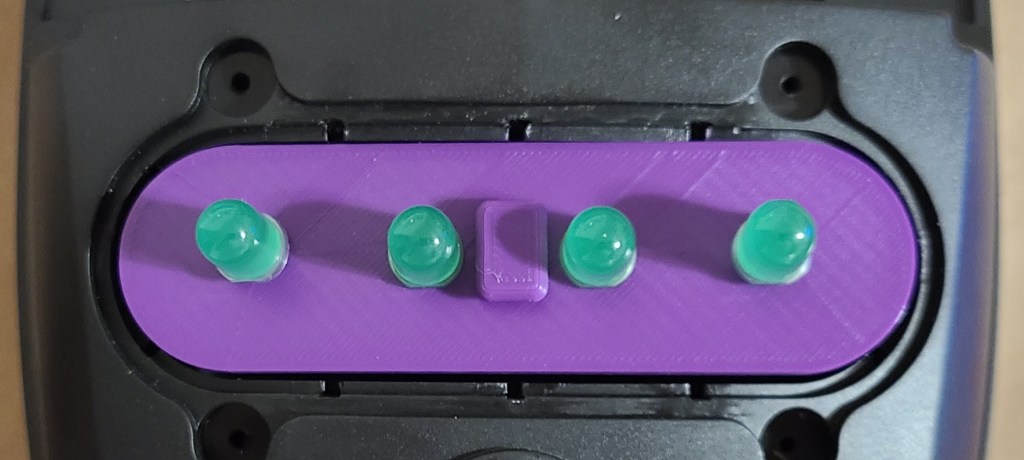
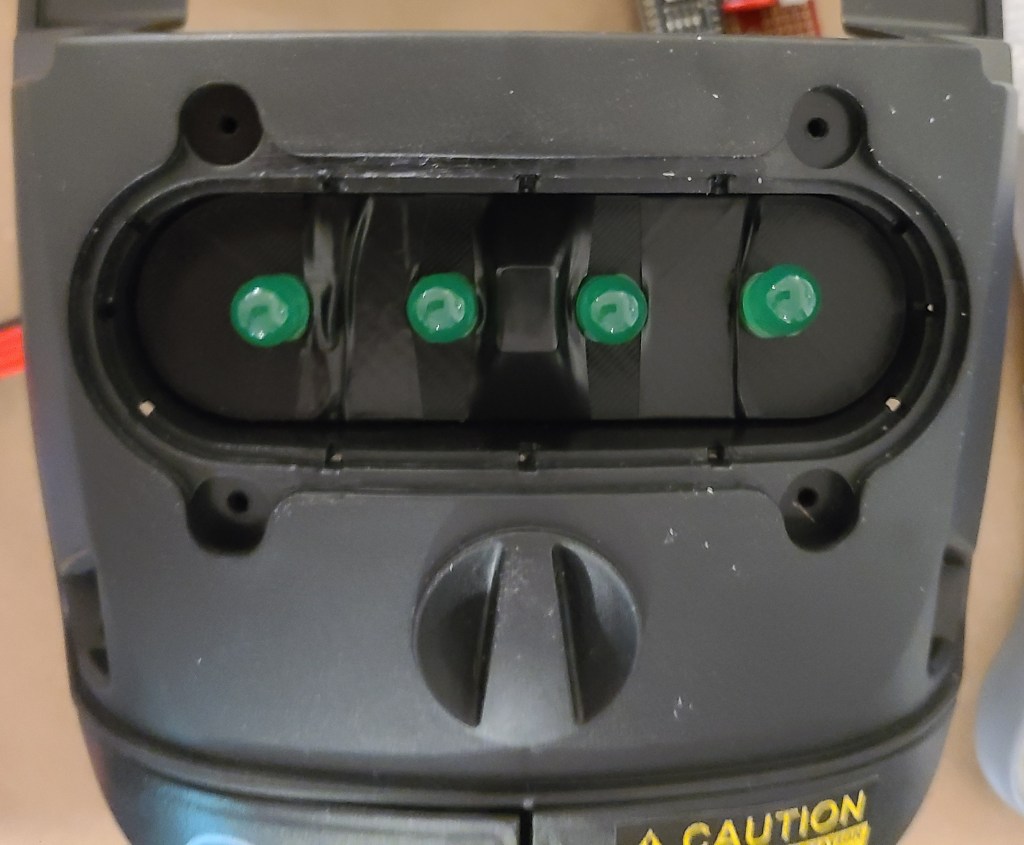
The clear compartment on the original vacuum contained a lot of white foam balls that got blown around by a fan when the toy was turned on. I decided that I was going to install lights here. The Poltergust from the games had one light… but this is an imprecise mashup piece. I decided to go with 4 lights, in homage to the proton packs, but green to match the aesthetic of Luigi’s Mansion.
Here’s what I was working with:
What I started with
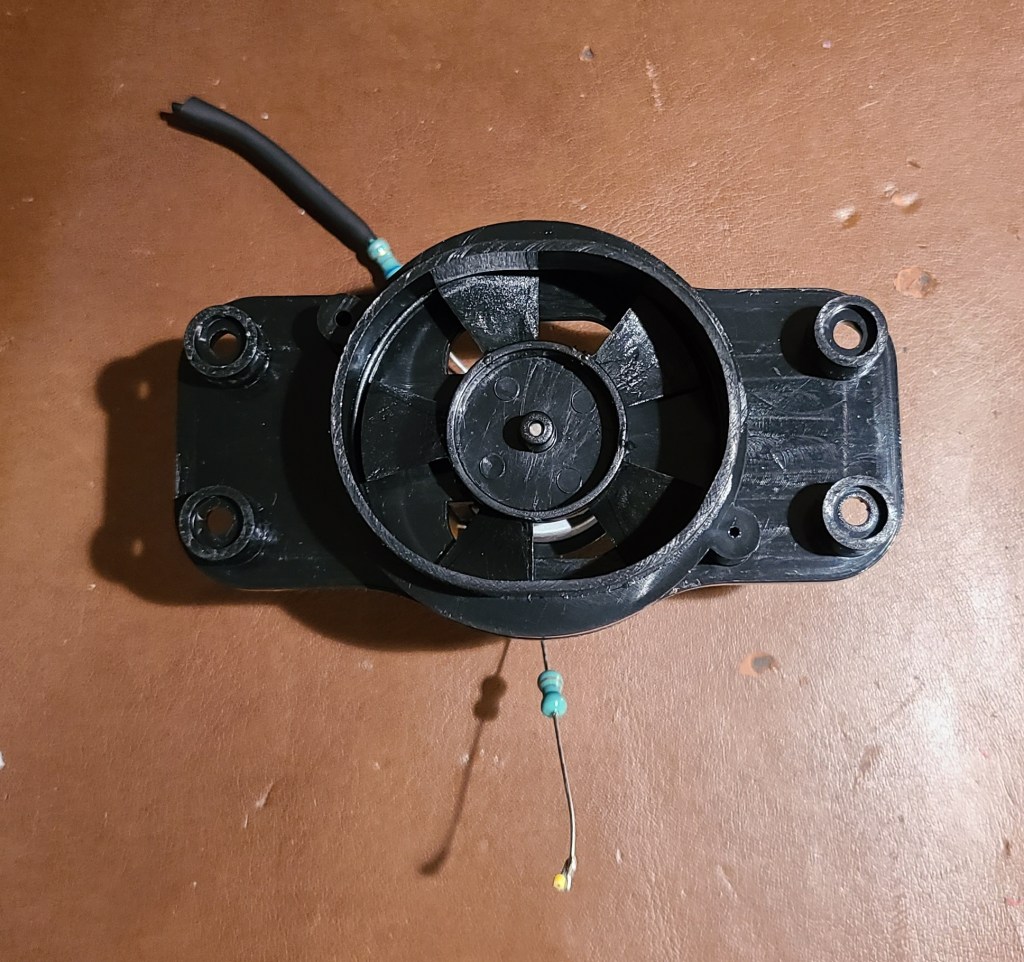
I removed the foam balls, and originally I was also going to chuck the fan in the trash too, but I hold onto parts like that just in case, and I’m glad I did. This will be important for later.
Motor parts kept for later
For the lights I ordered some 10mm green LEDs (I like my tech chonky, especially for a cartoon character), and the accompanying resistors.
Chonky 10mm LED vs standard 5mm LED
I 3D modelled and printed a piece to hold them into place in the spacing I wanted, and after a lot of frustration and soldering I got them into the installed. I put a solderless connector on the end so that I can separate parts when troubleshooting and/or if I decided to mount the board on the other half of the casing. I really need to spend some more time practicing crimping those connections correctly.
Light array prototype for test fit
Hmm… a bit messy
Eh, good enough for a rough build
Installed in casing
To control the lights for a blinking pattern, I used a knockoff arduino nano and modified some simple code for it. Gotta watch out for those knockoff boards, though. I had to go find special drivers so I could use the board, which can be nervewracking. You never know what people are going to include in code from an obscure website.
Prototyping the simple code on my Uno
Nano board mid-construction… I forgot to take a closeup when I finished the soldering
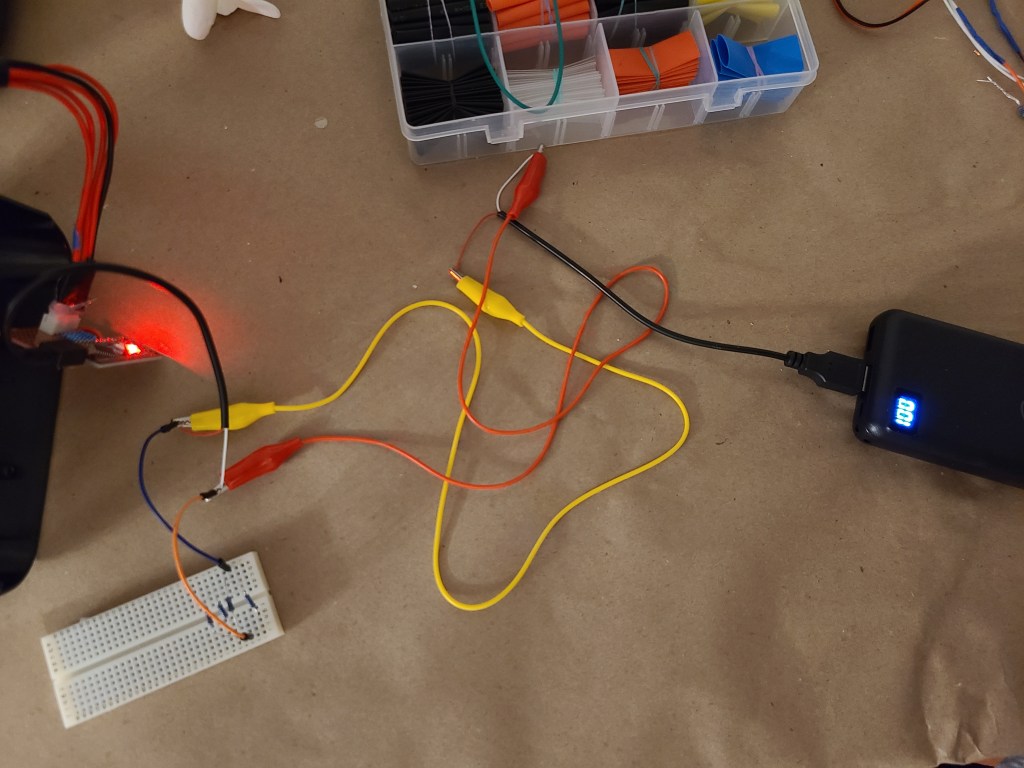
To power the board, I decided to use a phone power bank, as I hoped it would be an easy solution… I should know better.
Early Tests
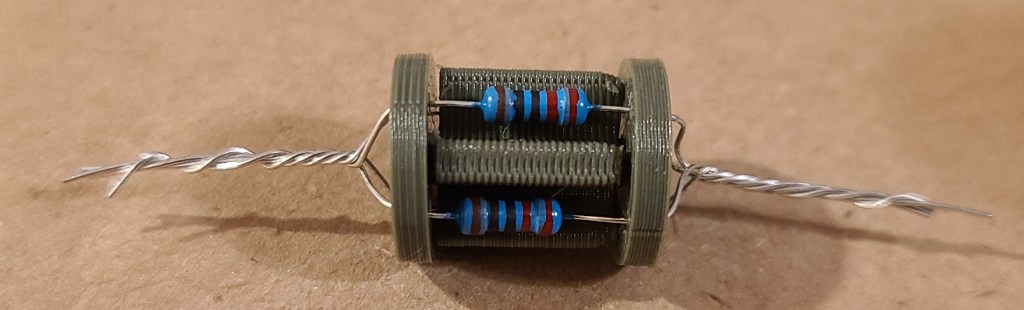
Hooking the board to the phone bank powered the lights…. for less than a minute. Then the power-saving features on the bank determined there wasn’t actually enough of a load on the circuit, and cut out. After a lot of fiddling with resistors, I added a bundle of 4 resistors in parallel to the circuit to add a little bit of load, which makes the power bank stay on.
And this is why we have breadboards and alligator clips.
Resistance is… helpful
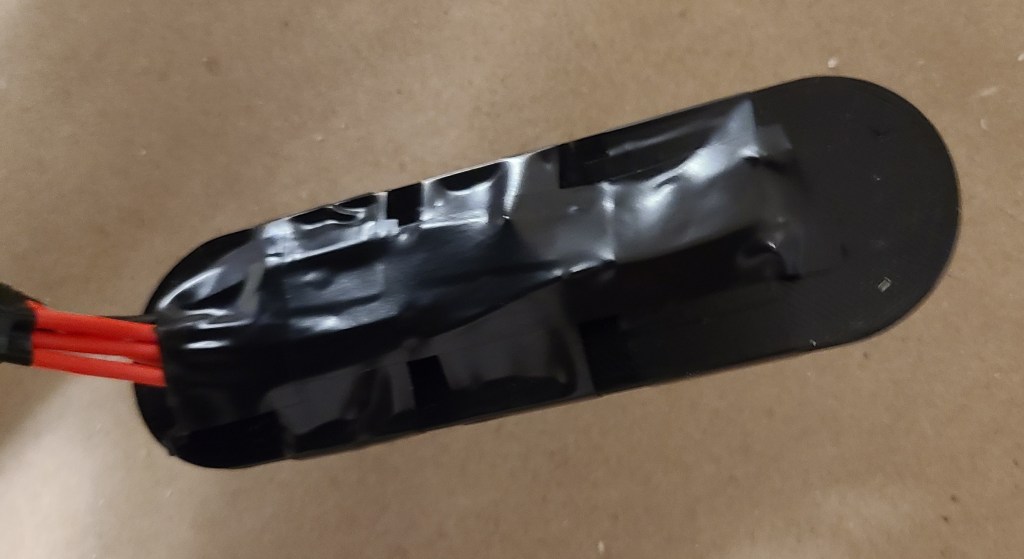
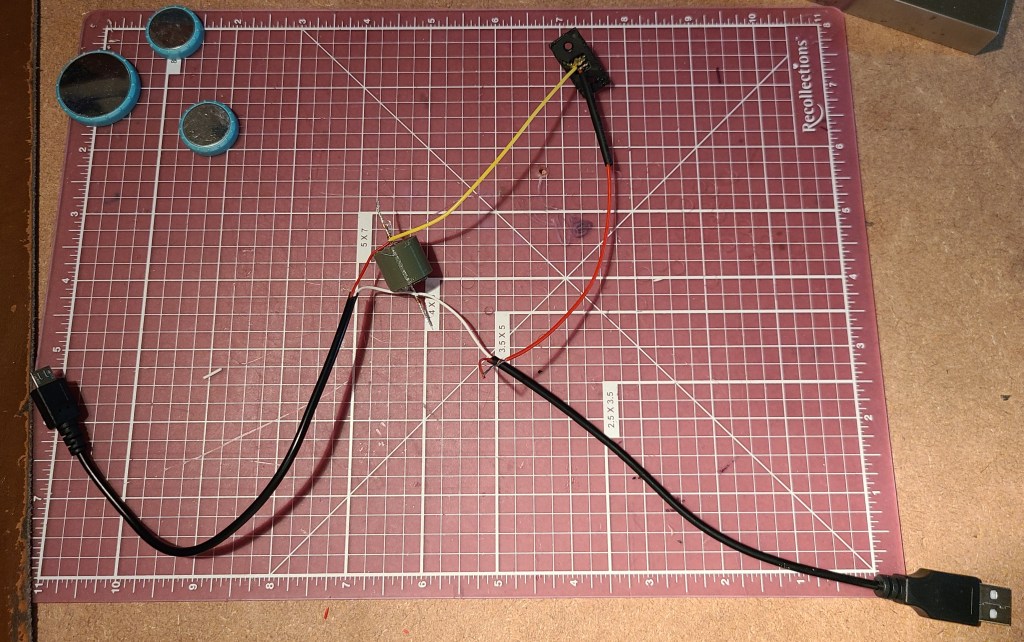
Once I had verified that the power bank would stay on, I went to permanently install the components. I continued cannibalizing the cable I was using, and wired the resistor into the circuit. I also added the toy’s original power button into the circuit as it would be a conveniently accessible button already built into the casing.
There was a originally a casing on the resistor bundle, shown here, but I removed it later due to heating concerns
Of course, the one segment of the wire I HADN’T messed with turned out to have a short. I had to cannibalize another wire end to bypass it. (Not shown, just annoying)
Then I had to figure out how to mount everything so that it would stay in place and function reliably. I went by my old standby for mounting things: hook-and-loop-backed command strips.
Circuitry mounted on the back of the red shell
Power bank mounting location
I used the modified USB cable to connect the two halves together for closing up. I also added an extension cable for charging the power bank without opening up the case, and a cut a hole for checking the display of the power bank to determine the charge status.
Charge port at the top, status display in the middle
With that all wrapped up and functioning, here’s the light sequence. Pay no attention to the other changes for now.
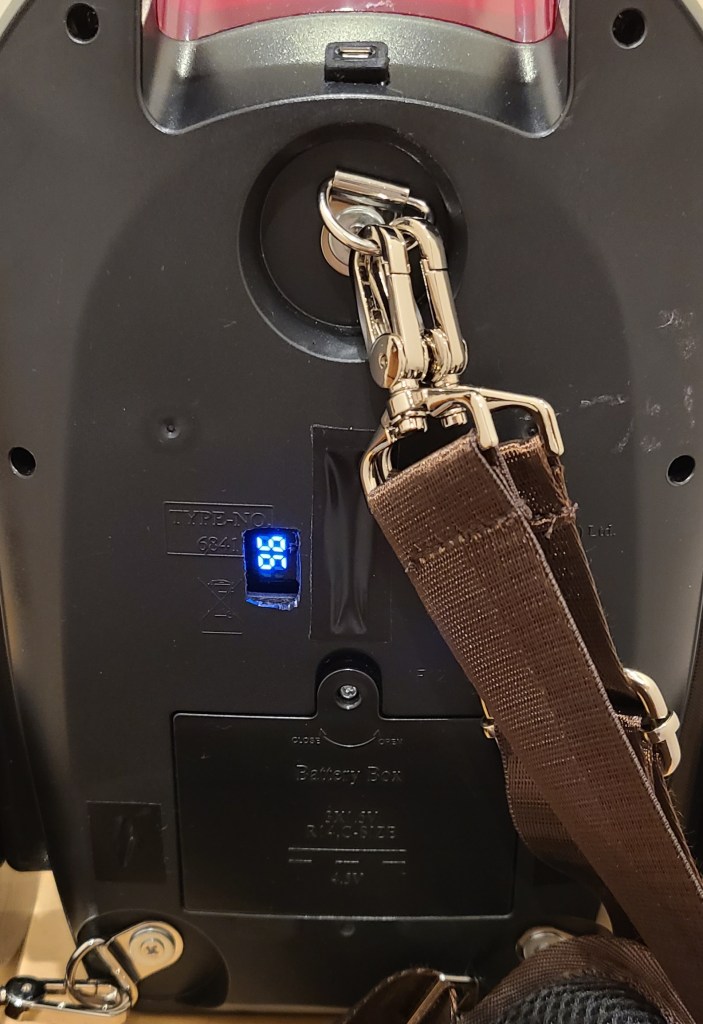
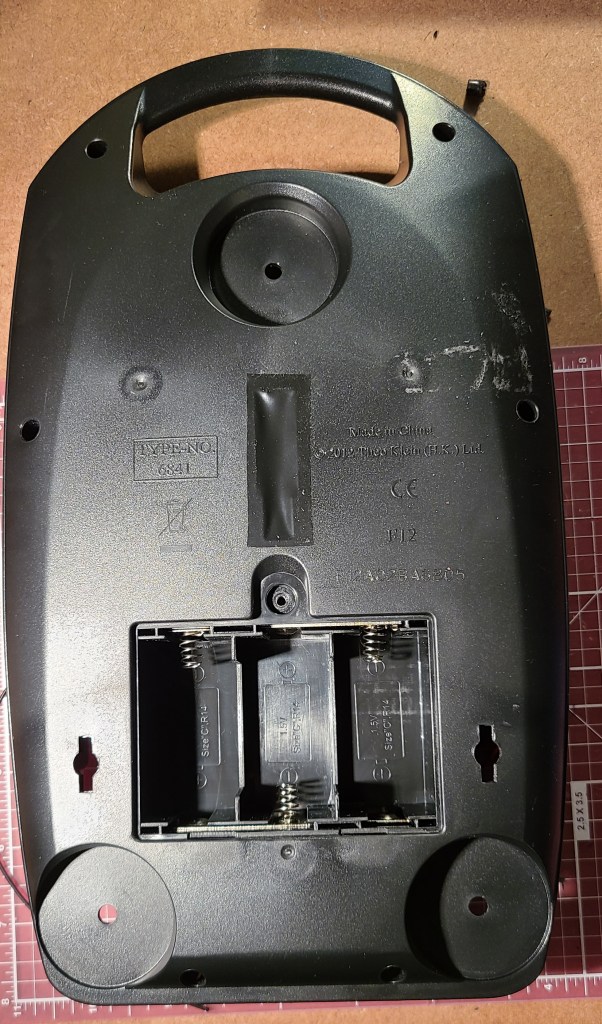
I need to be able to wear this as a backpack. Conveniently, I found that the bottom had 3 wheels.
I carefully removed the wheels (just required removing the screws), and used the screw holes to mount some connecting rings.
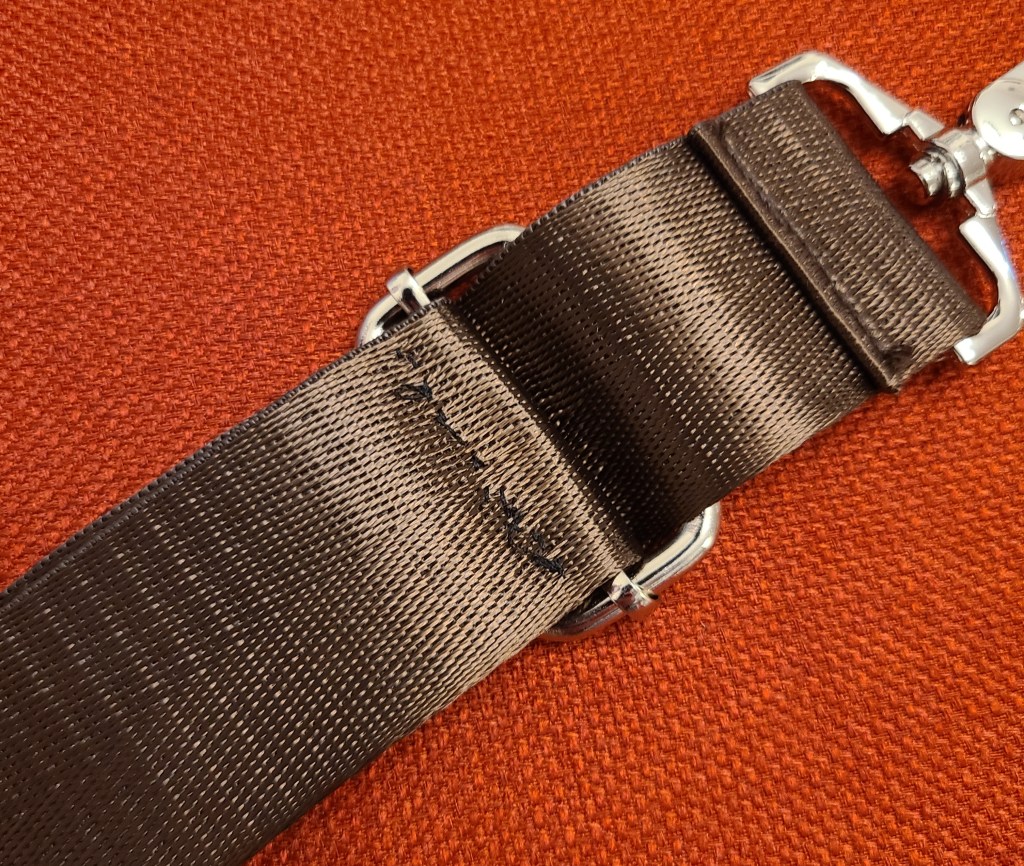
Then I added some padded, adjustable straps. They weren’t quite the right length. The backpack dangled far too low on my back originally.
I ended up having to shorten the straps, cutting the stitches on one end, and restitching them at a better length. The ends dangle, and I’ll probably need to shorten and/or stitch them flat later for neatness, but at least they work now.
It’s not the best stitchwork, but it works well enough. Now the straps are in a range where, if anything, I might need to adjust the straps longer using the built in adjustment hardware. Just about where I wanted it. Shortening these straps didn’t take long at all to do.
I’m starting some overdue updates on the backpack. I’ve decided to call it the PolterBuster for now. Just so I have a tag for these posts, and the build is a mashup of a Poltergust and Ghostbusters equipment.
In the previous post I mentioned where I got some of my inspiration from for the backpack, and showed what I started from.
This should probably usually be last, but I was solving problems as I went. There was a lot of text on the vacuum unrelated to it’s new life as a Poltergust. For the sides, that was an easy enough fix (as long as people aren’t looking TOO closely). I just sanded off the text, colored in the area with a black sharpie, and IMMEDIATELY rubbed off the excess ink with a dry paper towel. Seems to work okay. The same trick KINDA worked for a small section of the text on the red shell and a red sharpie, but I only used it for a small section where I was unable to fully cover up the text.
It’s an interesting trick I learned from a friend of mine. Too bad I realized later that it’s going to get covered up by some other parts as soon as I can make them, but now I have another trick up my sleeve.
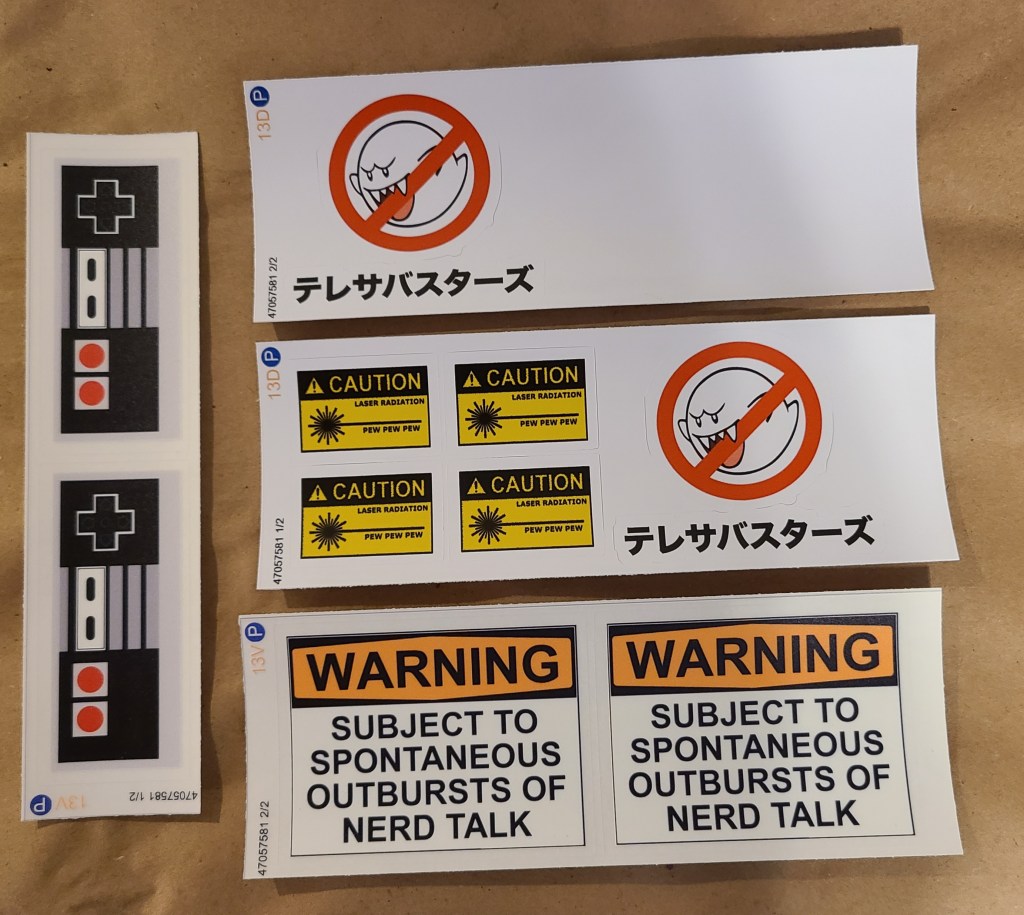
For most of the rest of the text and symbols that I didn’t want, I covered them with what I thought were appropriate stickers.
Fun Fact: Boos are called Teresa in the Japanese version of the Mario franchise, hence why the Japanese text translates to “Teresa-busters”
The NES controller sticker covered the hole that a fake knob protrudes from, so I placed the sticker and used a hobby knife to trim the hole out.
I also decided I wanted to cover the fake power cable retraction button.
PEW PEW PEW.
Not much to cover in this particular post, but I’m trying to break these up by topic into manageable chunks.
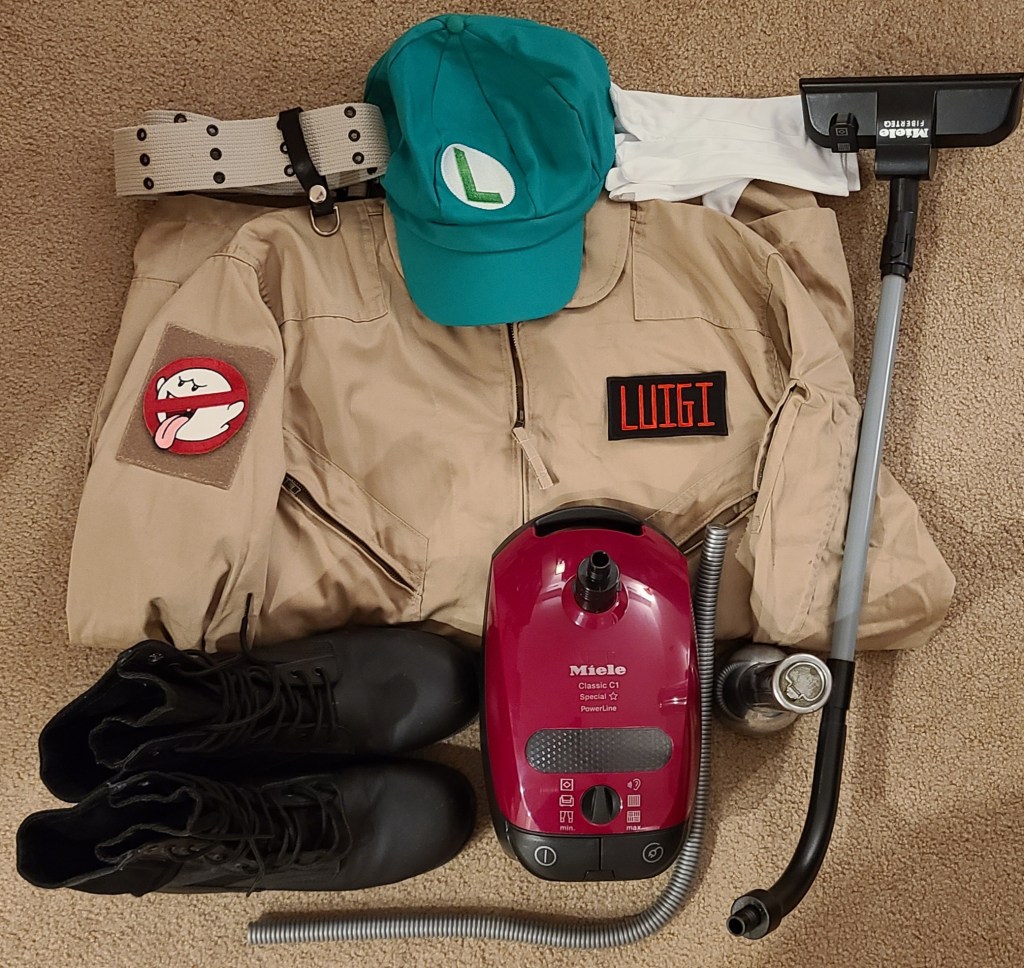
I’ve been playing a lot of Luigi’s Mansion lately (1 and 2, I don’t have a Switch for 3), and decided to combine costume ideas. Luigi in a modified Ghostbusters uniform.
Base uniform:
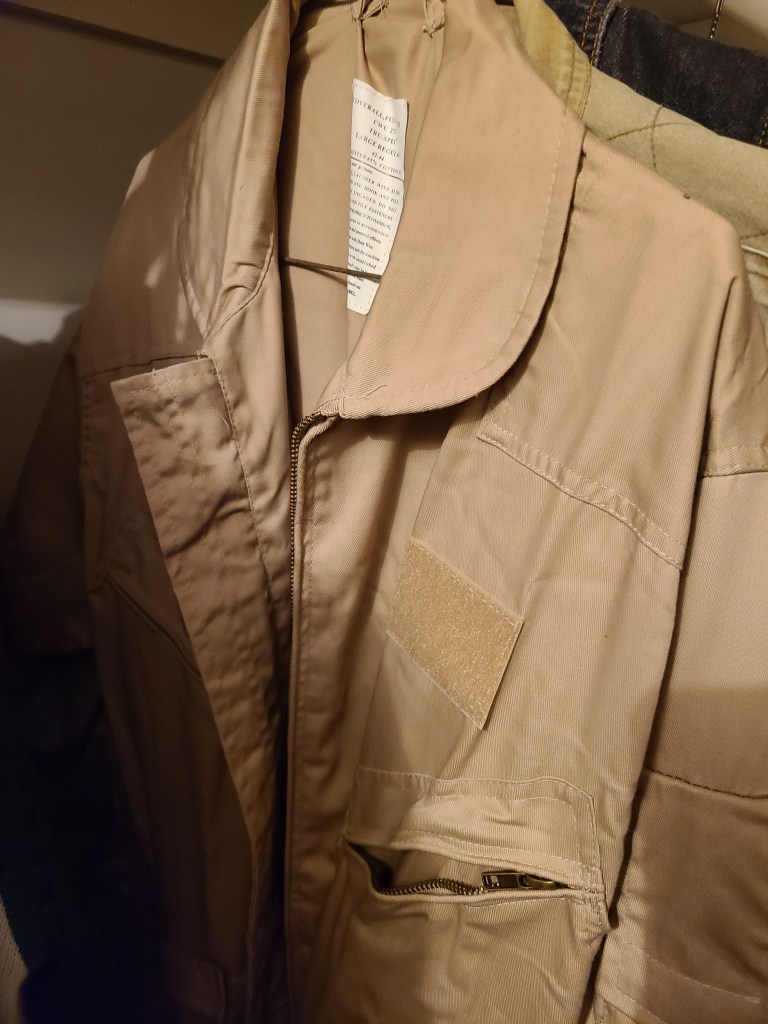
I started with the base jumpsuit with the Ghostbuster patches removed.
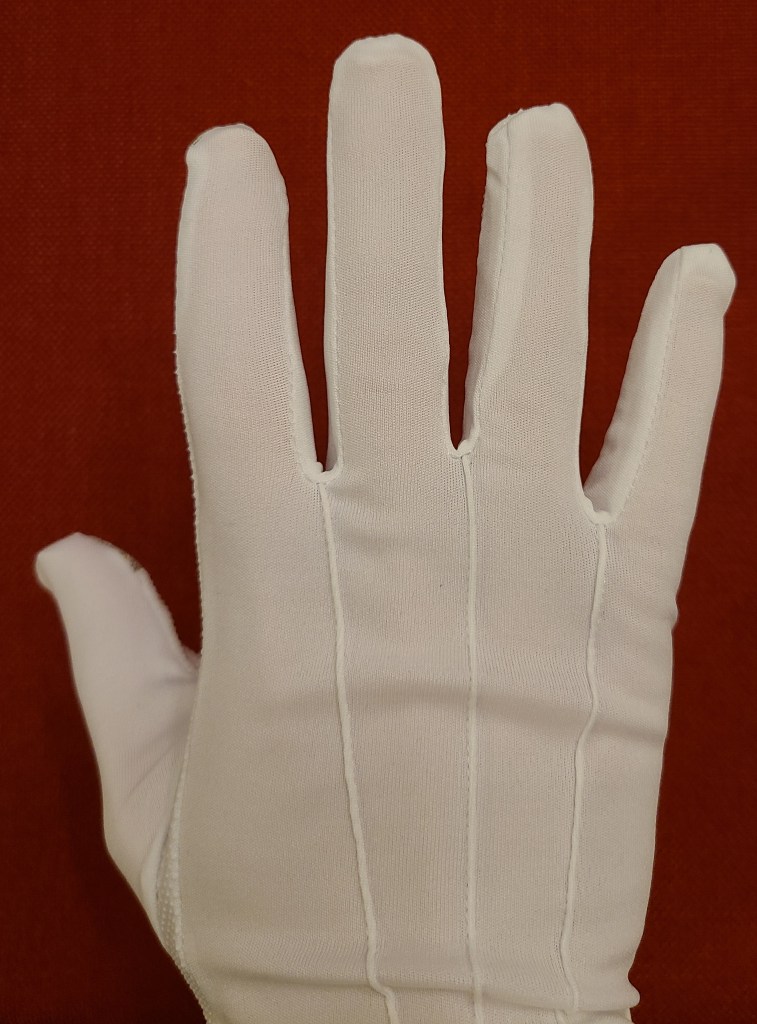
Then added Luigi’s hat and gloves. Mine is compatible with touchscreens!
Now for some replacement patches. I got the custom name patch from GBFans.com.
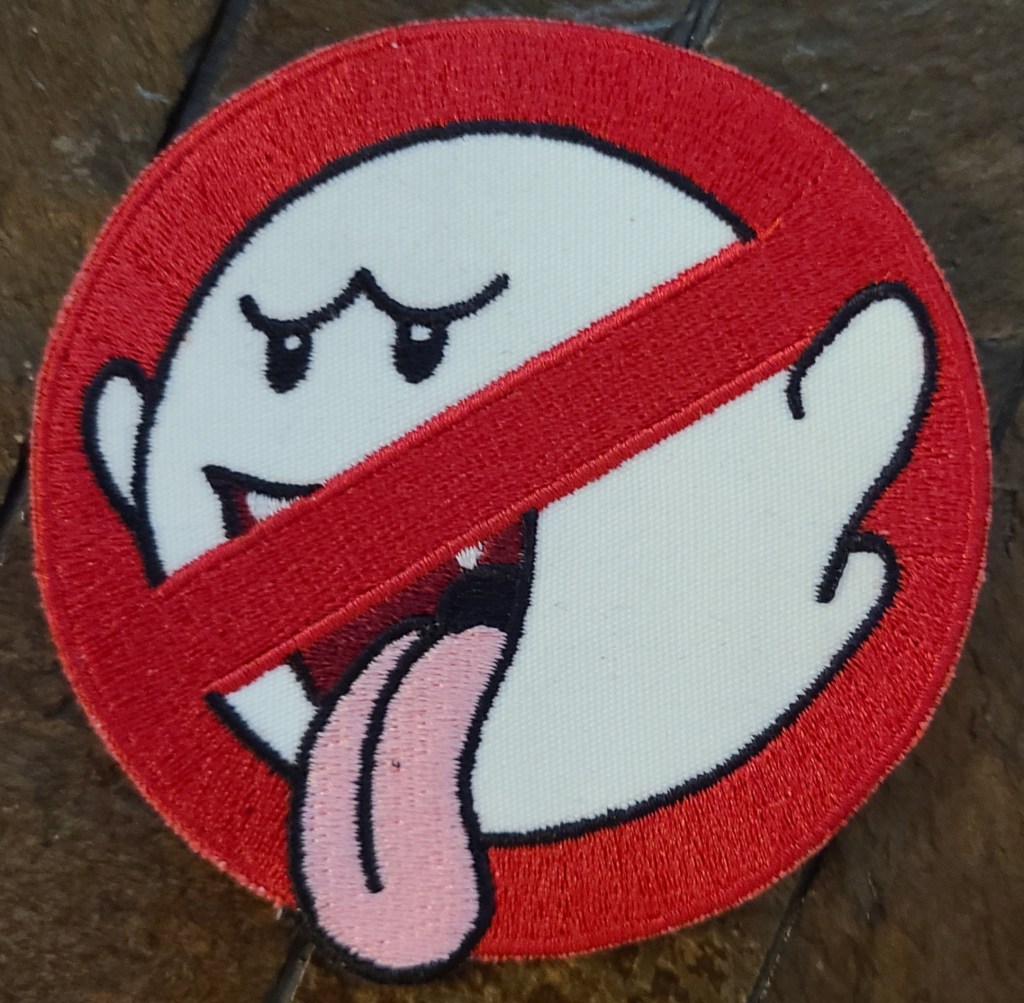
And the No Boo version of the No Ghost patch from a vendor on eBay.
I ain’t afraid of no Boo!
Belt & Accessories:
I liked the vintage style flashlight that Luigi carries at the start of the games before he picks up the backpack. I did some hunting on eBay, and acquired this one:
The bulb was dim and flickering, so I decided to replace it with an LED of equivalent size. While I had it open I removed a bit of corrosion from the battery spring and taped the split glass lens together to make it sturdier. I also found a holster to hold the flashlight on my belt.
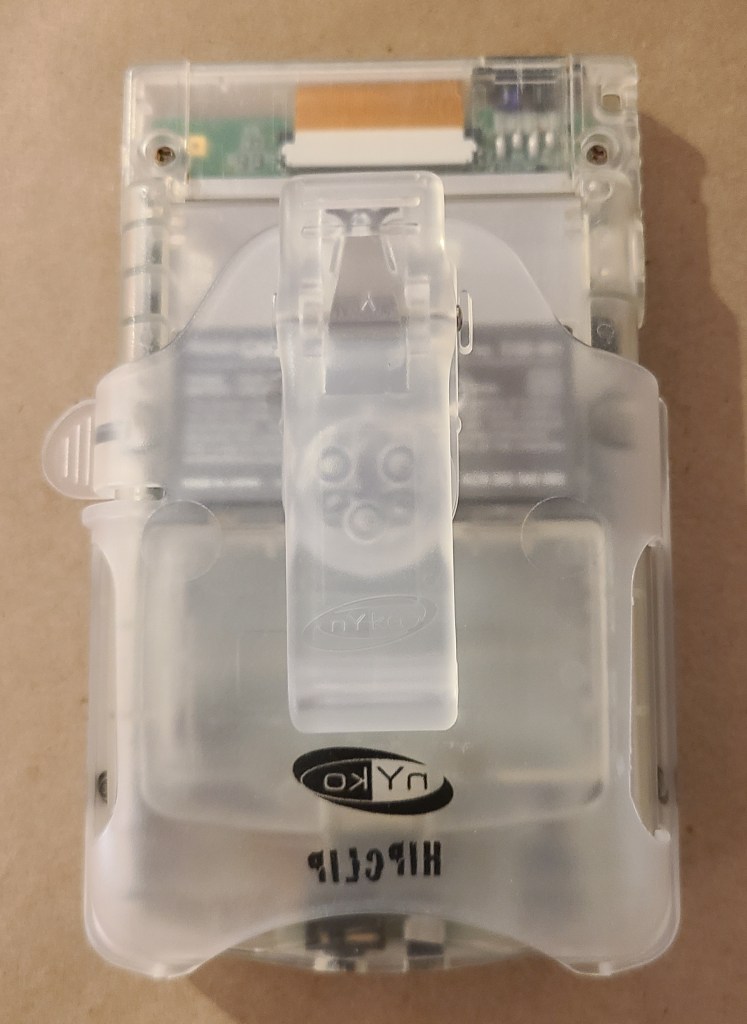
I also needed Luigi’s version of a PKE meter, the Gameboy Horror. After a bit of eBay auctioning and retrofitting, I’ve got my own! I may cover more of what went into that in another post, but here’s the final result.
There is also a clear plastic clip that was sold as an aftermarket item to match.
I’m using the standard web-belt from the Ghostbusters uniform, so nothing fancy there.
The Backpack:
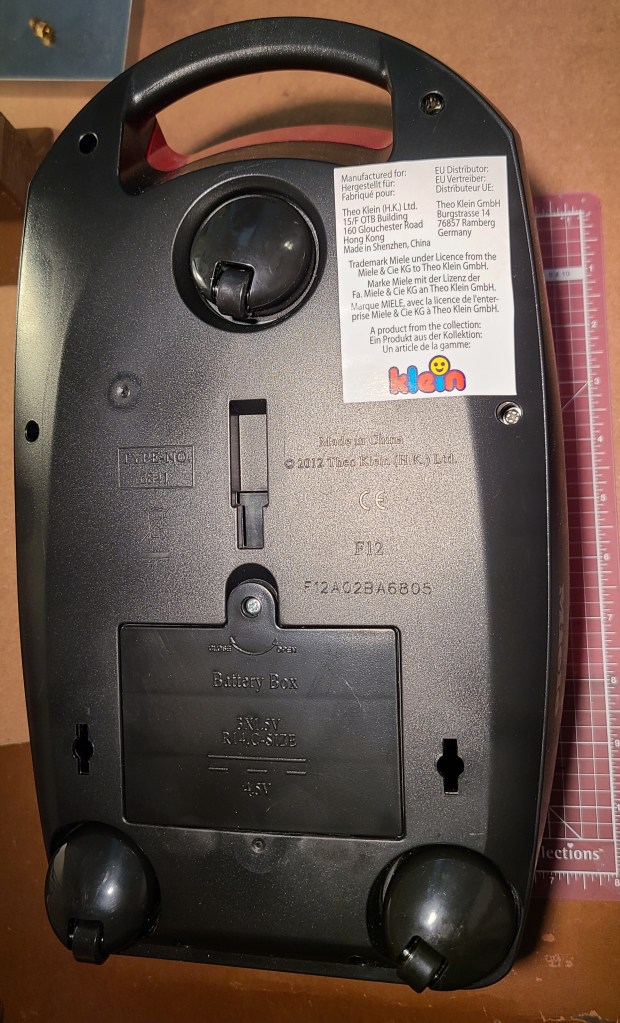
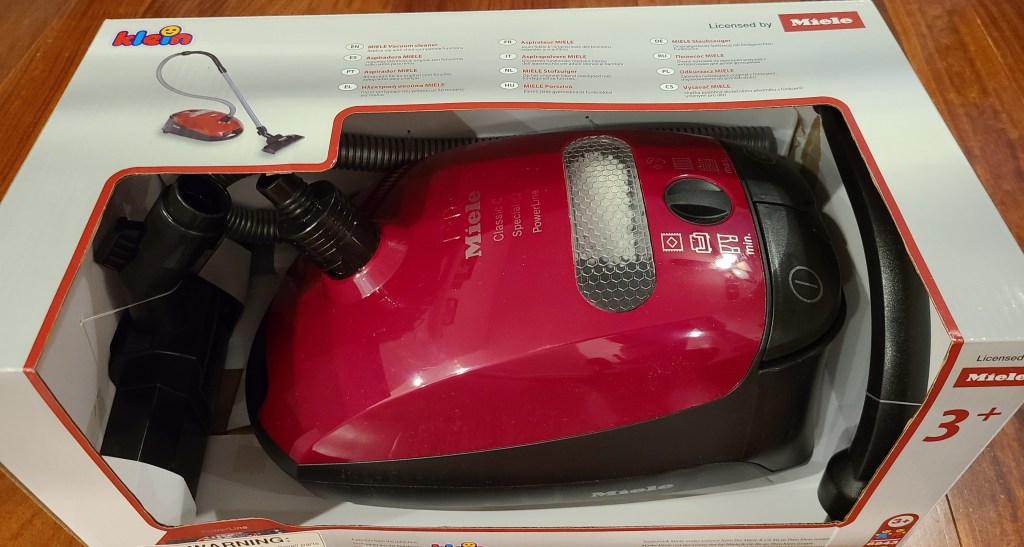
This portion will definitely require a post or more of it’s own. I’ve acquired most of the parts, but I’ve barely started on construction on it. I’m starting from this toy vacuum cleaner as the base:
I can’t claim credit for this part of the idea. I thought someone had likely tried to build this pack already, and of course someone had. I did a quick search on youtube and came across this video.
Obviously not my video. I’m glad I came across it, though.
I’m not planning on building the pack the same way he did, but it works as a good enough base. Mine is going to be my own interpretation of a mashup between the Ghostbusters proton pack and Luigi’s Poltergust.
Where I am so far:
So, just about everything except the pack is ready. Also, I’m not gonna be grooming the mustache or wearing a fake one, so I’m waiting on a cloth mask with a print of the lower half of Luigi’s face on it!