

I’ve been doing some training to improve my 3D modelling skills with Autodesk Fusion 360 (not sponsored, that’s just what I use) lately, and in one of the videos the instructor mentioned that he happened to like using a 3D mouse to rotate the models and help his workflow be just that bit easier.
Around the same time, someone happened to drop this link in the cyberdeck discord chat.
https://www.instructables.com/Space-Mouse-With-Arduino-Micro-Fully-Printable/
It’s the instructions for a homemade spaced mouse with 3d printed casing. It uses a small arduino board and some inputs (buttons and a clickable joystick) to make a space mouse.
Hmm… I can build a space mouse for a fraction of the cost of one I could buy? I get a new device for my workflow AND a project to practice a bit more with electronics and code?
Well, that’s a no-brainer. Project ahoy!
So, I started following these instructions, and built my space mouse.
Side note: every time I use the term space mouse I think of Mickey in a spacesuit. I don’t know if anyone else has that issue, but I just had to share.
I don’t think I’m gonna get too in depth covering it, as that feels redundant with the instructable above. I will point out a few things form my experience though.
This project made me very glad that the arduino boards came in a multi pack. I botched the first attempt HARD.
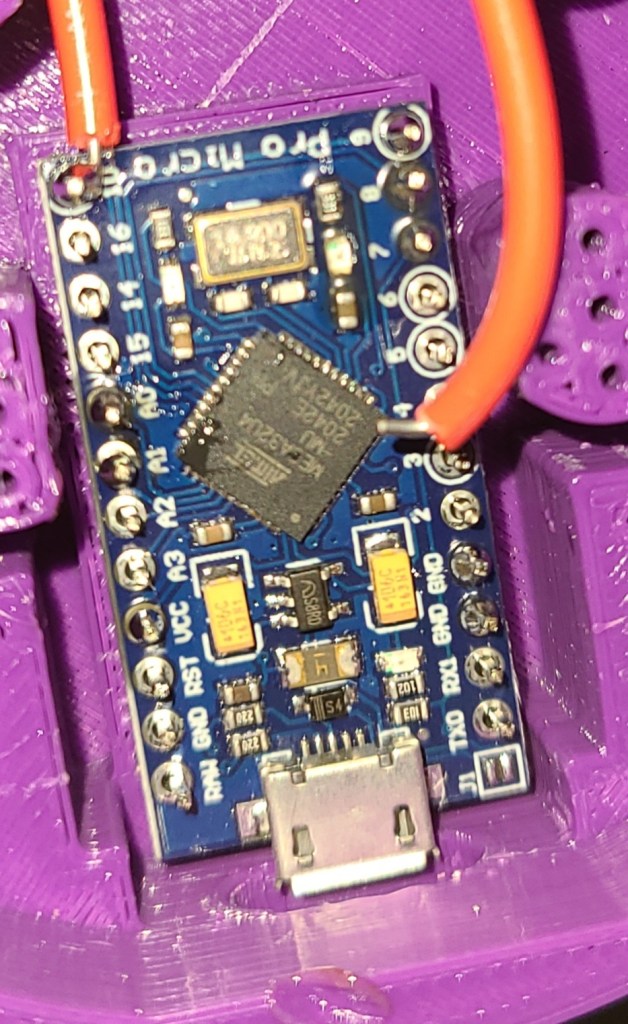
I put pins along the entire length of the soldering locations. Where are the wires supposed to solder to if you’ve put pins in all the holes? WHERE???
Turns out I wasn’t reading the instructions closely enough.
In addition, I was attempting to solder things while the board was embedded in the case. That didn’t work to well either. There was nowhere for the iron to really fit. While I was at it, it reminded me that I was using a very cheap soldering iron that I had only bought for something to do heatset inserts with, which wasn’t as precise or controllable as I needed.
So, with all that, I decided to make a few changes to my process and equipment.
1. I reprinted the case. I’d… kinda melted the board into the original case already and couldn’t get it out.
2. I carefully reread the instructions, found a diagram of the pinout for the board, and made myself a detailed diagram to work from before soldering ANYTHING.
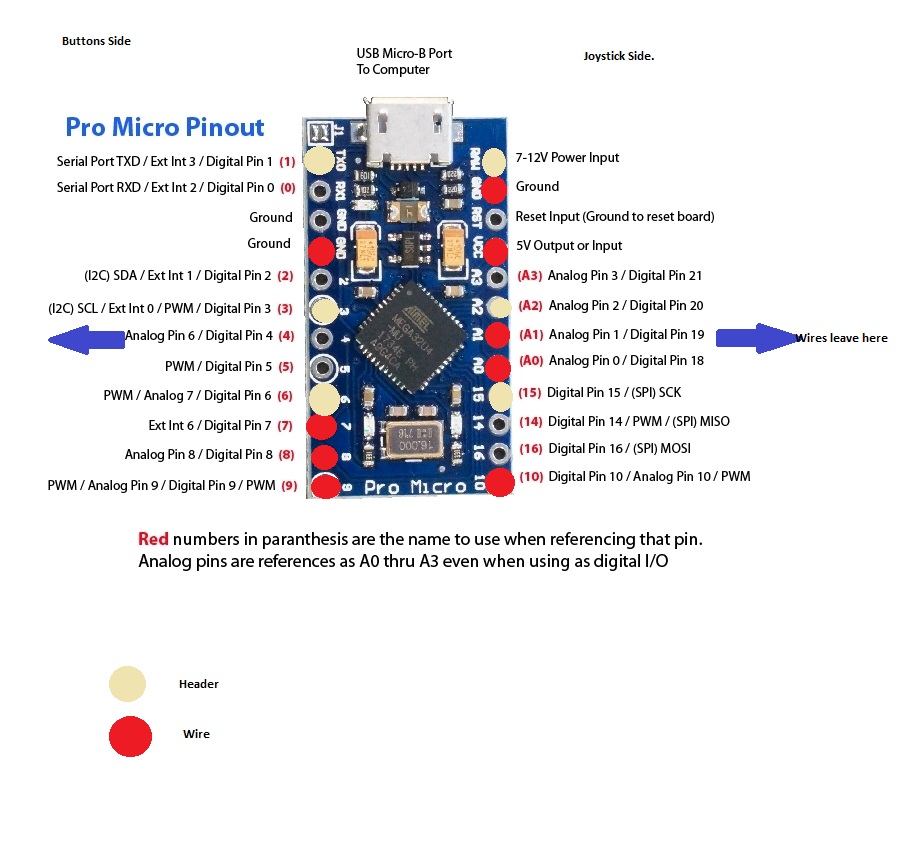
I only needed a few of the pins that came with the board to make things to mount the board to the case, not the entire row.
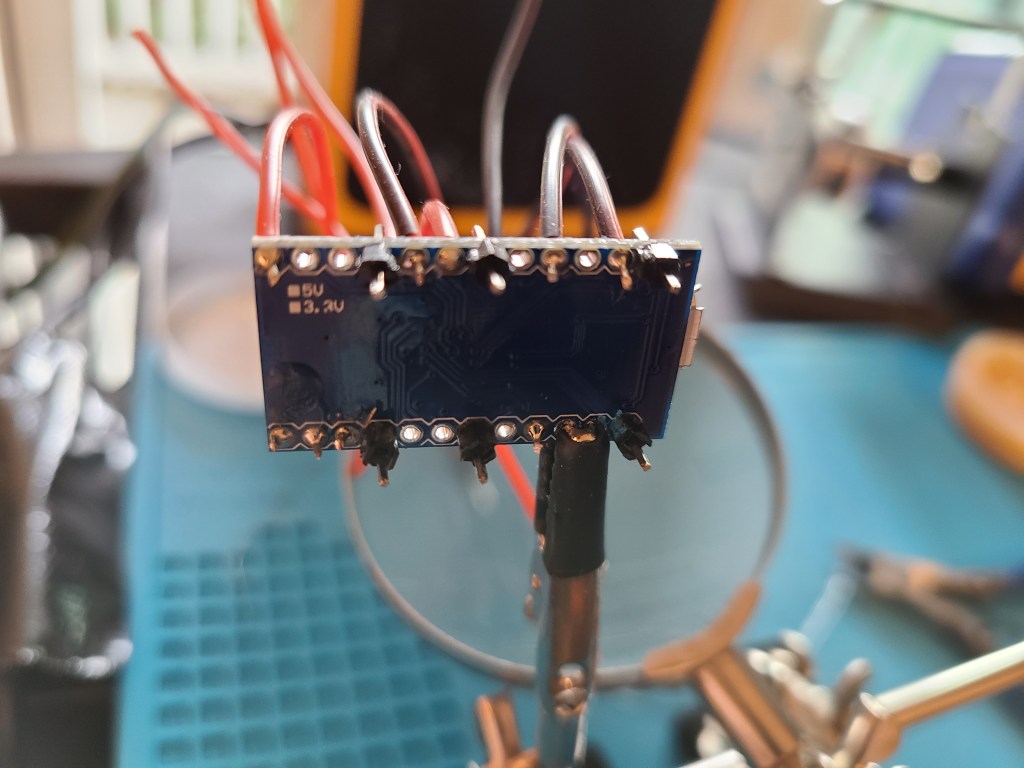
3. I used thinner, more flexible wires. The originals were waaaaay too inflexible to fit where I needed them.
4. I did all my soldering away from the plastic, then carefully installed the parts in. No unintentionally melted plastic.
5. I improved my soldering equipment and process. I made liberal use of solder flux (I’d shied away from it in the past), added a fume extractor to avoid having to work with the door open, and got a much better soldering iron after conferring with other makers about their recommendations. It was my third iron after all, it was time to get something that would work well. Finally got myself a Hakko.

Also took a little bit of time to do some reading/viewing so I’d take better care of this iron and have better soldering results.
This was a series that helped me, by the way. Sometimes you gotta go back to basics… and realize your bad habits that you’ve gotta fix.
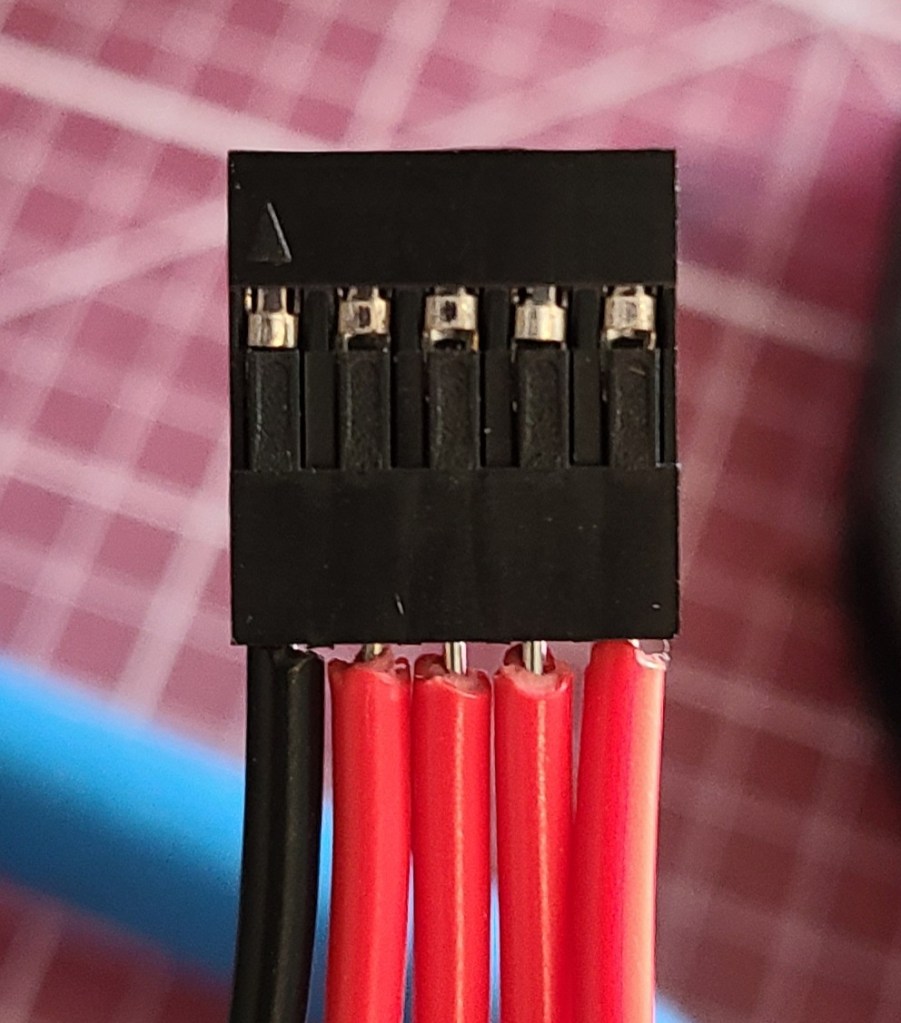
6. For connecting to the joystick, I used solderless connections to save my sanity, since it came with connector pins on the stick already.
Anyway, after all that on the hardware side, I finally got the thing built. All the wires soldered, the thing assembled and closed up.

I used black for the optional button extensions because I thought it’d be easier to use with contrast.
I ran into an issue with the thing slipping around on my glass desk, so I pulled out the rubber tape that I used for my arch lamp to make this nonskid as well.
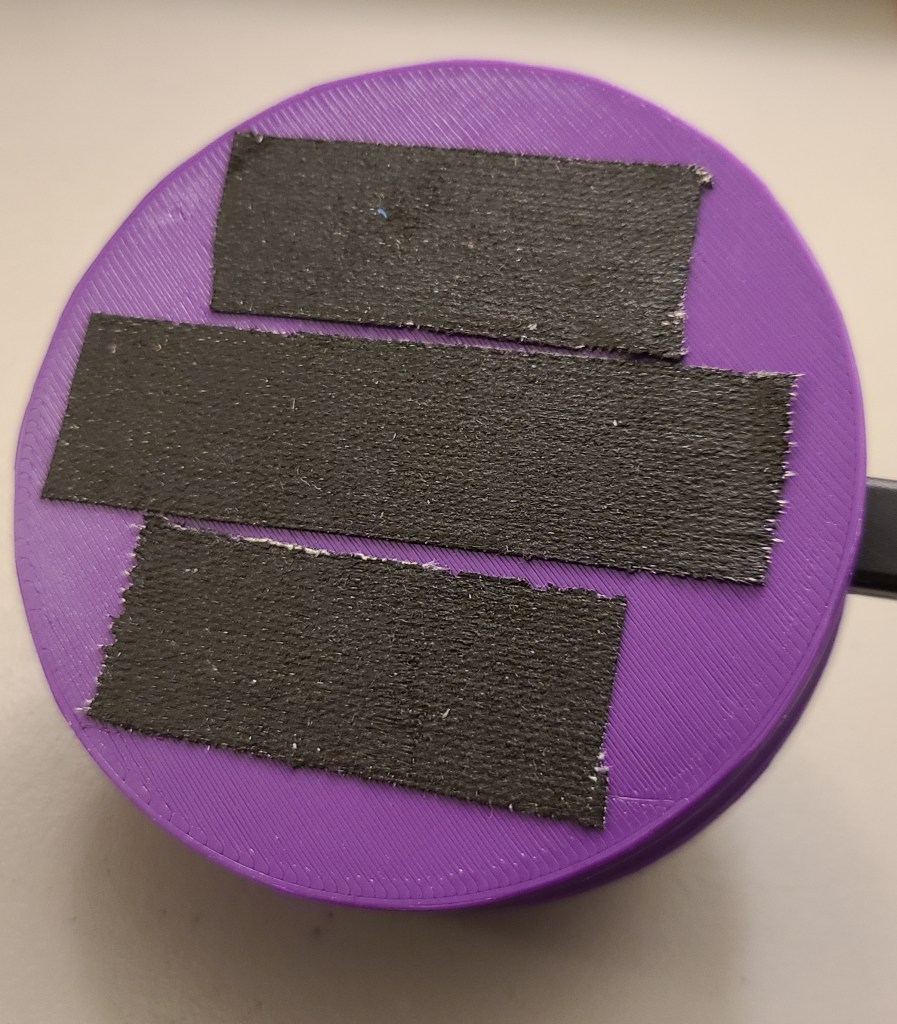
Now it doesn’t move anywhere unless I deliberately pull it off the desk.
Once I got the thing assembled and plugged up to the computer, I loaded the code included with the instructable.
Buuuuut…
The code was written primarily for this thing to work with Autodesk Inventor not Autodesk Fusion 360. The shortcuts are different in those two pieces of software. It took a bit of reading (particularly looking up the shortcuts for Fusion, figuring out the Keyboard. h code, and the firmware itself), but I eventually got at least the ability to orbit (rotate the view around the models) and zoom to work.
… also kinda had to swap the X and Y axes in the firmware. I might have gotten those two pins swapped on install. It works now, though!
Once I’ve used it a bit more, and thought more on what commands I use frequently, I’ll have to take the time to reprogram the buttons to do something useful.
Anyway, I got a new toy, got some more experience on these kinds of electronics projects, and had a reason to finally upgrade my electronics setup to be something more useable. Win!
Note: Yes, I know that isn’t the common spelling for useable, but usable doesn’t look right to me, and IT’S A VALID SPELLING, DAMMIT.
[END OF LINE]
