

I keep a wall of hats above my shelves of board games, as kind of a thematic backdrop, especially with the RPGs. One that needed to go on the wall is a pirate hat. However, most of the pirate hats I saw were disappointing to me. For one thing, ever since my childhood, this has been my idea of THE pirate hat:

Dustin Hoffman as Captain Hook in the movie Hook.
So, I decided to make my own version of the hat.
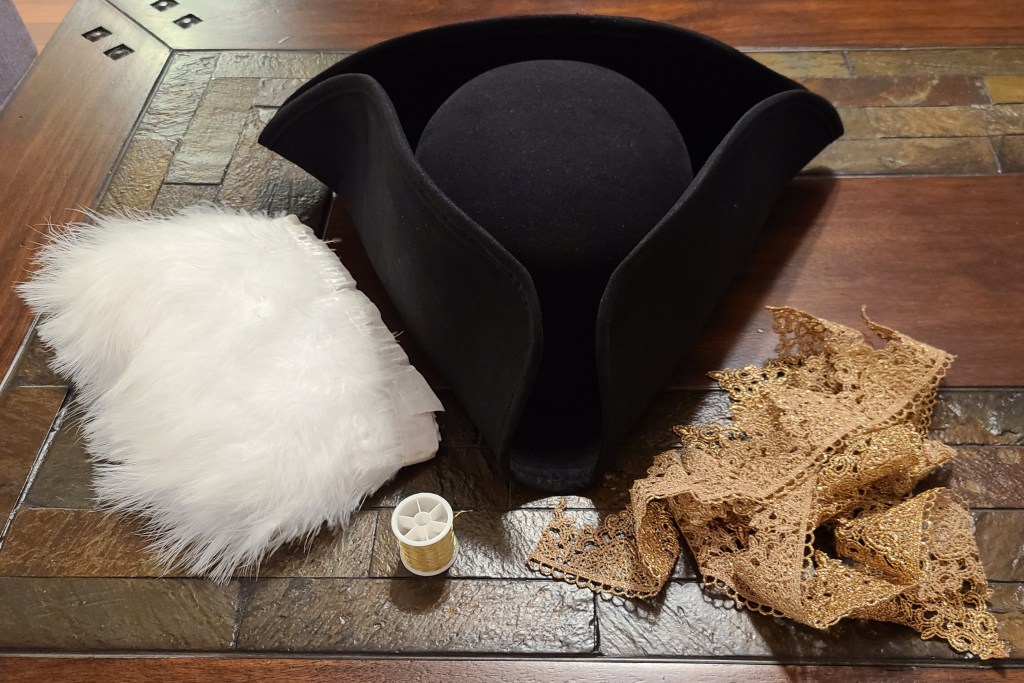
Parts list:
- One black felt pirate hat (https://www.halloweencostumes.com/adult-corsair-costume-hat.html)
- A few yards of gold lace trim (with the pointy triangles) (www.amazon.com/dp/B07NP8CY9Z?psc=1&ref=ppx_yo2ov_dt_b_product_details)
- Gold colored thread (www.amazon.com/dp/B09FTN4ZJP?psc=1&ref=ppx_yo2ov_dt_b_product_details)
- Black thread (any black thread of reasonable strength will do)
- White maribou trim (www.amazon.com/dp/B09BTGB8Q6?psc=1&ref=ppx_yo2ov_dt_b_product_details
- Felt glue (picked some up from the hobby store)
- Black felt tape (self-adhesive) (www.amazon.com/dp/B09K8MDC1T?psc=1&ref=ppx_yo2ov_dt_b_product_details)
Tools List:
- Sewing kit (extra thimbles in my case, both so I could push the needles through the material and so I didn’t accidentally stab myself as much)
- Lots of pins
- Disposable brush
- Cutting pliers
- Lint roller
- Painter’s tape
- Hand towel
To start with I took the hat, and cut and sewed the gold trim on along the edge, using the gold thread to hide the stitching.
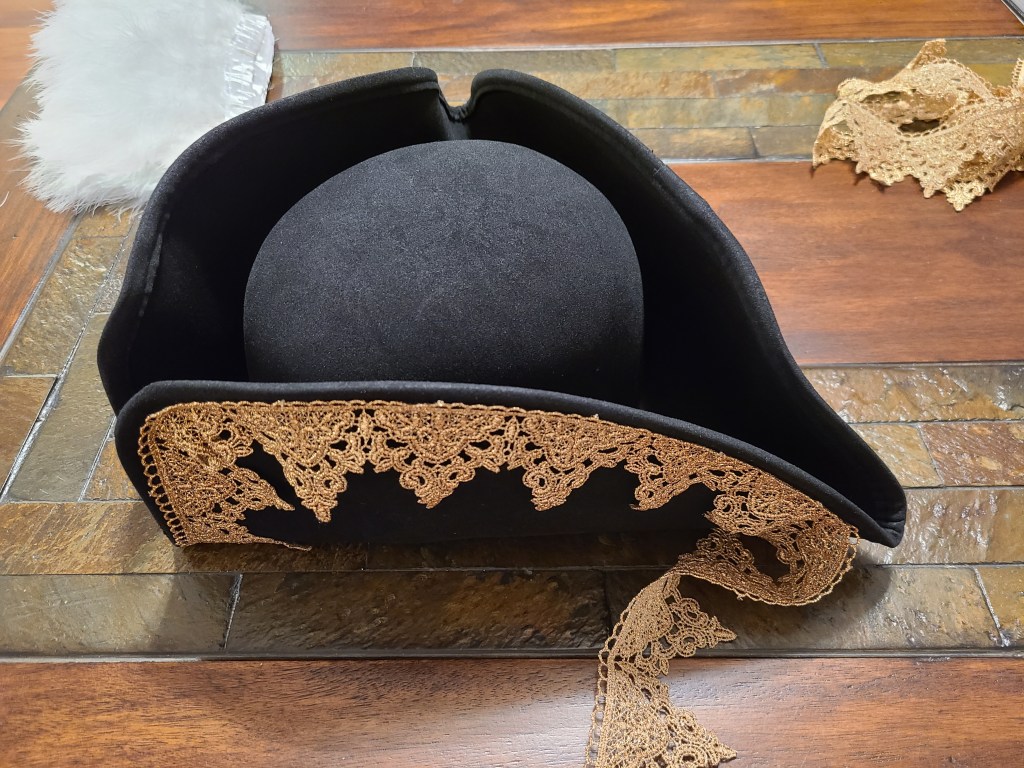
In some places where there was a bit internal curve I had to detail trim some of the lace so it would lay flat and not look too out of place.
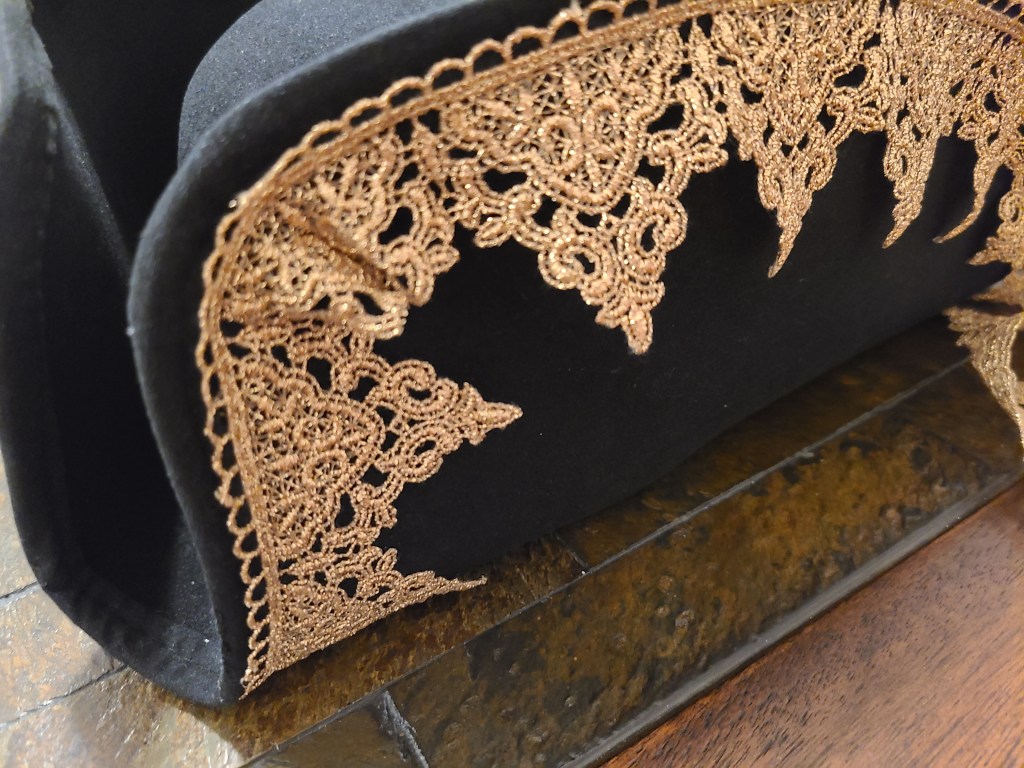
As I expected, I would see that I would need to glue and/or stitch the lace points down so they would lay right.

I started brushing on felt glue on the back of the lace, and pinning it into place so that I wouldn’t have to worry about curling or stretching or anything like that.
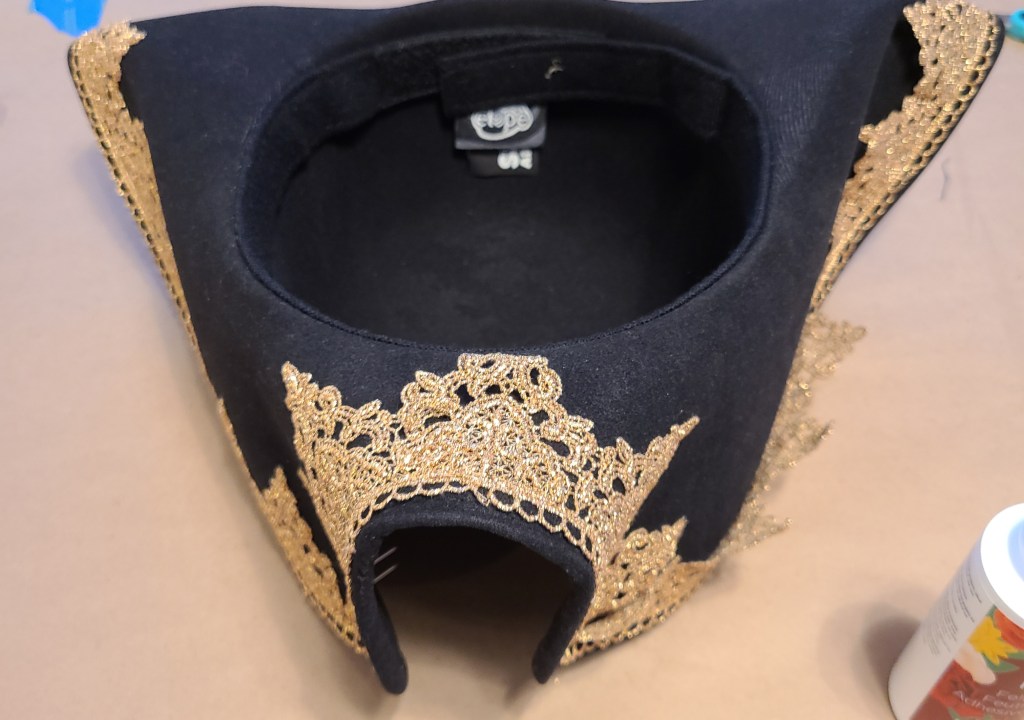
I let the glue dry for 24 hours, then removed the pins and began stitching some more. Reinforcing the points, some spots I thought were popping up a little, and other parts I thought might need more stitching. Not much to see there except some ugly stitches that I later covered up.
Upon consultation, I realized that the maribou was a bit too thick, and needed to be trimmed to work. I cut it into 3 distinct sections for easier sewing, and then used the pliers to remove alternating groups of feathers. Over time I stitched through the connecting ribbon of the maribou trim into the hat, with some truly atrocious looking stitches. You can also see some of the tack stitches that I used to reinforce the lace and glue.
Tip: when you stitch the maribou through, some adhesive from the ribbon will adhere to the needle, and tiny bits of feather will be pulled through with it. As far as I know you can’t prevent this, but just know that you will need to use your fingernails or maybe some tweezers to pluck those feather bits off. Then run a lint roller over it.

In the spirit of Adam Savage’s philosophy of “hide your costuming crimes,” I decided that the stitching was going to bother me and needed to disappear. If I were just wearing the hat on my head, I probably wasn’t going to care, but my hats hang on a wall facing the living area, so it needed to look a little better. This is when I decided to do some research, and found a black felt adhesive tape that would blend into the hat.
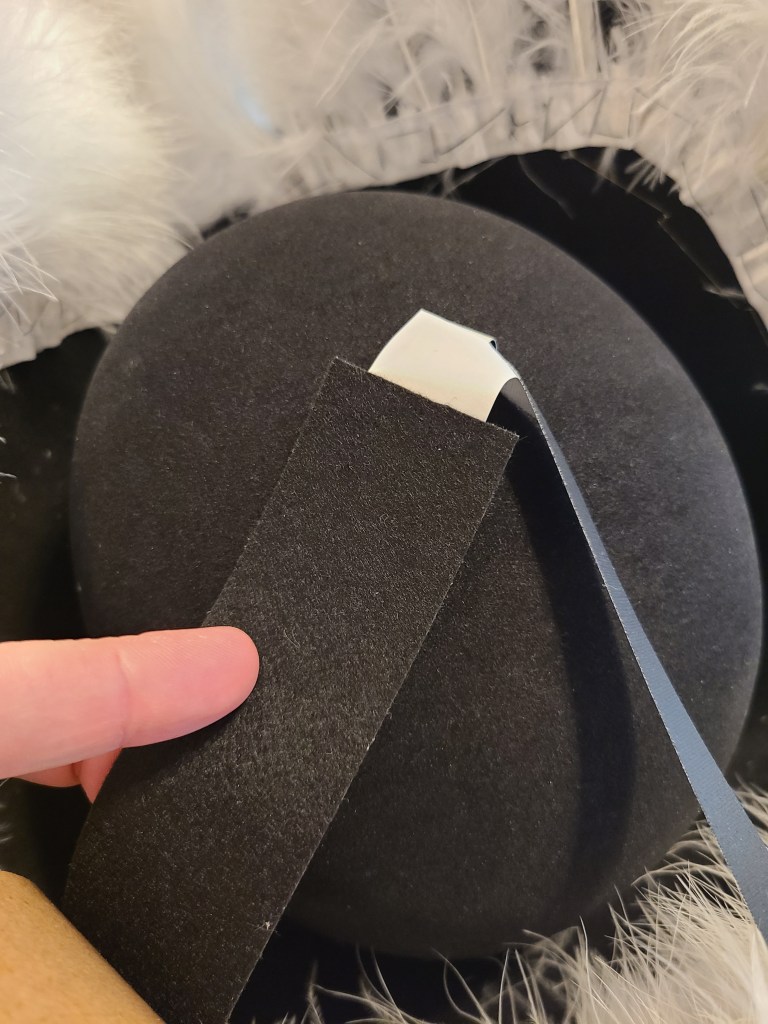
To not end up with a mess with all these light weight feathers sticking to the tape, I prepped by using a hand towel to hold the feathers back with the weight of it.

Then I cut segments of tape to handle the contours of stitching and cover things up. I placed the tape in segments, and then moved to each section in turn.

By the end of it, the stitching was pretty much hidden.

At this point, you’re going to want to use a little bit of painter’s tape to get bits of feather out of the inside of the hat. DO NOT use the lint roller for in there, you will catch it on the feathers that you want to stay on the hat. You may also want to run the lint roller on the outside of the hat.
And now I finally have my pirate captain hat!
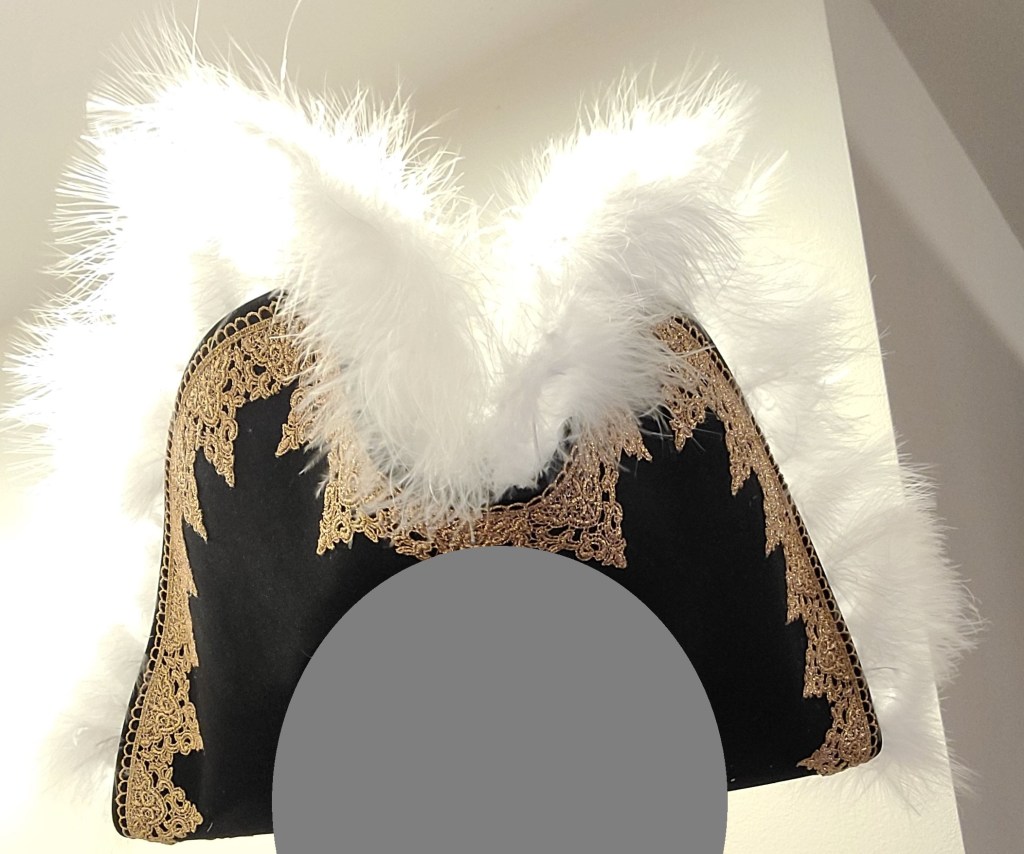
And the wall of hats is slightly more complete. Still needs something space themed. I’m thinking there might be a space helmet project in my future.

