

My 3D printer has never been great at printing large scale objects, so I had to go through addressing everything I could in order to prep for the VirtCon. Now that that is over, and I’ve implemented a couple more changes, I’ve decided to share what I did.
The biggest issue that I’d been having was adhesion over large areas and warping. I attacked this from a few different angles.
Always-On Cooling Fan:
My custom-added cooling fan that is so necessary for upper layers of parts can cause issues on that crucial first layer. I didn’t have a way to control the fan through software, so I added a hardware method. I cut into the wires for the fan, and added a power switch in the loop with a switch I already had, and 3d modelled and printed a casing for it.

I included screw holes in the 3D model in case I wanted to screw it down, but I decided to blu-tack it to the side of the Ikea table for now. It seems to hold well enough for now.
This has definitely helped, but the drawback is that I have to remember to leave it off at the beginning of the prints and flip it on a couple layers into the print, otherwise the print won’t adhere on the first layer or the upper layers won’t cool quickly enough and have a variety of issues.
Drafts:
Based on the placement of the printer near vents, and some online discussions, I thought that drafts of air could be a contributing factor. At first I tested it with foam-core board cut, taped, and hot-glued into a shape. This helped me figure out what form factor I wanted to use.

This material is flimsy, and I would think particularly prone to fire and/or melting. I decided to make a better box with some stronger materials (hardboard and metal hardware). This would double as practice with hardboard, which I had never used before but planned to use in the Flying V. I thought I could knock it out as a one day build.
HAHAHAHAHAHAHAHAHAHAHAHAHA
No. It was day 5 before I got it to the state I wanted it in. Partly because of finding out that I needed more parts and kept having to order them or go pick them up. LEARNING POINT: Take the time to do a better estimate what you need and then order double.
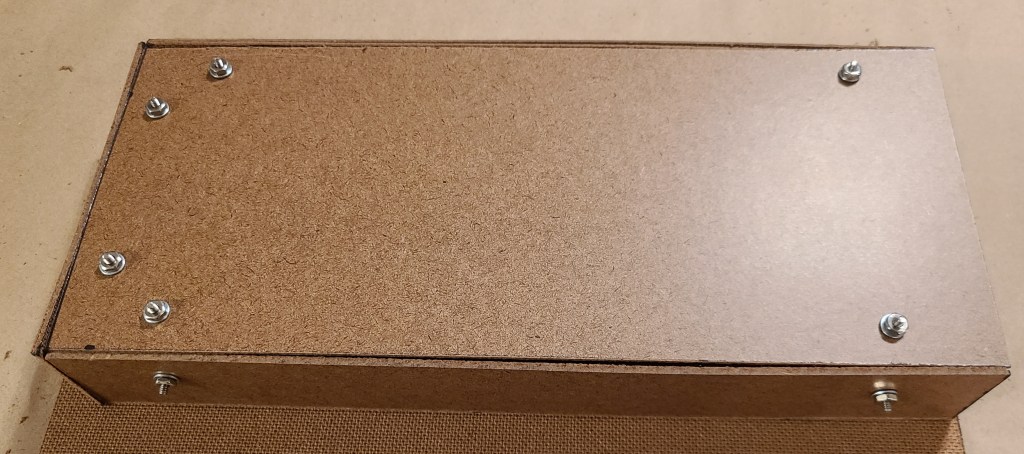
In keeping with something I was trying at the time, I kept trying something simpler to try out techniques before moving to more complex/difficult projects. I was building the box before building the guitar. Before building the box, I built the box that went on the side of the big box.
Anyway, after a lot of work, I built the big box.
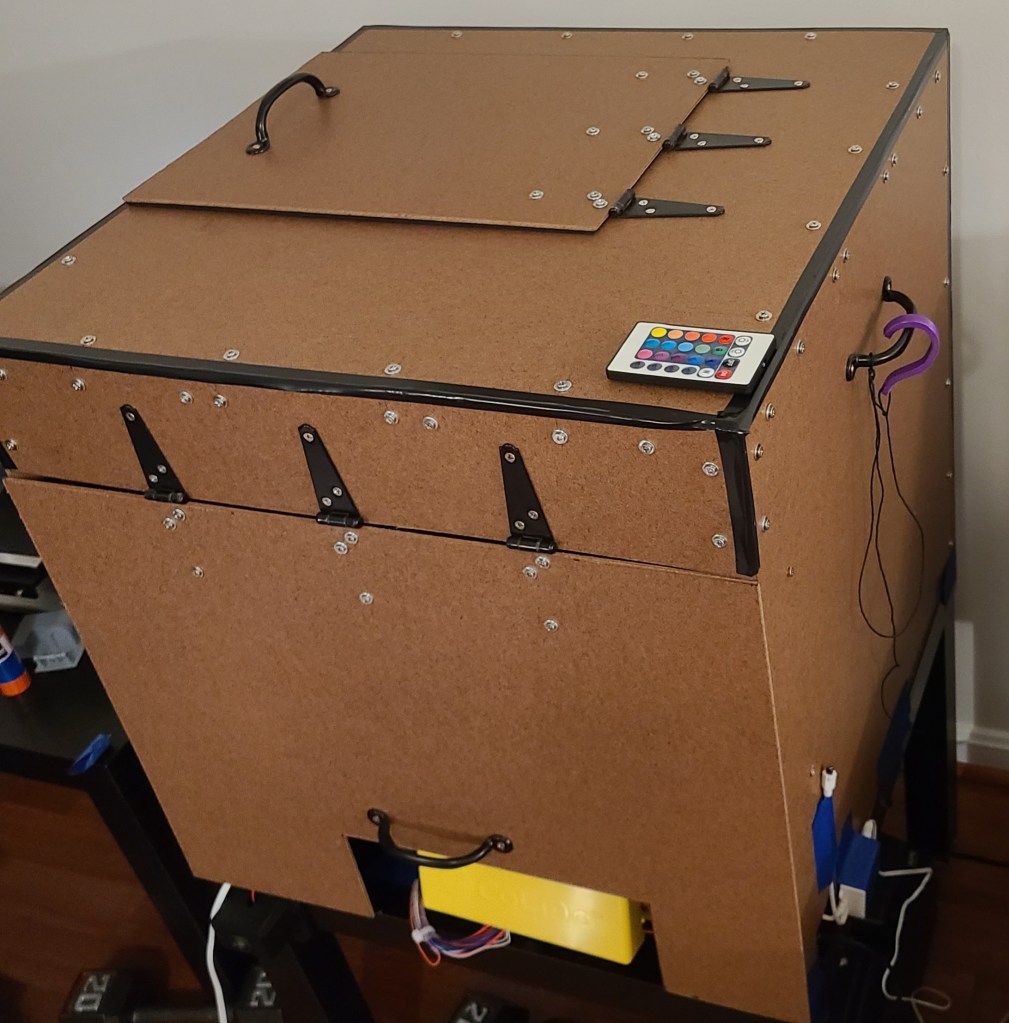

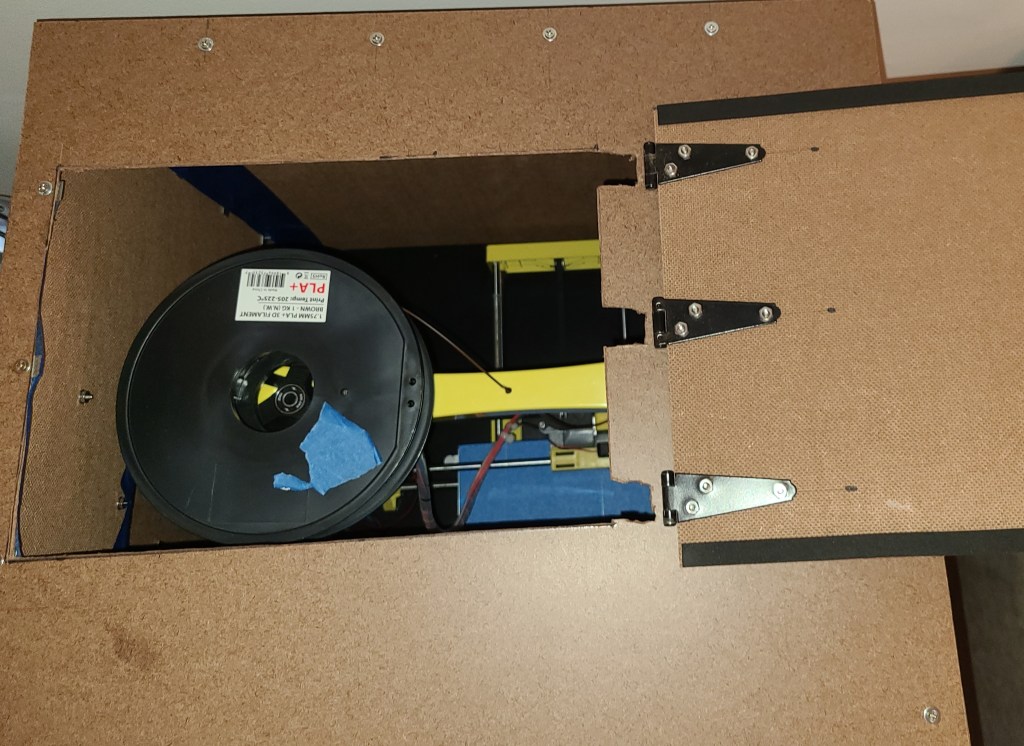
The hook holds the box front door open when I need to see get in there for a while. The top door is for filament reel swaps. The remote is for the LED lighting strip I installed in there (I got fed up having to repeatedly get a flashlight out). The extension box on the left is to provide the space for the end of the printing tram and cabling. The side handles are for ease of moving the box to perform maintenance.

Since there was a box in the way, I had to move the camera inside the box to continue monitoring the prints.
Notes for future development on this box: I still intend (when the weather is better) to partially disassemble the box (mostly just take the lights out), and paint at least the inside (but probably also the outside) with a fire-resistant spray paint. This will help ease my paranoia of 3D printer fires while also minimizing fiber shedding on the inside of the box. Also need to fill the gaps at the corners with something.
Bed Surface:
Blue tape has been my go-to for years. It’s easy to set up, and works pretty well for my smaller prints. However, with larger prints the tape often works well enough to adhere to… at first. Then warping as the object gets taller tends to pull the object off the tape or even pull the tape up off the bed.
I tried bed-weld, but on this aluminum plate on my printer, it does not work well.
People recommended hairspray, but without a removable bed surface that would eventually kill my printer, as it would overspray onto the moving components that need to move with the best lubrication.
So, I finally tried one of the other options that had been recommended to me.

Purple glue stick! This has been amusing to play with, and seems to work. I did have to add a water spray bottle, a new scraper, some higher percentage isopropyl alcohol, and some microfiber cloths to my repertoire, but it made the project possible!
This seemed to make the biggest impact on the warping issue.
Calibration:
I was introduced to this website for 3D printer calibration:
https://teachingtechyt.github.io/calibration.html
I can’t recommend it enough! It guides you through a comprehensive calibration process, moving through common issues in a logical order.
It also helped me to be able to massively increase my 3D print speed. If I hadn’t run that process… I don’t know if I would have been able to print my parts in time. My printer still has the 12 hour timeout issue on Octoprint, and some of these parts did get up to 9+ hours even WITH the speeds turned up. I’m so glad the tests helped me realize I could crank up the speed for this project.
Other upgrades:
Today I’ve been doing some more work on the printer to incorporate some changes.
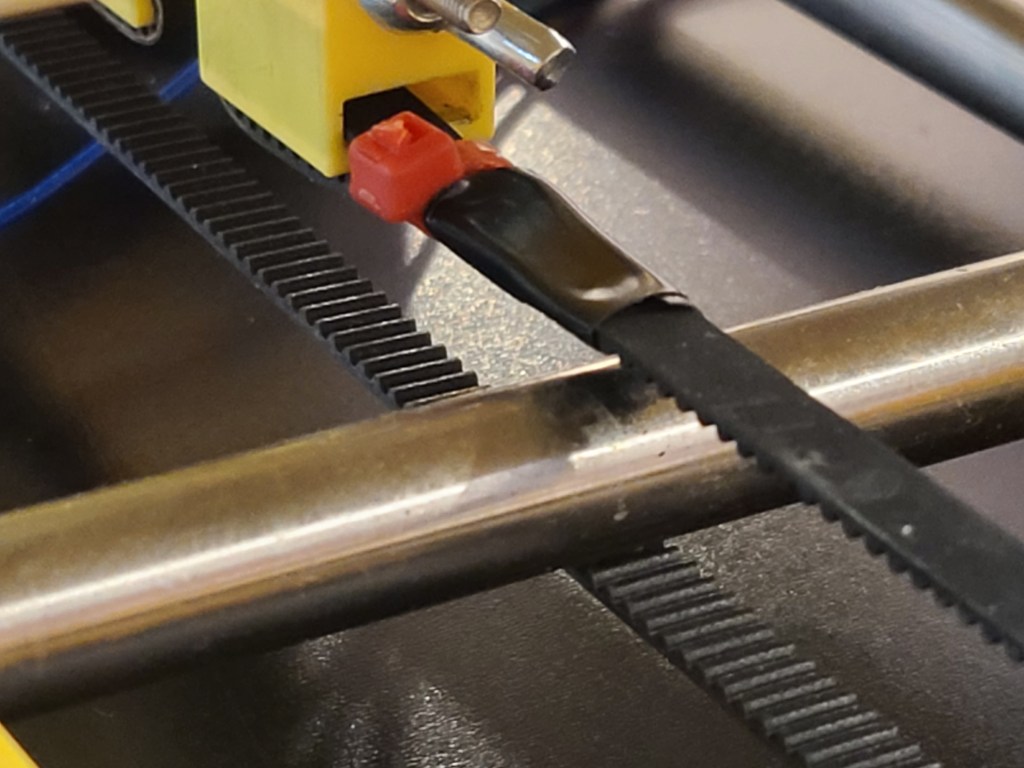
One thing that had been causing issues was that the zip ties on the x-axis belt were physically bumping into the frame.
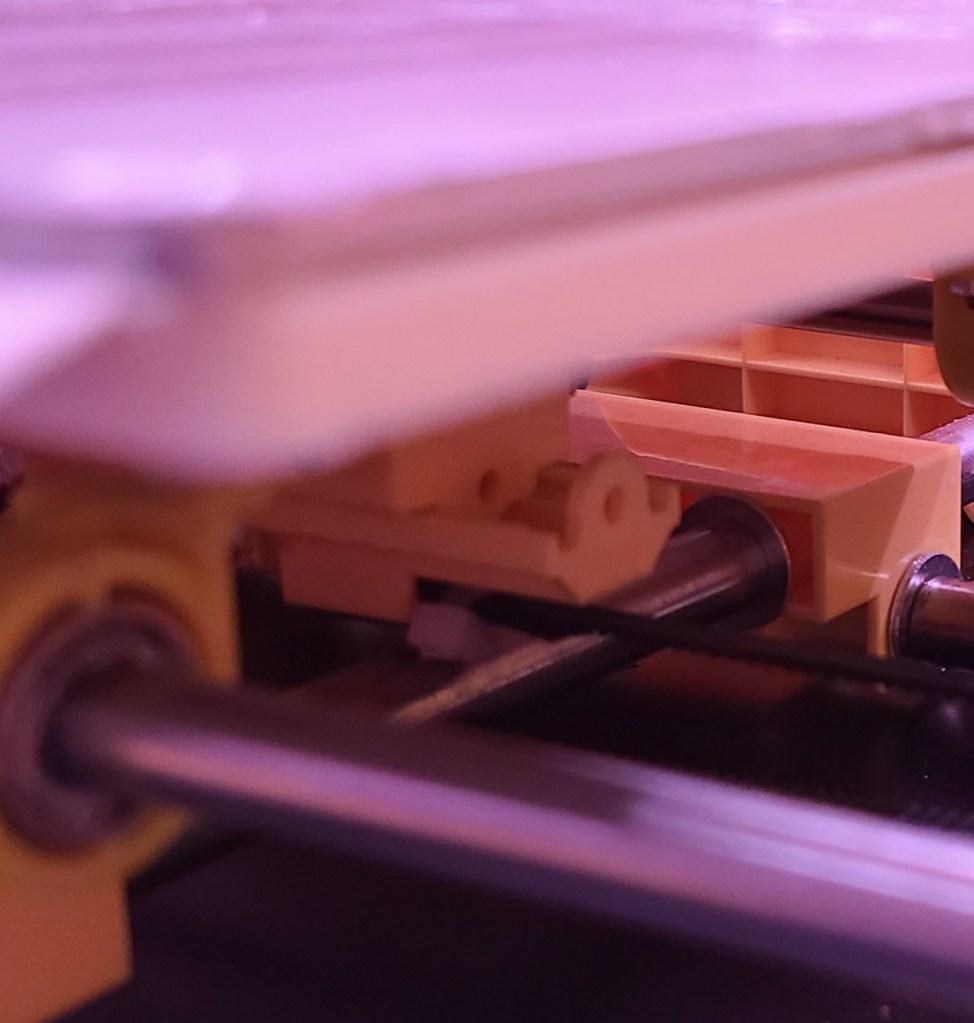
I replaced these with some slightly smaller ones, making sure to turn the latch face up so it wasn’t bumping into the frame. I also taped the ends of the belt for insurance.

I also received and installed the flex-plate (Th3D’s EZFlex^2) that I received for winning VirtCon 2021. This part is still kinda on-going. I’m not familiar with this material, and having a bit of adhesion issues, but I’m gonna work through it. Having a magnetically adhering flexible build plate should help a LOT. There were times recently when I was worried that I was going to run into problems because I couldn’t get prints off the semi-permanently mounted build plate, but this one comes off AND flexes to pop parts off!

The installation was pretty simple, I just got a bit paranoid adhering the magnet to the build-plate in case I got bubbles trapped under it. Also, cleaning the aluminum plate to adhere it took a while. Had to make sure I got all that glue off!
I’ve had a few adhesion issues so far, but I figure that’s just normal stuff to work through with a new material I haven’t messed with before. Just got to learn how to treat it right.
Wrap-up:
The earlier upgrades DEFINITELY helped, as I was able to successfully print the parts of the Flying V, which were larger than any parts I had printed before. I’m still learning about this flexplate… but it should help out a lot in the long run if I can get it to work.
