

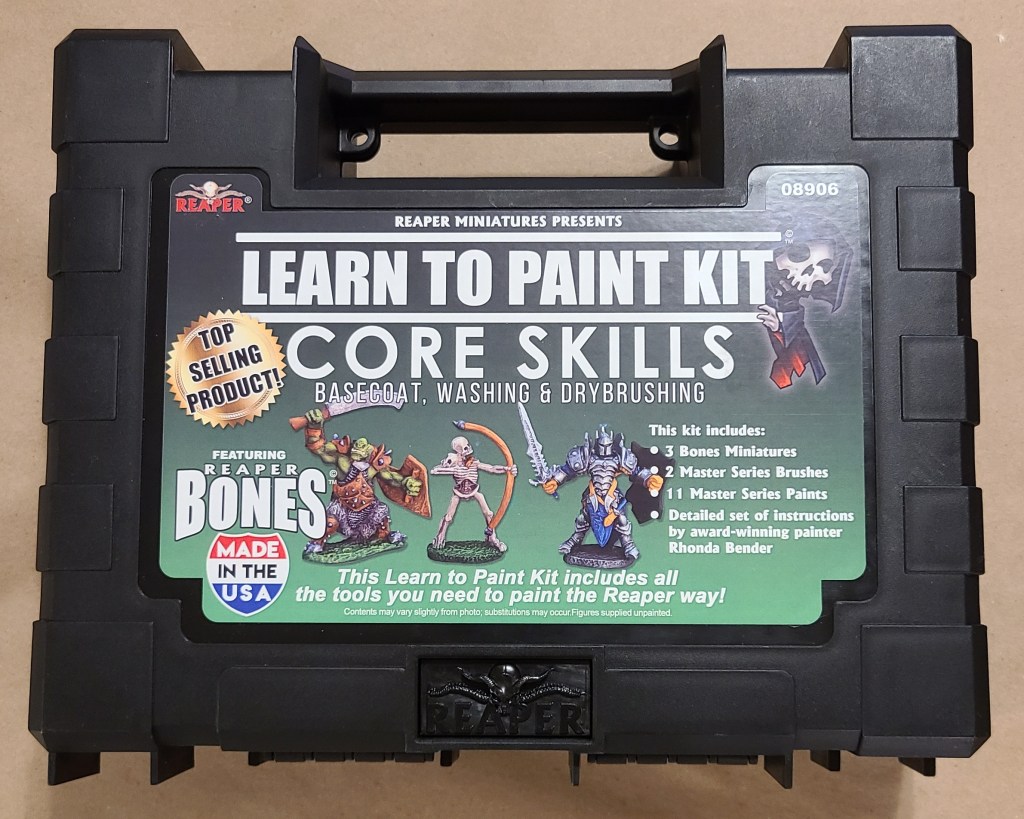
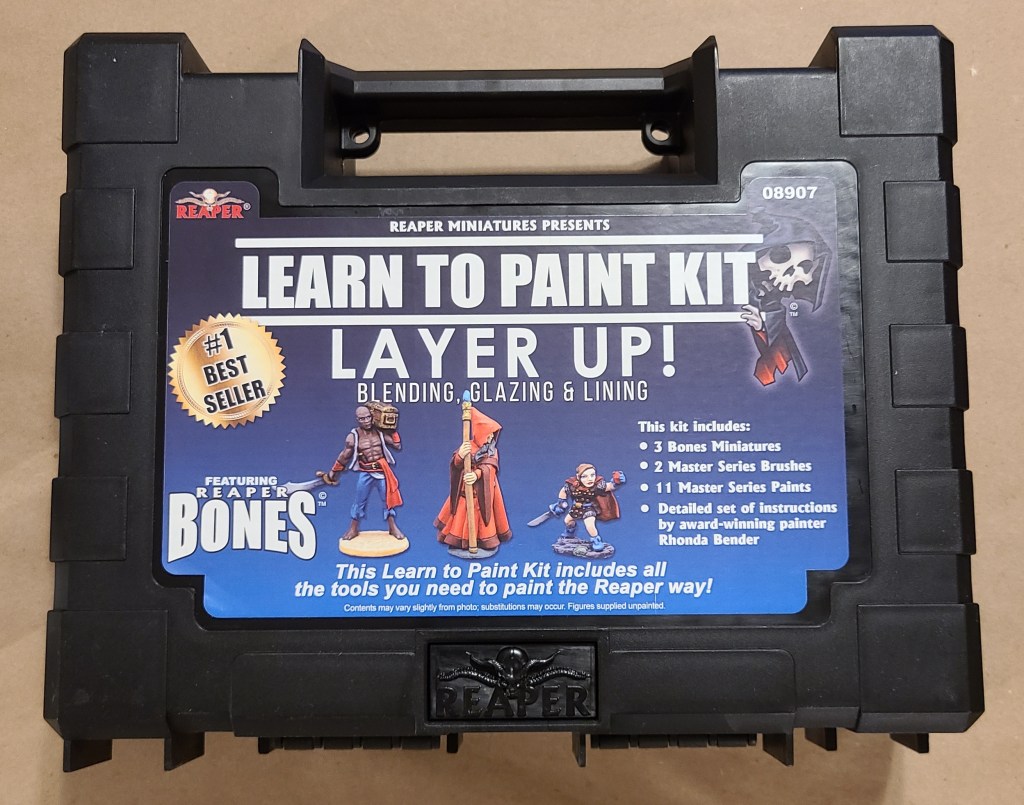
I finally got around to deciding to paint my 3D printed miniatures, so I needed to tool up and learn painting skills. That all started with a learn to paint kit, some brushes, and lighted magnifier glasses that I received as gifts.

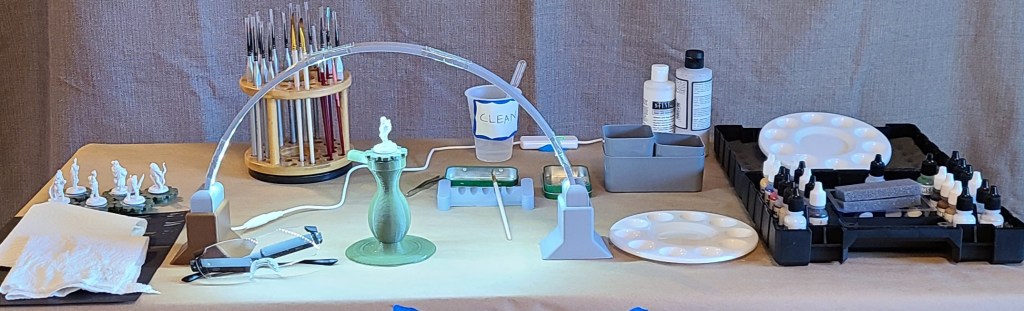
This escalated quickly. I’m going to cover a lot of the things I’ve added or built on the setup here, because if I did it as individual Sanctum Upgrade posts they would stretch out pointlessly and my blog would be nothing but painting posts for the next few months.
If you want to see a more succinct form of this setup (whether out of impatience or for better reference), I’ve added a page for my current setup under Manufacturing Setups.
Direct link is here: Miniatures Painting Setup
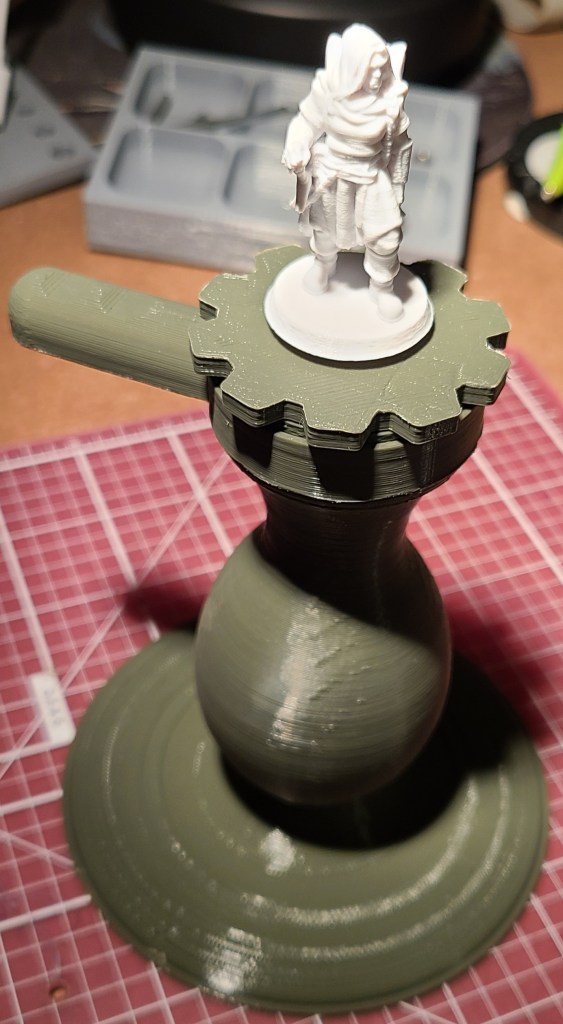
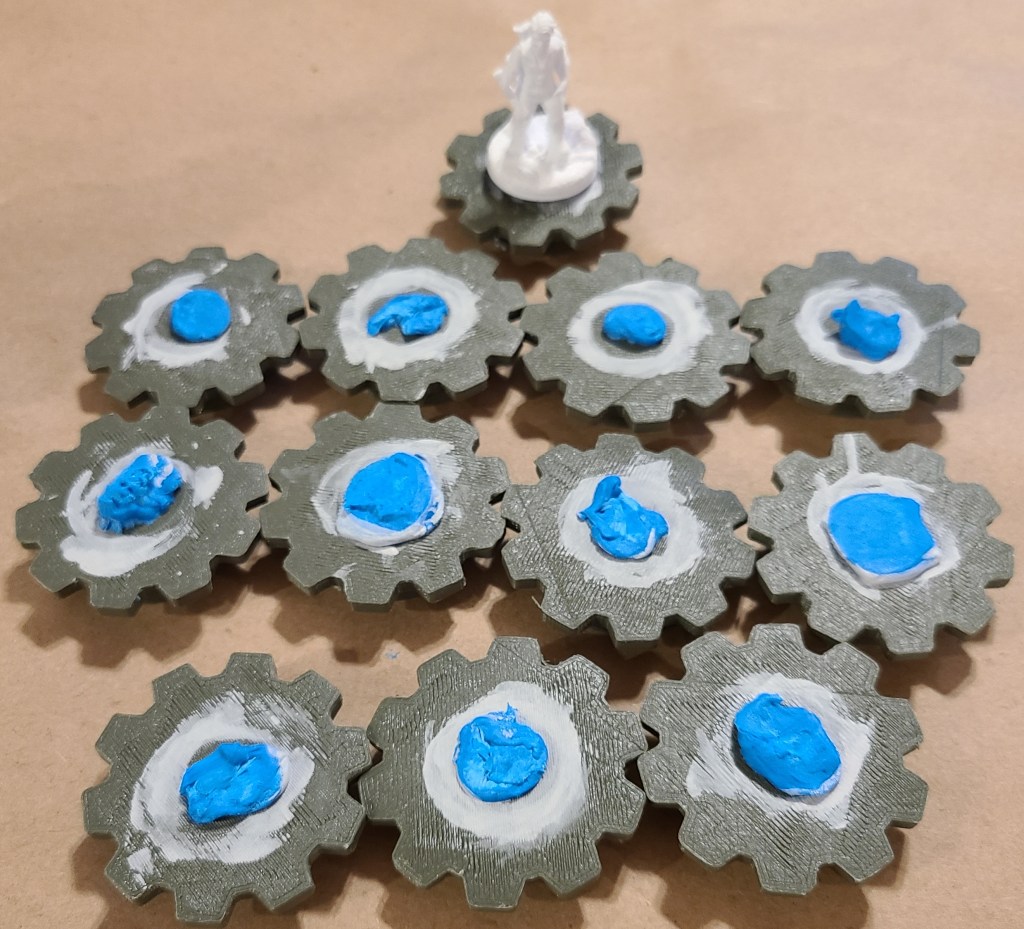
I had seen people use painting handles before, and they appeared to help a lot, so before I started painting I 3D printed one for myself, along with a lot of “pucks” to attach miniatures to in order to paint.
Here are some of the results of my early painting setup.

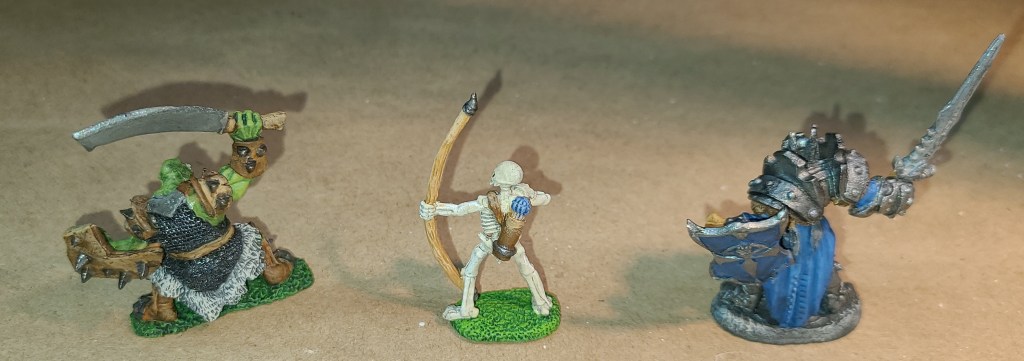
I love how the mail came out on the orc.
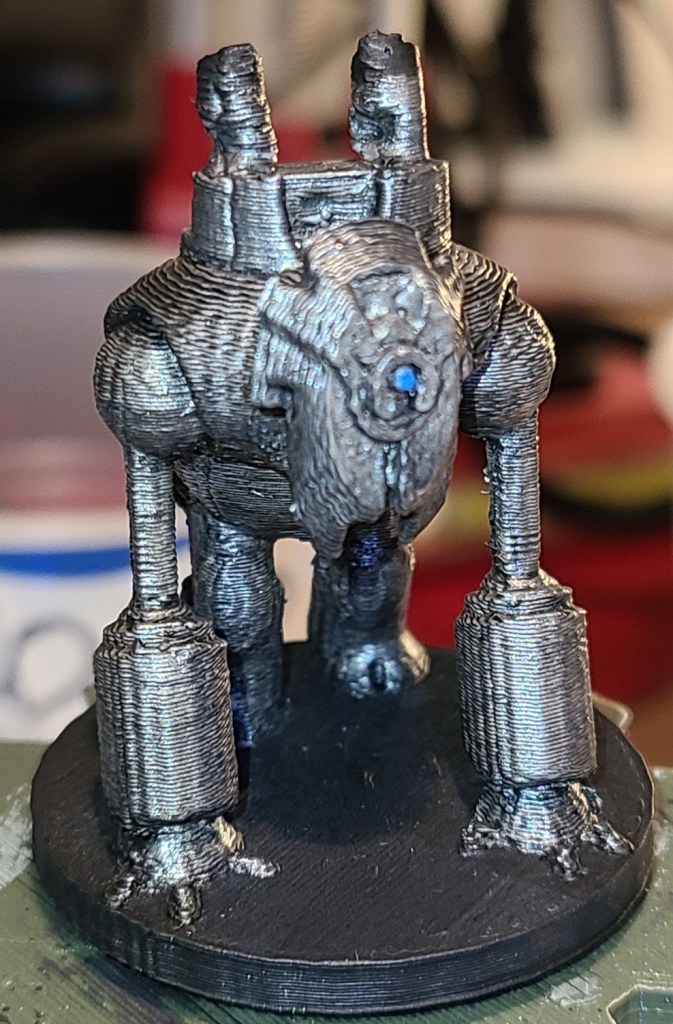

I’m pretty happy with these early results.
As I painted the miniatures, my painting setup has rapidly evolved.
It might be easier to cover various sections’ evolutions rather than try to keep track of them as setups. Here’s one of the earlier ones, and where it’s currently at.

Water
Originally I used a couple of red solo cups, one for clean water for use in mixing paints (with a dropper in it to measure when thinning washes), and one for rinse water. These were tall and easy to knock over. Not good.
I then switched to smaller plastic disposable cups, with labels on them so I didn’t get them mixed up. After watching some videos on painting and having some discussions with people who paint (a buddy of mine put me in touch with some other people who paint miniatures), I added a second rinse cup, because that appears to help clean brushes more thoroughly.

Finally (so far), I’ve switched the rinse cups to a couple of small plastic cups that aren’t as likely to tip, while still keeping one of the disposable plastic cups for clean water.

Paint Mixing and Cleanup
The painter’s kit recommended using kitchen parchment paper for mixing paints, but that got old fast. The parchment paper had to be cut into sections to be useable (yes I know that’s spelled weird, I don’t like standard spelling of “usable”), and it kept curling, making the paint run. I ordered some circular plastic paint palettes, and they work much better.
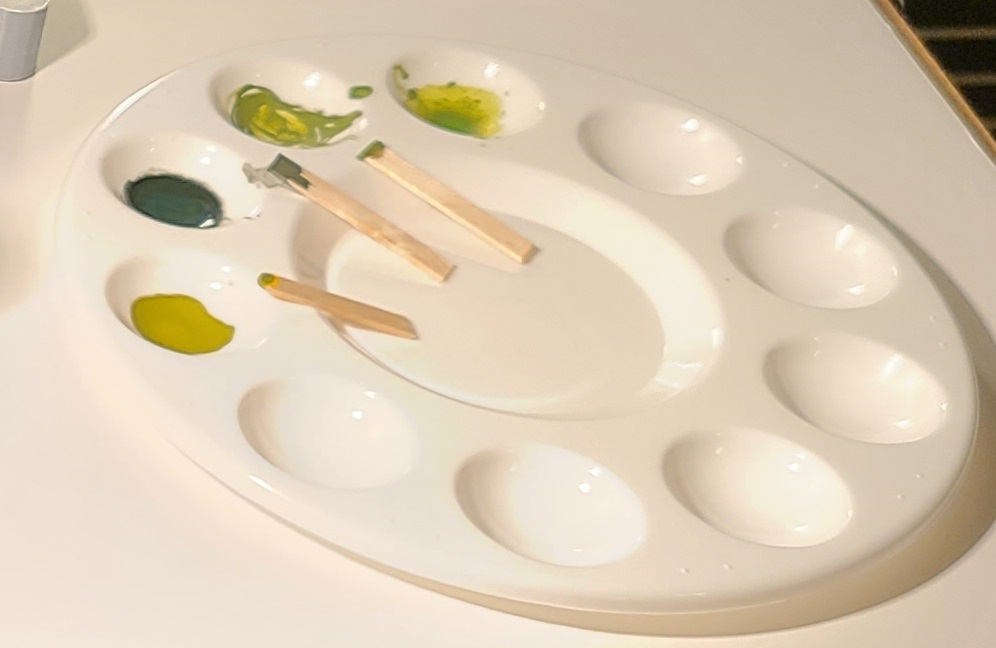
I use cut up wooden coffee stirrers to mix paints now. Originally I used some toothpicks I had. I should probably use plastic because of paint absorption, but so far it doesn’t appear to be a major wastage issue, since I’m not frequently running out of paint mixes before finishing what I’m painting. If I start painting a lot of minis in the same colors (if I were to start painting armies, for example) it might become an issue.

Cleaning the palettes was a bit of a challenge at first, but then I started keeping a container with a mixture of dish detergent and water nearby. As soon as I finish with a palette, it goes into the container. When I run out clean palettes, I use a stiff cleaning brush I keep in the container to scrub off any paint that managed to remain stuck to the palettes, then rinse and dry the palettes. It takes so much less time that way. At first I was trying to scrub with my fingers or a cloth and it did NOT go well.
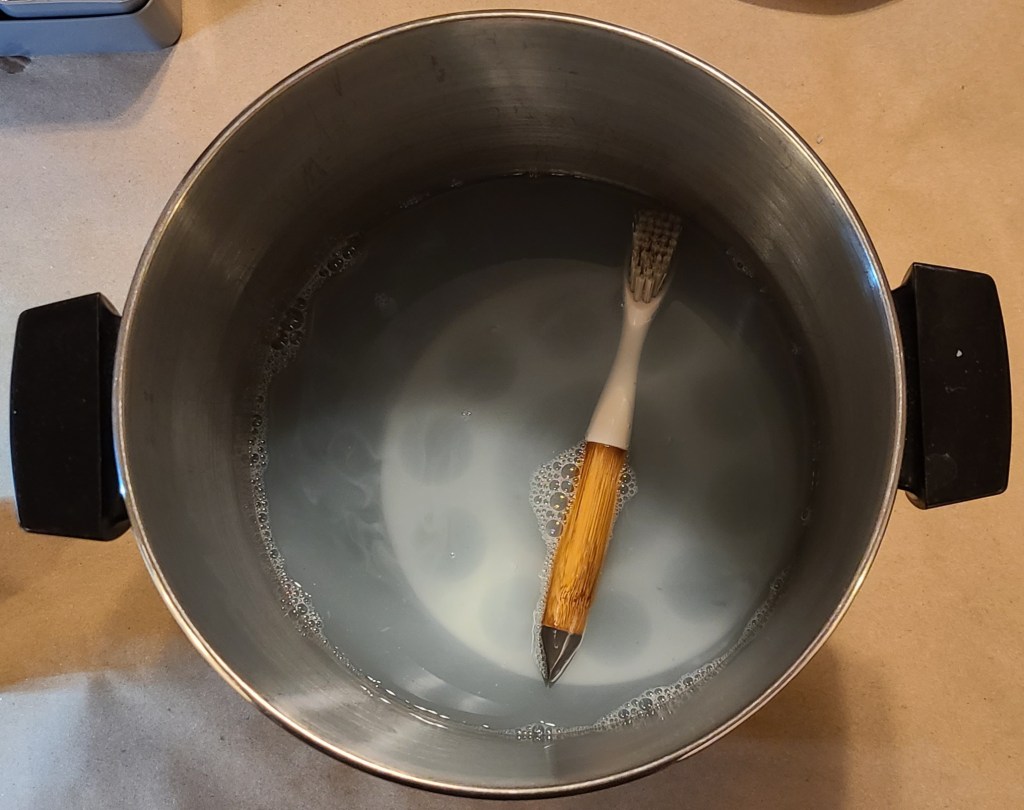
Eventually I want to get a smaller dedicated container for this with a lid, as that pot is my general crafting pot that I want to free up for anything else I might need it for.
Lighting
The glasses I mentioned earlier provides some additional lighting where I’m looking, and my usual workbench light originally provided the primary illumination, but it often required moving it around.
I decided to build something I had seen before on Thingiverse, an arch of LEDs providing light from various angles simultaneously, hopefully reducing the need to move a light around periodically while painting and photographing.
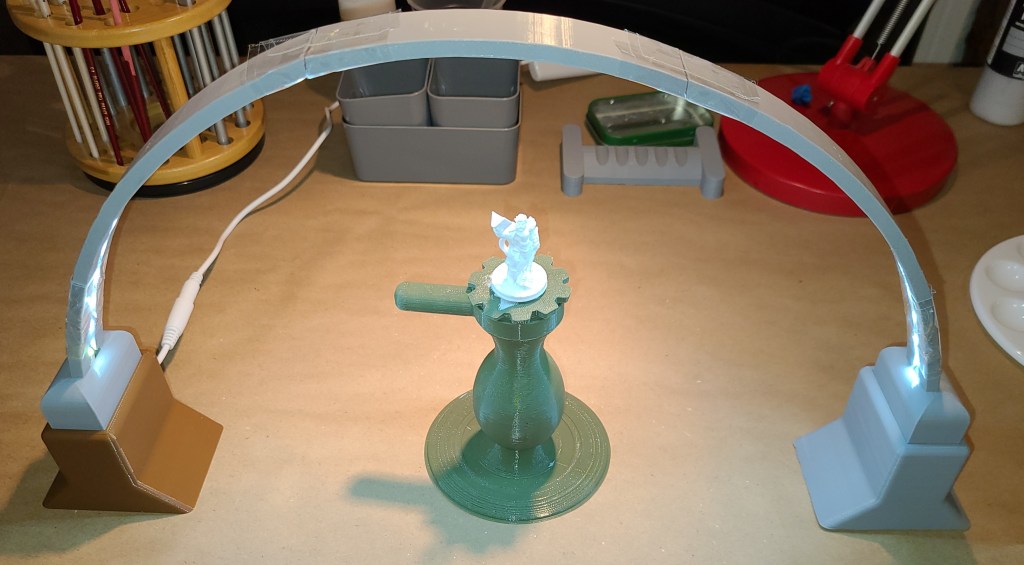
It seems to work decently for now, though I’ve only been using it for one day’s work at the time of writing. I covered the building shenanigans last week here:
Location
I was originally painting on my primary workbench, covering up the area with a piece of foam core I cut to protect it, and moving stuff around. It allowed me to use the existing lighting at the work bench and mean I didn’t have to pull my auxiliary workbench out (it takes up living space).
This got annoying quickly, as with my 3D printed miniatures I have to clean them up before priming, so I had to keep switching the workspace back and forth. For now my painting setup is going to be a temporary or “deployable” setup that will occasionally live on my auxiliary workbench (aka the other folding table, yes, I like being pretentious sometimes). I still need to figure out storage for when I pack up my painting supplies, but that’s a problem for down the line.
I covered the table in brown paper to protect it (like I generally do for projects, thanks Adam Savage) and have run my extension cable over to it for the lights. I just had to remember to run the wire a certain way so it’s not in the way of my rolling stool. Don’t want to fall off and injure myself because I forgot there was a wire there!
Paint Brushes and Holders
The kit came with a couple of starter brushes, and I was also gifted a nice set of fine tipped brushes. For the first 3 minis, I only used the brushes from the kit, as I wanted to learn more about brush care before putting any wear and tear on the nicer ones.
I also ordered a set of wider brushes for priming, which I’ve been using on all my 3D printed minis. I haven’t used the fine tipped brushes yet, but I’ve definitely been seeing places where they’ll be useful when I paint certain details.
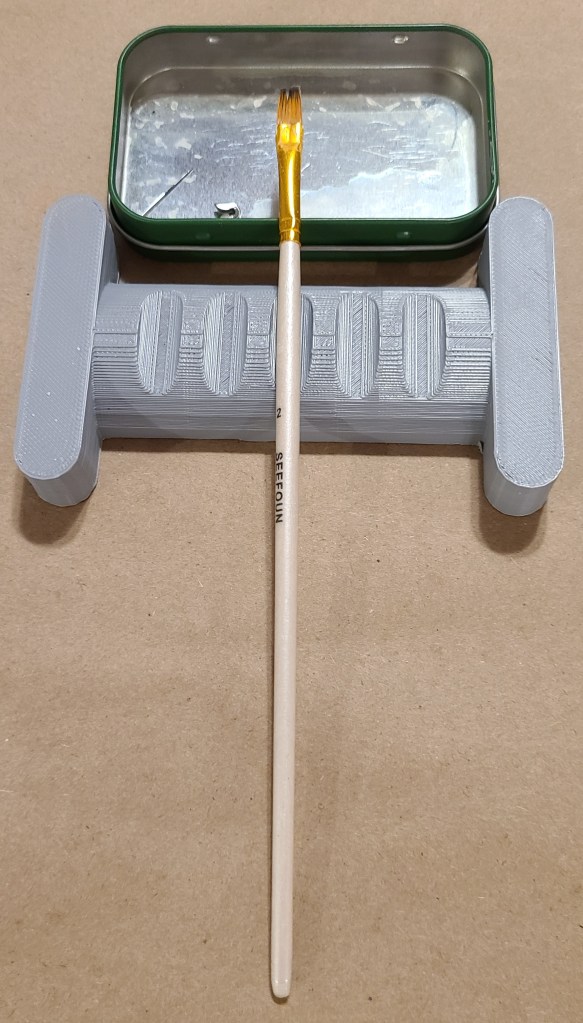
For holding the brushes when not actively in use, I initially just propped them against a small tin.

I 3D printed a brush holder that holds them over the tin very soon after, as the brushes kept rolling around.
I also wanted to see what additional brushes I had available. I couldn’t leave them just lying out on a flat surface as they could roll off or I could damage them by putting something on them, so I finally added a rotating brush stand.
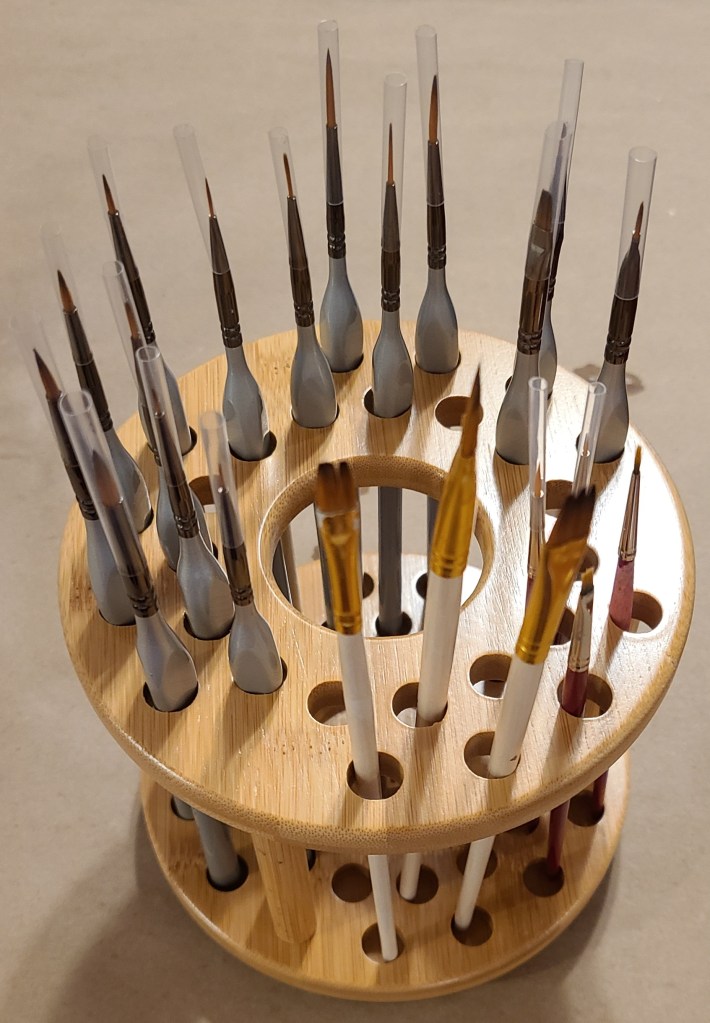
Now I can see an access what I have. I still want to go back and label it to keep it organized.
Paints and Primers
The minis in the kit did not require priming (Reaper Bones minis are like that), so I didn’t need any for that. The kit did include a number of paints to get started with, though.

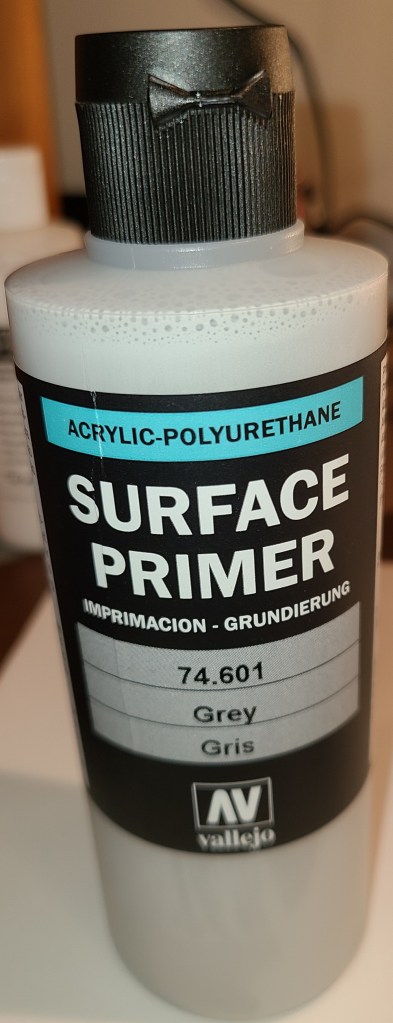
For the 3D printed ones I’ve been priming them, and I’ve got primers in two different colors. The white was for one thing that I still wanted to be white when I was done. I was hoping the gray would be darker so it’d be easier to distinguish from the white while I’m hand-priming (I’m kinda sick of spraying paints from my time with previous projects), but it’s still not that far off from white.
The starter kit covered a lot of colors, but it was missing some colors I’d want to use for my general collection (flesh tones and red, in particular… which sounds much more ominous than intended when I phrase it like that), so I did a bit of looking and decided to get the next kit in the series, which had the colors I was looking for, as well as more brushes, minis, and instructions. Now I think I have enough selection to paint the rest of my collection (after I get additional practice with the included minis).

That grid for holding the paints in place moves around and kept being a nuisance for regular use, so I locked it in place with hot glue.
Final Thoughts
I think this setup is settling towards a form now, but being this early in this new hobby I wouldn’t be surprised if there were further changes upcoming. At some point I want to replace the lamp with a better-made one, and I’ll probably swap out the wood coffee stirrers with plastic when these run out. Some people have recommended adding a wet palette to my setup, but I don’t yet see the need for one.
I’ve been enjoying priming and painting my miniatures, and look forward to gradually painting my 3D printed miniatures collection.

My – this looks like a challenge to me. My hand is not steady enough anymore to paint in such small detail. Good luck and have fun.
LikeLike