

There were a lot of maintenance items that I ended up trying/doing, and I don’t feel like dragging this out any further, so I’m trying to condense the rest of what I did here.
Smooth Motion Maintenance:
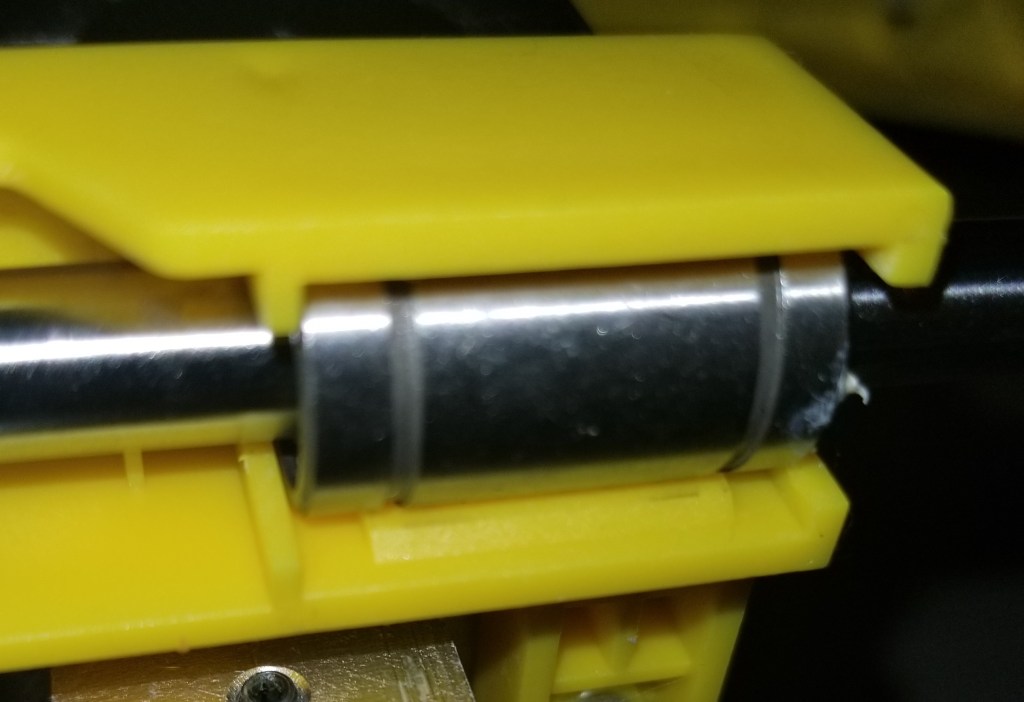
This is a combination of some general maintenance items. I replaced all the bearings I was able to. This included the ones on the hot end carriage and on the vertical axis, but I had no way to easily swap out the ones on the print bed carriage.
While I’m thinking about it, remember that if you have to swap out bearings, put the thicker white lithium grease on the inside of the new bearing before putting it on the rod, to make sure the bearing gets fully lubricated. When you’ve finished assembling, make sure to move the bearings back and forth several times to make sure the lubrication spreads within the bearing evenly.
While doing that, I cleaned and lubricated all the linear rods and z-axis screws. I also replaced all the timing belts. I think this has reduced the friction greatly, and improved the smoothness/ease of motion.
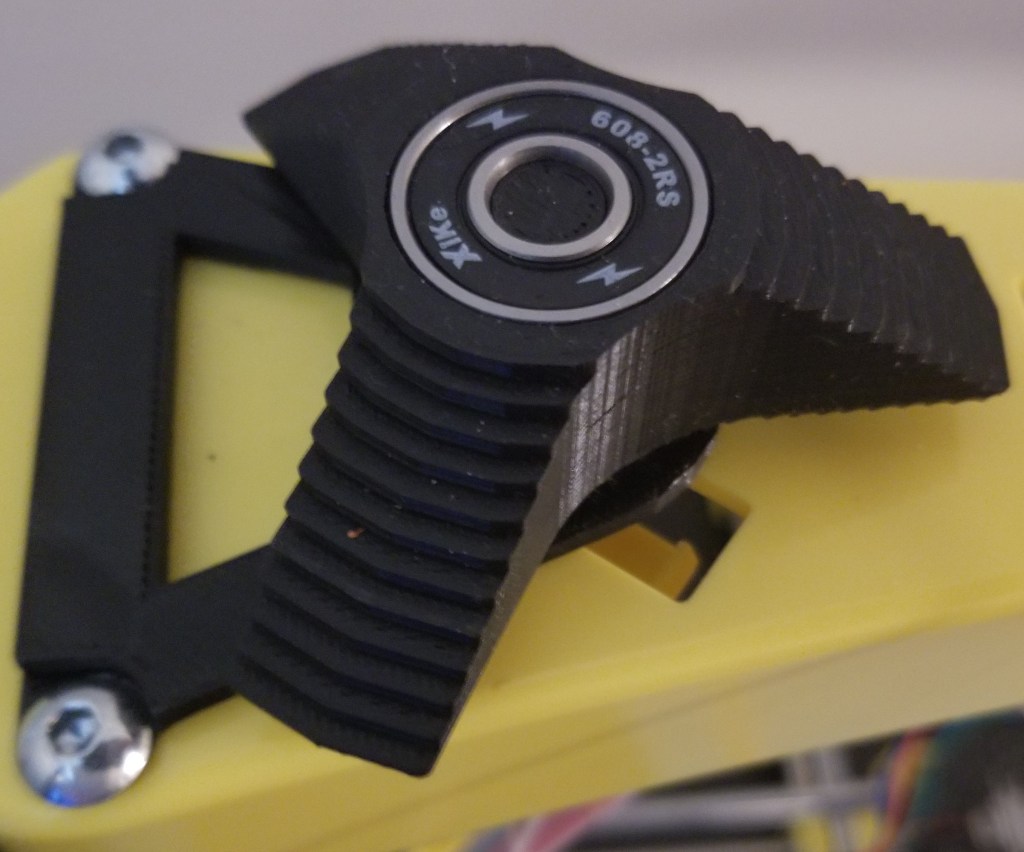
Here’s one of the bearings I replaced on the extruder carriage.
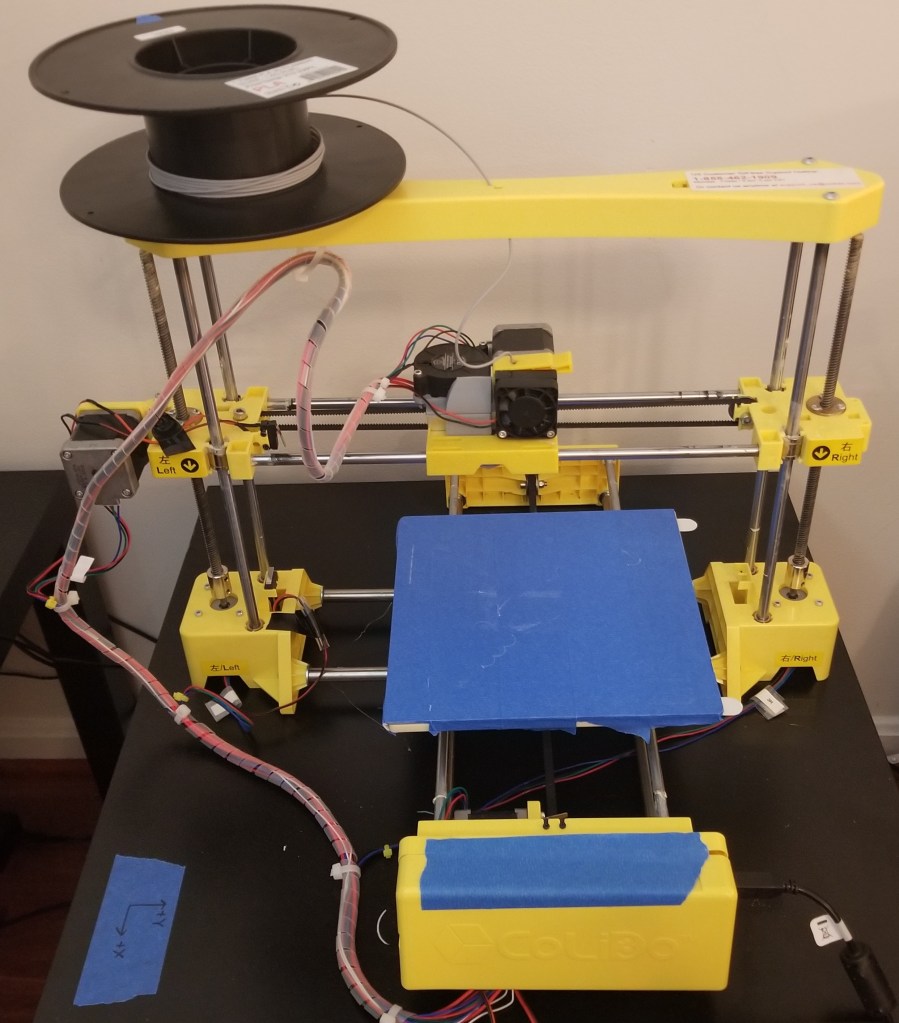
Stepped Spool Holder:
As I discovered in the previous post in this series, the smooth spool holder allowed the spools to slide off, and I remembered that there was a stepped variant. I printed off one of those, assembled it… and it works much better! The steps keep the spools on top of the printer, despite the vibrations from the printer’s motion in certain circumstances.
This spool holder allows for quicker filament changes, without having to fiddle with an exterior spool holder. This is especially helpful as the original spool holder had required disassembling the holder each time I wanted to change filaments, and clamping to keep it from moving in the way of the print bed.
Hot End Replacement:
I was having some temperature fluctuations on the hot end, at least in what temperatures were registering. I’m so glad I started using Octoprint and could monitor temperature telemetry!
Based on talking with other people about it, and looking at the symptoms, it appeared to be something wrong with the thermistor and/or the wire connecting it to the control board. I was considering replacing the thermistor, but I was having difficulty finding a compatible one. I was, however, able to find a replacement hot end from the manufacturer, which would give me the added benefit of replacing the nozzle and lining tube at the same time, so I swapped out the whole assembly.

It was a straight up swap for identical parts, though it was tedious because of the cable wrapping that had to be removed in order to remove the old wires and include the new ones.
This stuff is necessary to reduce wear on the wires, but annoying to implement.
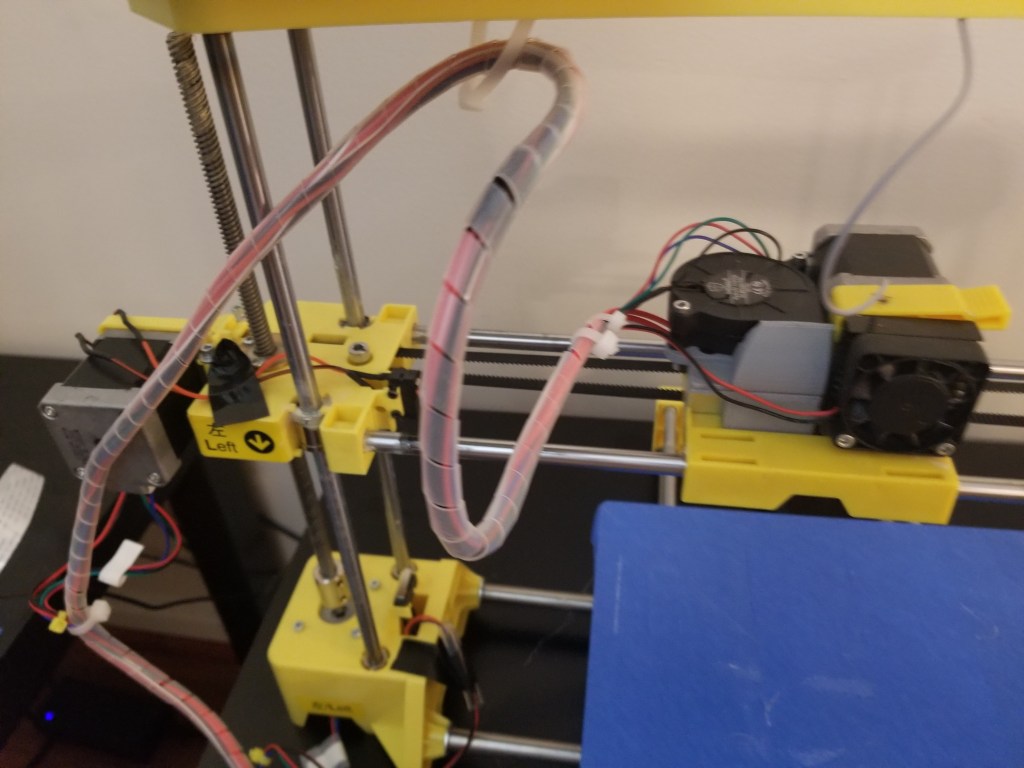
Cooling Fan Addition:
The major issue I was seeing with overhangs and general print quality was an overheating issue. There are a couple ways to address aspects of this: adding a silicone sock to reduce reheating issues, and/or adding a cooling fan to make the top surfaces cool more quickly. For now I’ve only implemented the latter option. I’ve been unable to find a compatible silicone sock so far.
thedayowl on Thingiverse designed a fan duct for a blower fan to be added to the carriage. You can find it here. I printed it out, ordered the other parts, and attached it to the assembly.
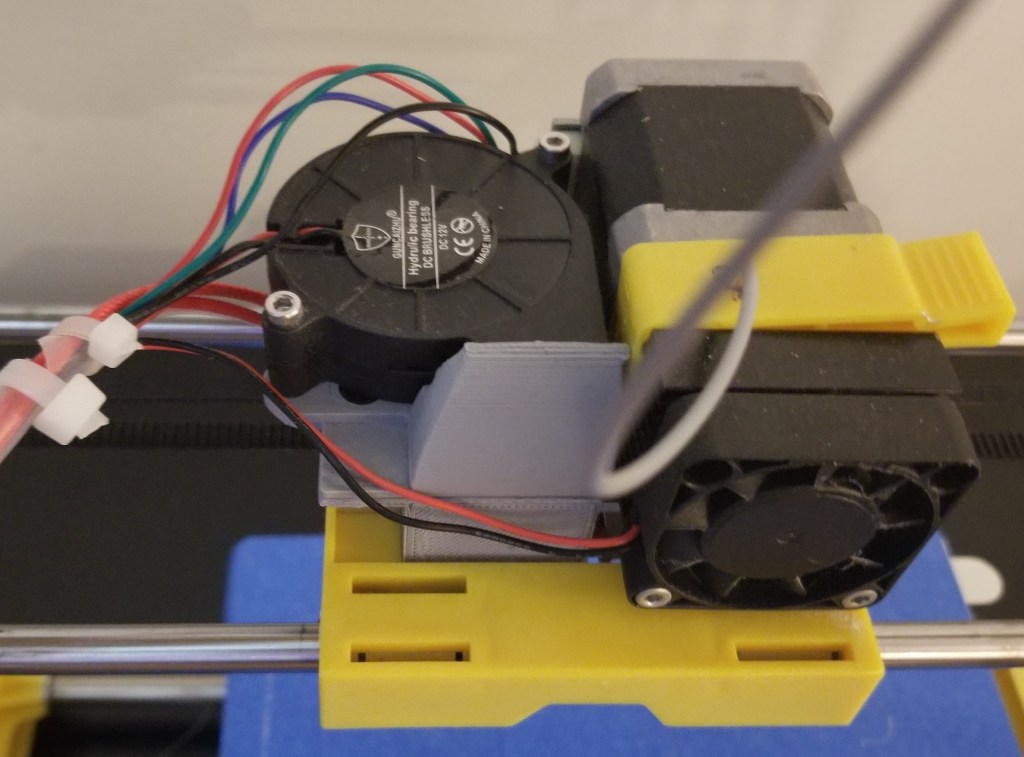
The trickiest bit was figuring out how I was supposed to connect the power. There’s an open connection on the board that provides sufficient power continuously. You can’t control it through the software, but I don’t see the harm in letting that small blower run continuously.
By the way, the connector on the board is NOT the standard connector it looks like, and I’m not sure what it is, so I made do with a dupont connector.

Gear Grinding/Nozzle Turnoff/Layer Shift
There was an intermittent issue that I’ve had with the stepper motors (particularly on the y axis, but occasionally on the x axis) moving unexpectedly, often running into the end stop and grinding the belt. When that happened, the hot end would turn off (causing the filament to stop flowing and just grind), and the printer would lose track of the hot end’s location (causing massive layer shifts), both of which ruined the print. I attacked this from a few different angles. Replacing the belts earlier in the process was part of one of the attempts, as I’ve had issues with slippage before, as well as just part of replacing older parts.
Stepper Motor Driver Tweaking:
Based on a recommendation I’ve gotten from some other people, I got a multimeter to check the stepper motor drivers, and a ceramic screwdriver to adjust the voltage. I’ve tried tweaking it a few times, but I didn’t really see any improvement.
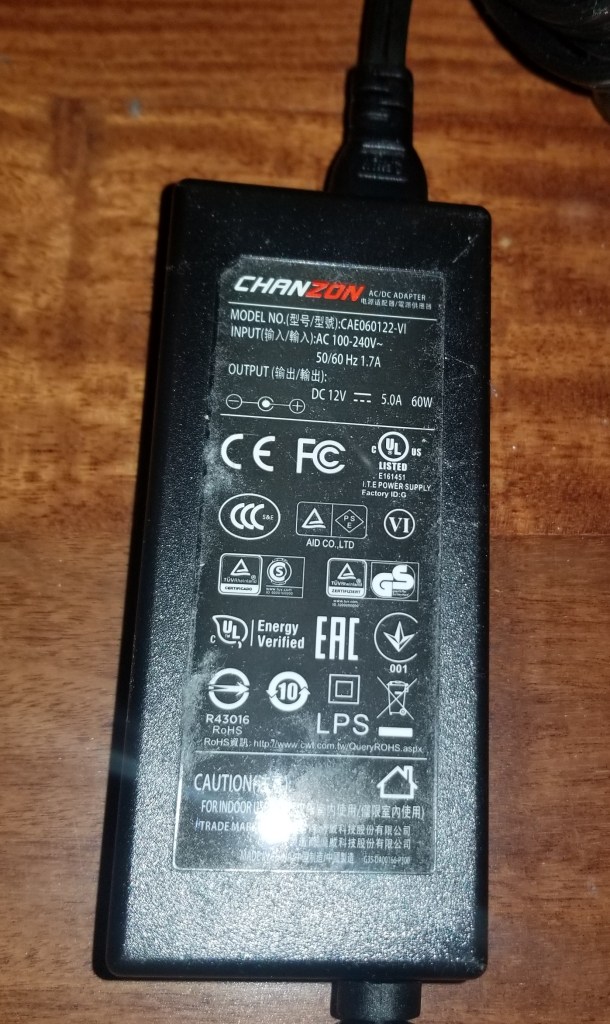
Power Supply Replacement:
Upon other recommendations, I decided to try getting a replacement power supply. I’ve been told that the one that came with the printer is considered a really reliable brand, but since I’ve swapped out the power supply the printer seems to have stopped having that intermittent failure.
Finished
With all that finished… WOW. This older printer can now print better than my newer one! I now do all my more precise prints on this printer.
For a point of comparison, here’s the before photo of the temperature towers printed on this printer.

Absolute rubbish!
And here’s the miniatures that I’m able to print now! I’ve been running it a lot lately building up my miniatures collection.

Thoughts/notes for the future:
If I run into issues on the hotend again, I think I may do what I’ve seen others do and switch to a more industry standard hotend, though that’d be an… interesting conversion process. It would make finding replacement parts a lot easier, though!
I think there is a little bit of a bed level issue, still, and I’m not sure how much is in the tramming and how much is in the metal bed I placed on it. It may be related to how I mounted the bed with command strips.
For now I’m printing mostly small items. When I print larger items I get a bit of warping, so I think I need to remember to implement brims on the larger ones. I’m not sure how much is due to the unheated bed, and how much from variations in leveling. And no, I’m not considering adding a heated bed anytime soon. From what I’ve read, trying to do a DIY heated bed increases the fire risk more than I am comfortable with.
At one point I was considering replacing the z-axis screws with thicker ones, but the manufacturer used a nonstandard interface piece (it had 3 holes instead of the standard 4), so I couldn’t easily swap them out without also having to print and install completely new blocks at the ends. This is the kind of nonsense that makes me want to scratch build a printer on my own down the line, with an eye for maintenance and using industry standard parts.
Anyway, I guess I’ve got to start working on the other printer soon to bring up the quality level on it! It feels kinda weird that my older and larger printer is currently better at producing the smaller miniatures. I need to address this imbalance, so I can print smaller things on the smaller printer and larger things on the larger printer.
