

This took a little bit of searching and a couple days or so of printing, but I decided to make my classroom’s makerspace sign more interesting. I removed the wooden letters and replaced them with 3D printed letters. The reason it took a bit of searching was because I wanted every letter to be a different style than all the others, just to show some different things that 3D printing could do, and inspire thoughts of different things that could be made.
And in case anybody was wondering, the wooden letters aren’t going to waste, I have plans for them. Also, apparently because they were wooden, someone thought I was running a woodworking shop in there! I wouldn’t mind… it’s just not what we have going on in there. What was the phrase? Always be branding? I think having 3D printed letters gives a more accurate impression of the room.
Category Archives: Classroom Upgrades

Classroom Workbench Organization
When you spend 10 minutes looking for something and it turns out it was EXACTLY where it was supposed to be… just at a weird angle with a little stuff on it obscuring it… you get frustrated and finally make an organizer for it. Now I can find my 3D printing spatula every time. And the related tools.
I also decide that while I was at it I was tired of my hot glue sticks being kinda scattered. So here’s what I’ve been making lately.
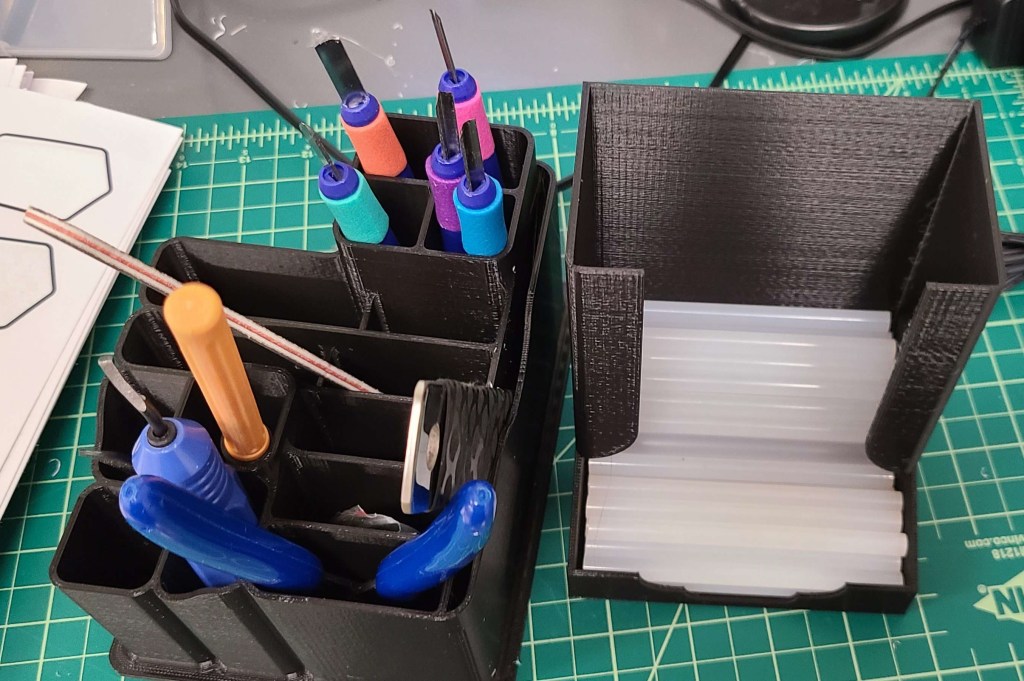
I can see all of them at a glance and grab them. I just have to make sure that the final location for the tools organizer is where the chisels aren’t in a spot anyone is likely to bump into. Normally I’d have everything sharp pointed downwards, but I can’t see the tips that way. Previously I kept them in a case, but there wasn’t a spot for it here. I might have to find another iteration for longterm storage of those chisels.

Makin’ and Decoratin’
Once I got enough room to breathe in my teaching, I decided the room needed some more decorations to make it a more inviting space. Especially since students had commented on the lack of wall coverage. Many classrooms have a lot of brightly colored posters and decorations to make the kids feel welcome and to pique their interest.
For a lot of it I started with a robotics theme, given that it was an easier-to-visualize subject than “design & modeling”.


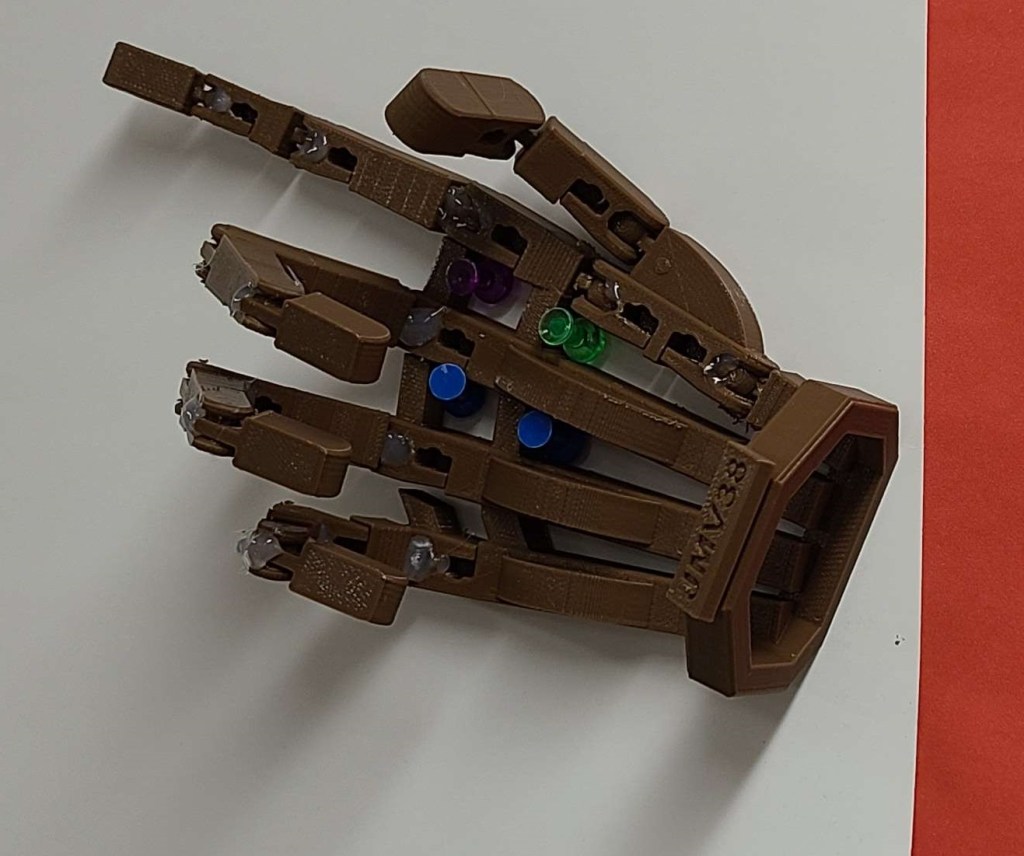
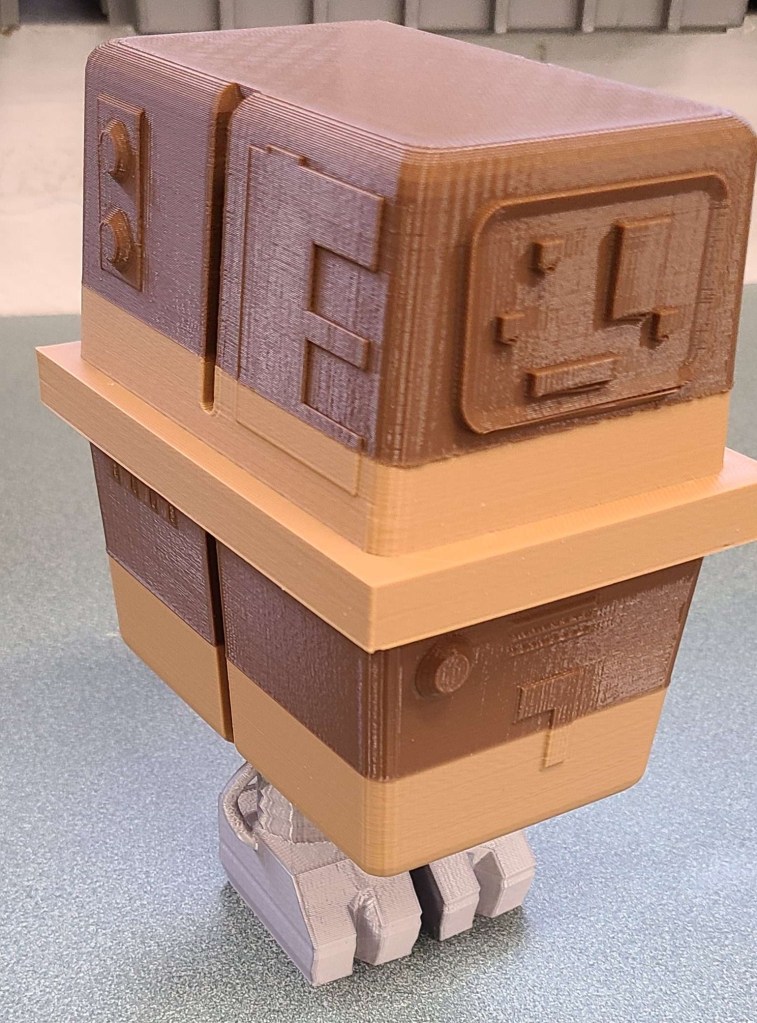
I also spent some time coming up with some examples that demonstrated more of what 3D printing is capable of, as well as some models that may come in handy when I cover 3D printing in more depth. Some of these were unusual shapes, others were versions of common calibration models used for tuning 3D printers.

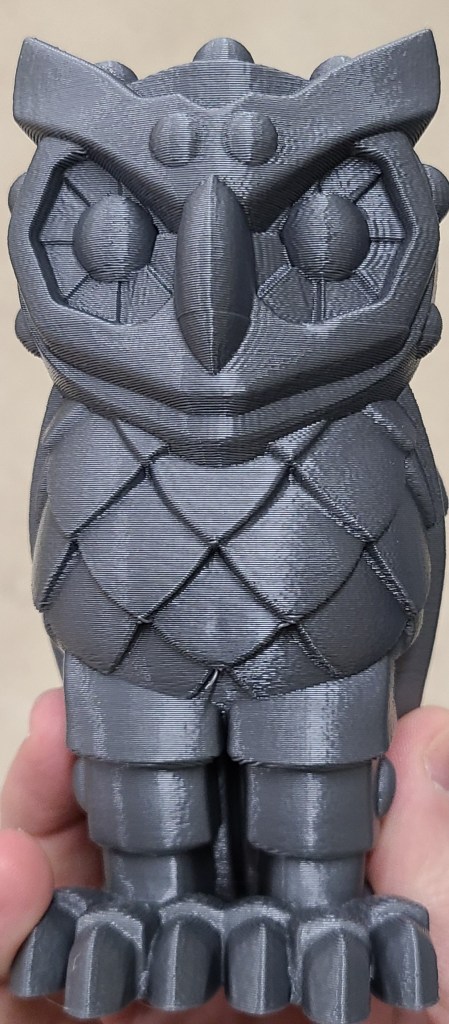


Some items were for establishing the theming of the room as a place for general Making.


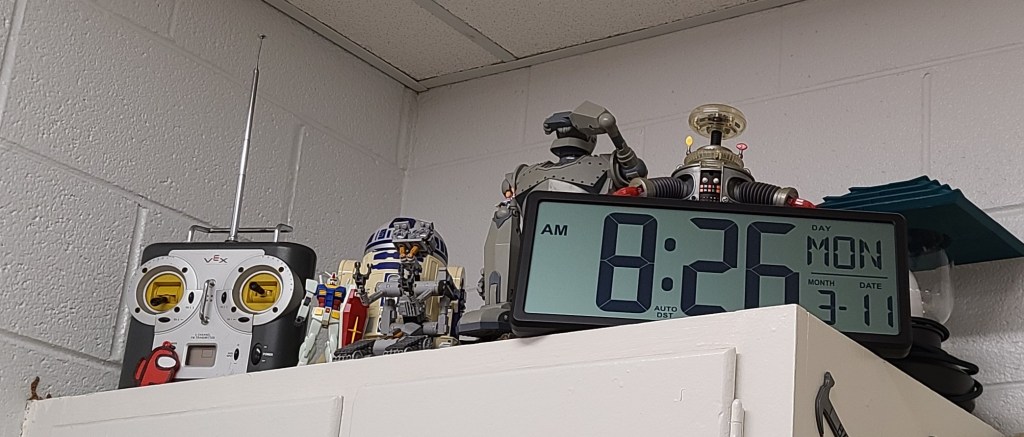
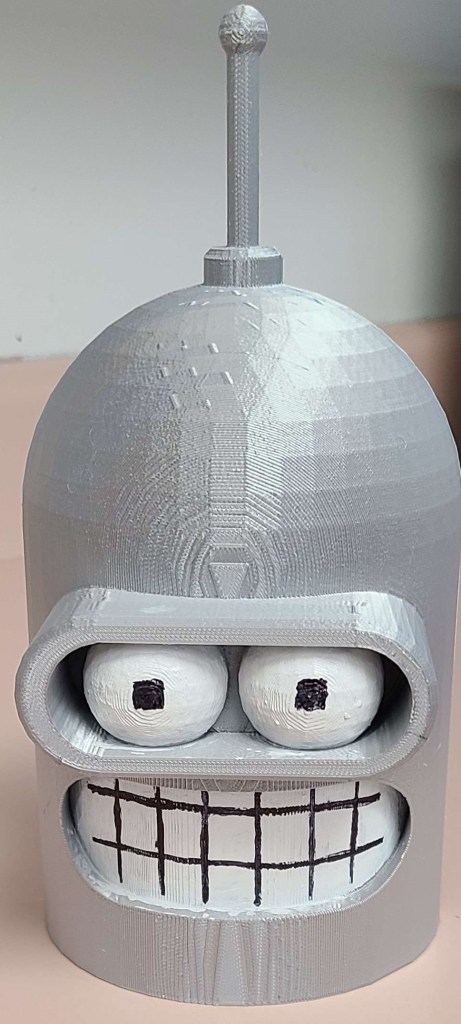
Based on some conversations with students and learning some of the pop culture things that they were into, I also added some other decorations to catch their interest and demonstrate some things that could be done with the 3D printer and a little coloration.


I am always trying to add to the collection, and hope to inspire the next generation of Makers. I want my room to be an exciting and welcoming place for creativity. Having walls filled with color and variety seems to be helping set a mood for my students, and occasionally I challenge them to figure out what I have changed recently. It is fun watching their eyes light up and their excitement when they realize I’ve added things they recognize to the room.

Robot Parts Organization
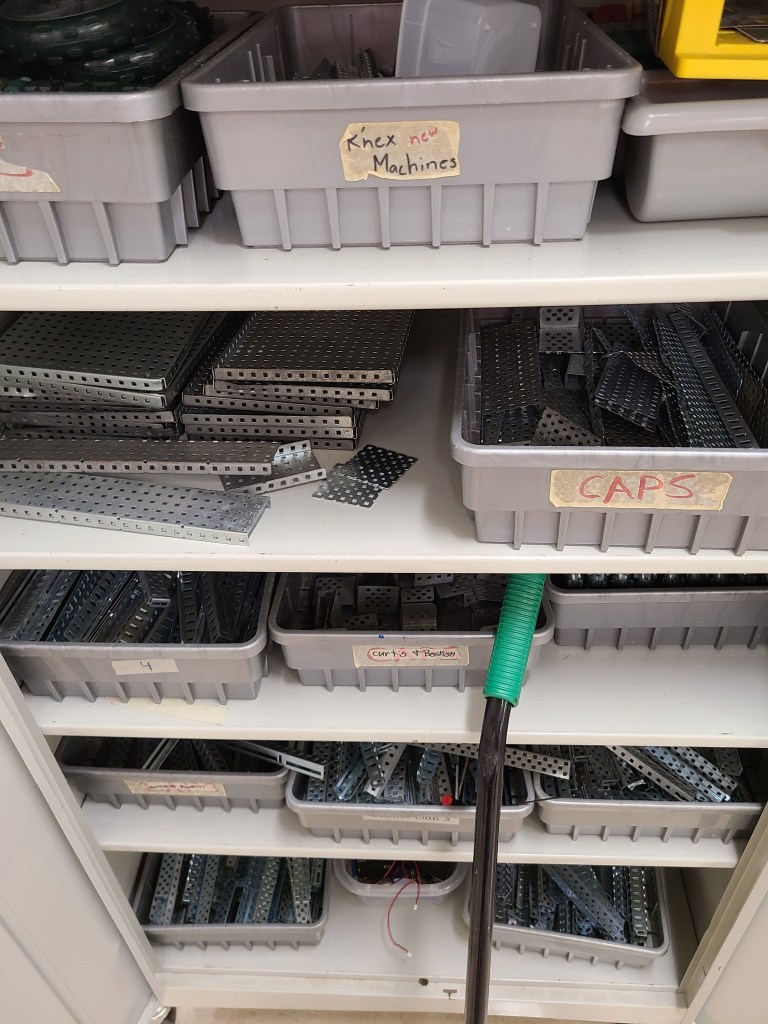
When I took over the classroom… the room was an a mess, and my materials were split between it and another room in an entirely different building.
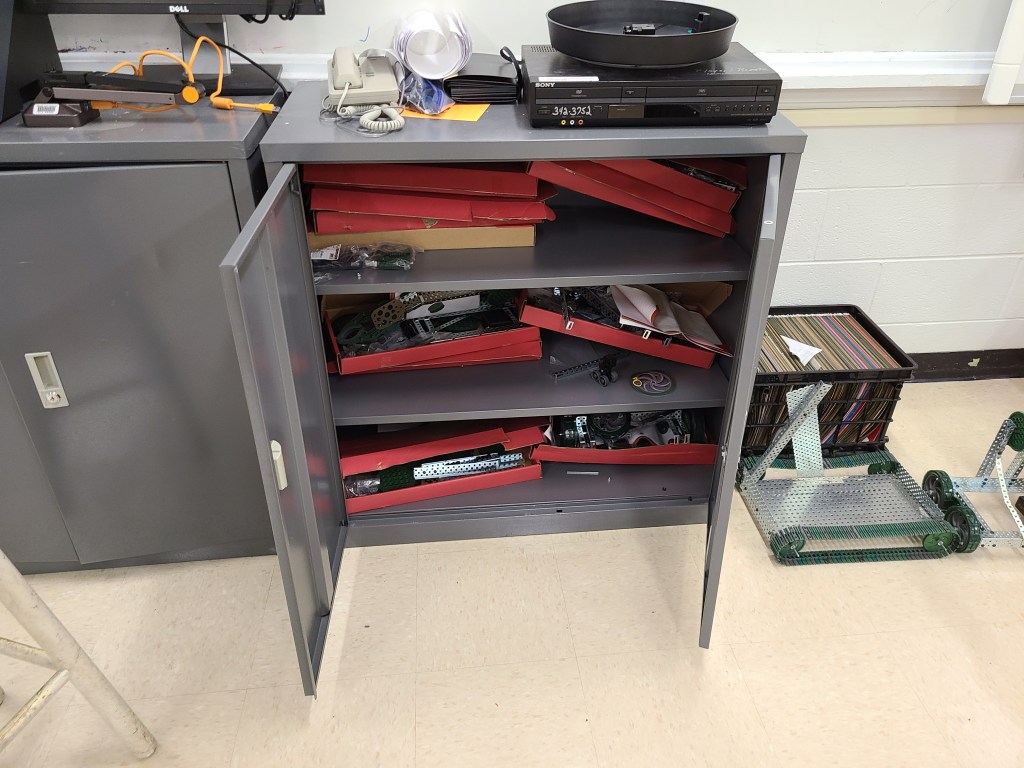
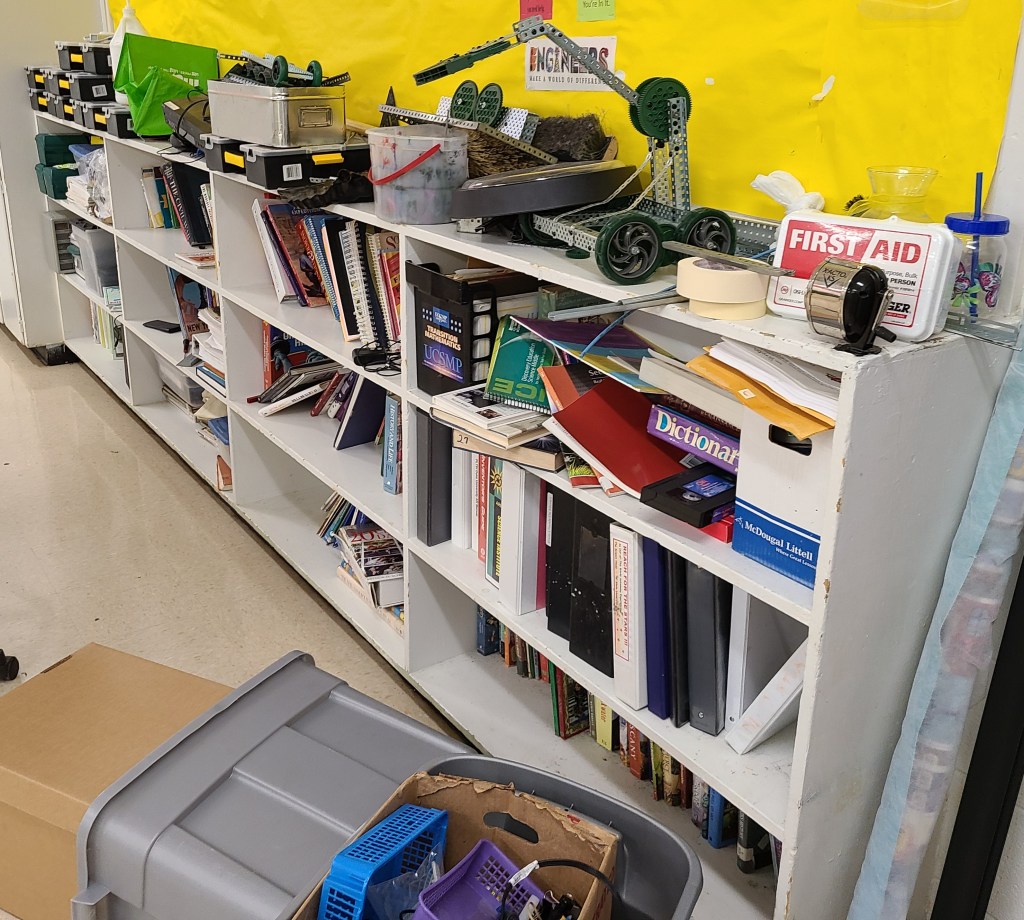
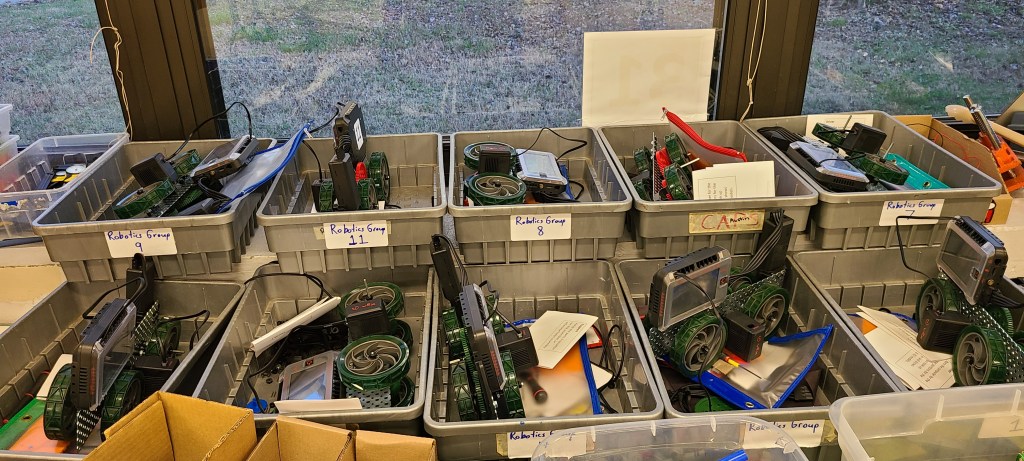
Here are some of the places where I found robot parts scattered the first day. Before I realized I had another room somewhere in the school with more materials.

For the longest time I had a large “salvage yard” on one side of the room where I placed any container of jumbled parts and any robot builds that I found. It had container after container of mixed parts, partially built robots, and a lot of hazardous broken parts. I spent months going through them with gloves so I wouldn’t cut myself, sorting out the dangerously parts and possibly recoverable parts from the good ones. Just about every time I thought I was done, I would find more boxes either behind something in the room, or in the other classroom.


Thankfully, for previous stocks of small parts, my wife helped out A LOT with sorting. This gave me and the students a head start when organizing parts later, having some form of organization to start from.

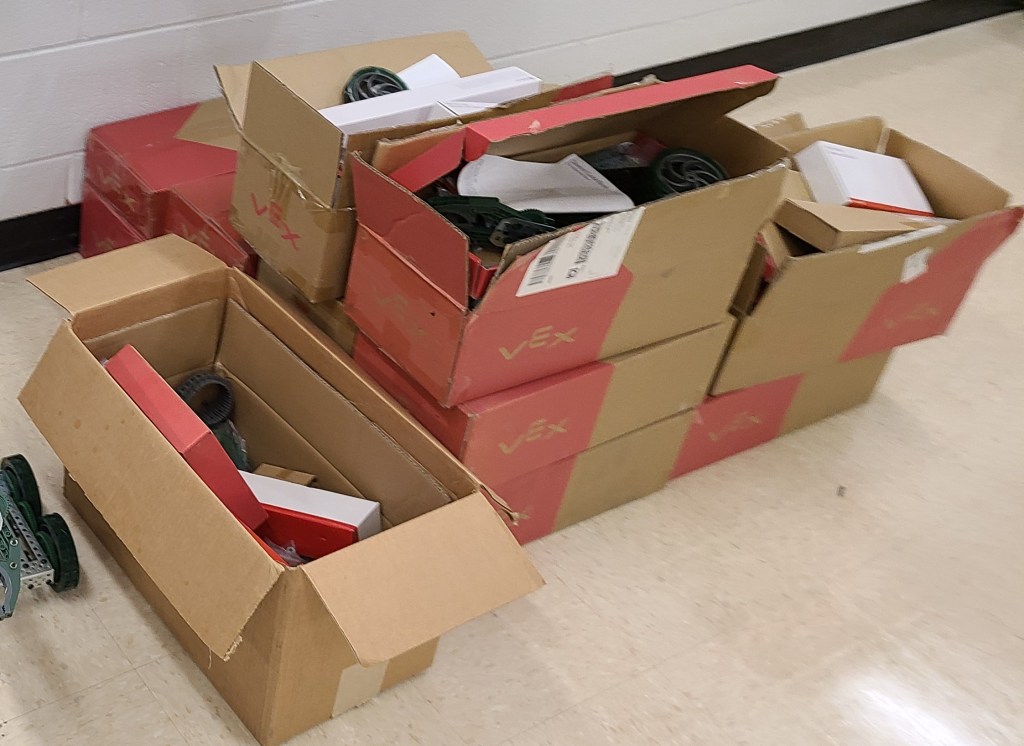
I also had many sealed and partially opened boxes of the updated robot parts to match the current curriculum. Each box contained layers of packaging that I had to keep sorting into more and more specific parts in various “kits.” This often included mixes of parts that could often be found in different types of kits, not just having things sorted by part type for easy stocking.
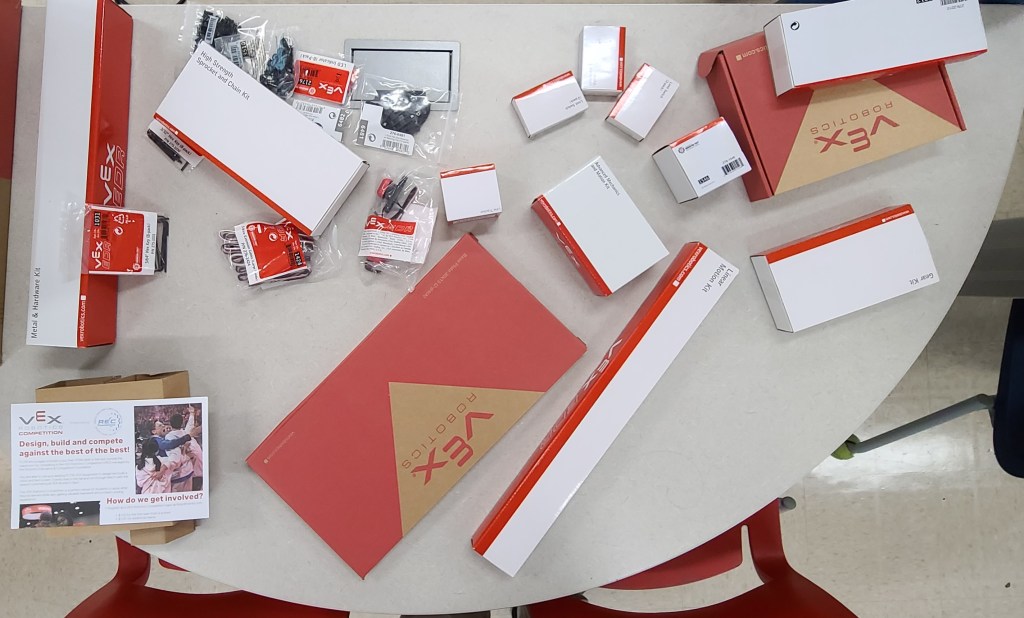
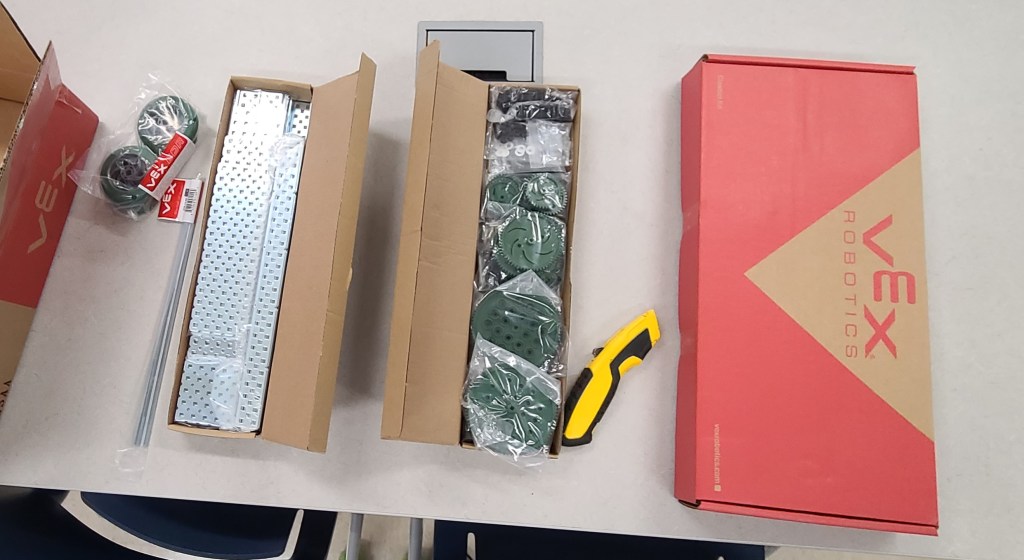
For new parts I enlisted the help of my students in unpackaging and sorting parts. There were way too many parts for one person to do solo.
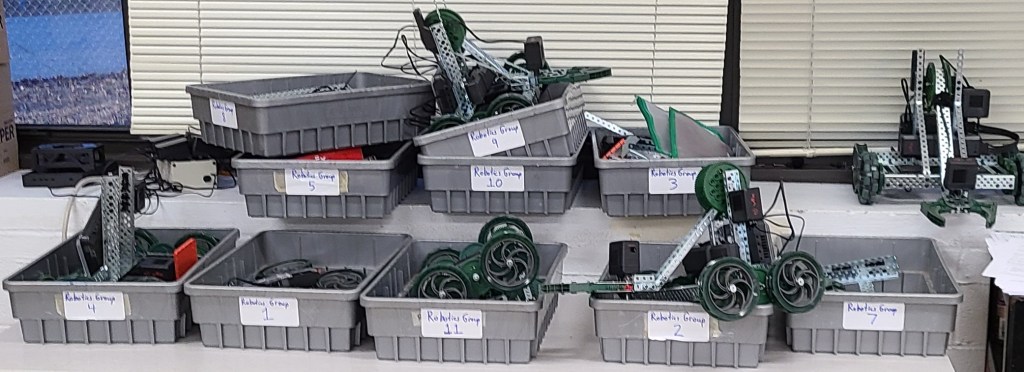
After months of work during and after school, and talking some people into providing funding for storage containers, I now have most of the parts organized into three cabinets.

If that seems like I skipped a lot of intermediate photos… I did. Trust me, there was a LOT of sorting, re-sorting, searching for obscure parts, and building some additional shelving out of excess robot parts from the old curriculum.
I’m still working on some labelling, but this is finally usable! The students and I can find the parts now. I’m not longer having to frantically dig through still sealed boxes or tubs of potentially dangerous parts to find the parts that the manuals call for.
Now my students are actually able to build on a regular basis, and I get to see actually functional and in-progress robots on a regular basis!
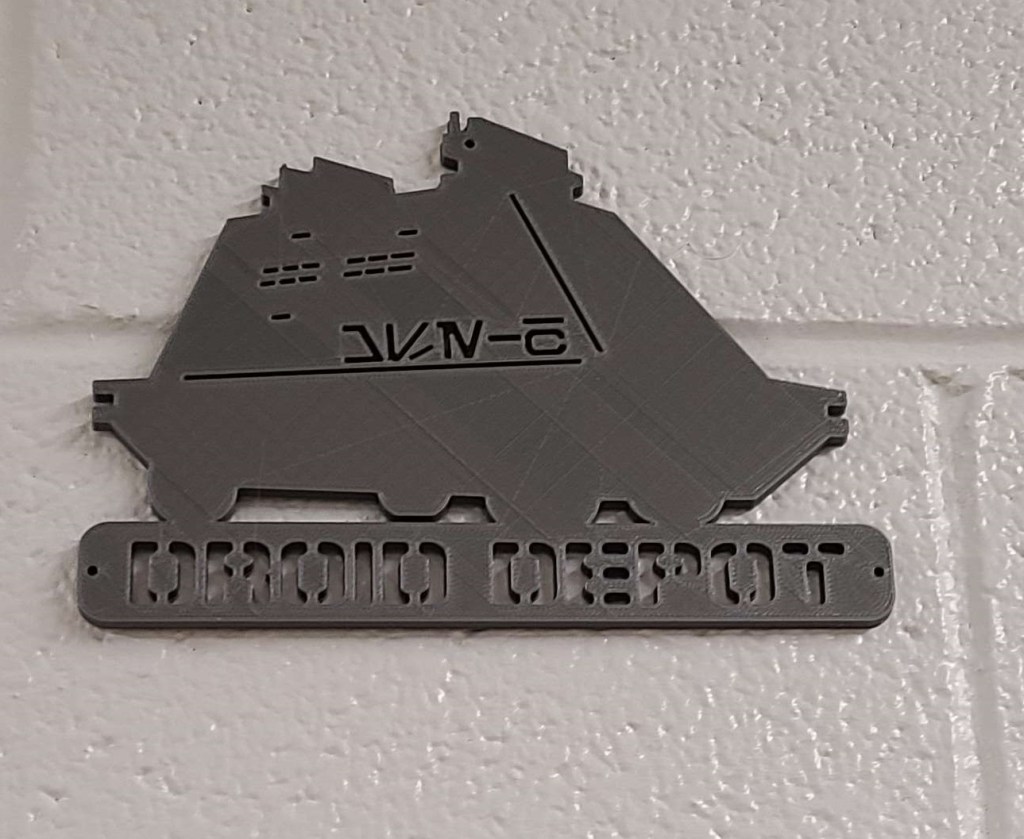
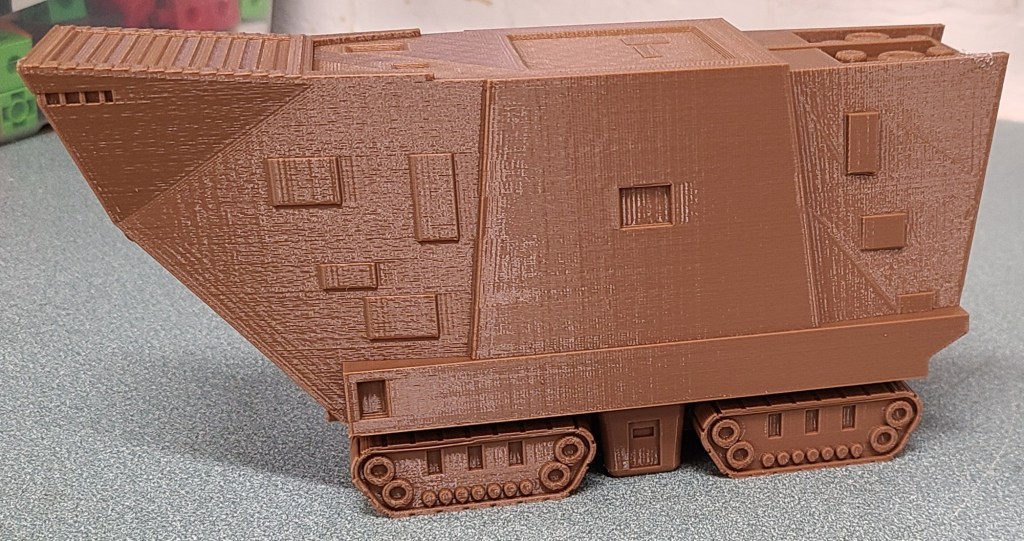
There is still a salvage yard, but it is ONLY 1 TUB now. I also made a better indicator for it now that I have time to decorate. I just may have to add a small sign to it for those who don’t get it. Jawa’s Junkyard? Eh, I’ll workshop it.

Classroom Makerspace Signage
Once I got some time after the initial rush of my first semester, I’ve done a bit of decorating to set the tone of the room and make it more inviting. I’ll probably cover some of the changes I’ve made over time, but today I’m focusing on a bit of signage for the room.
Before they even enter the room, I want people to know that it is a Makerspace, and I try to reinforce that with additional things within the room. I’ve made a display over the front door, and added a few things to set the mood.
The letters are from a dollar store, with a little bit of staining for color. The other items are things I have plenty of in the room.


Inside the room I have included a 3D printed sign that also reinforces this (photo is from during creation). Printed in red, with a few classroom supplies to create color contrasts. Amazing what a difference a little sharpie and whiteout can make.

